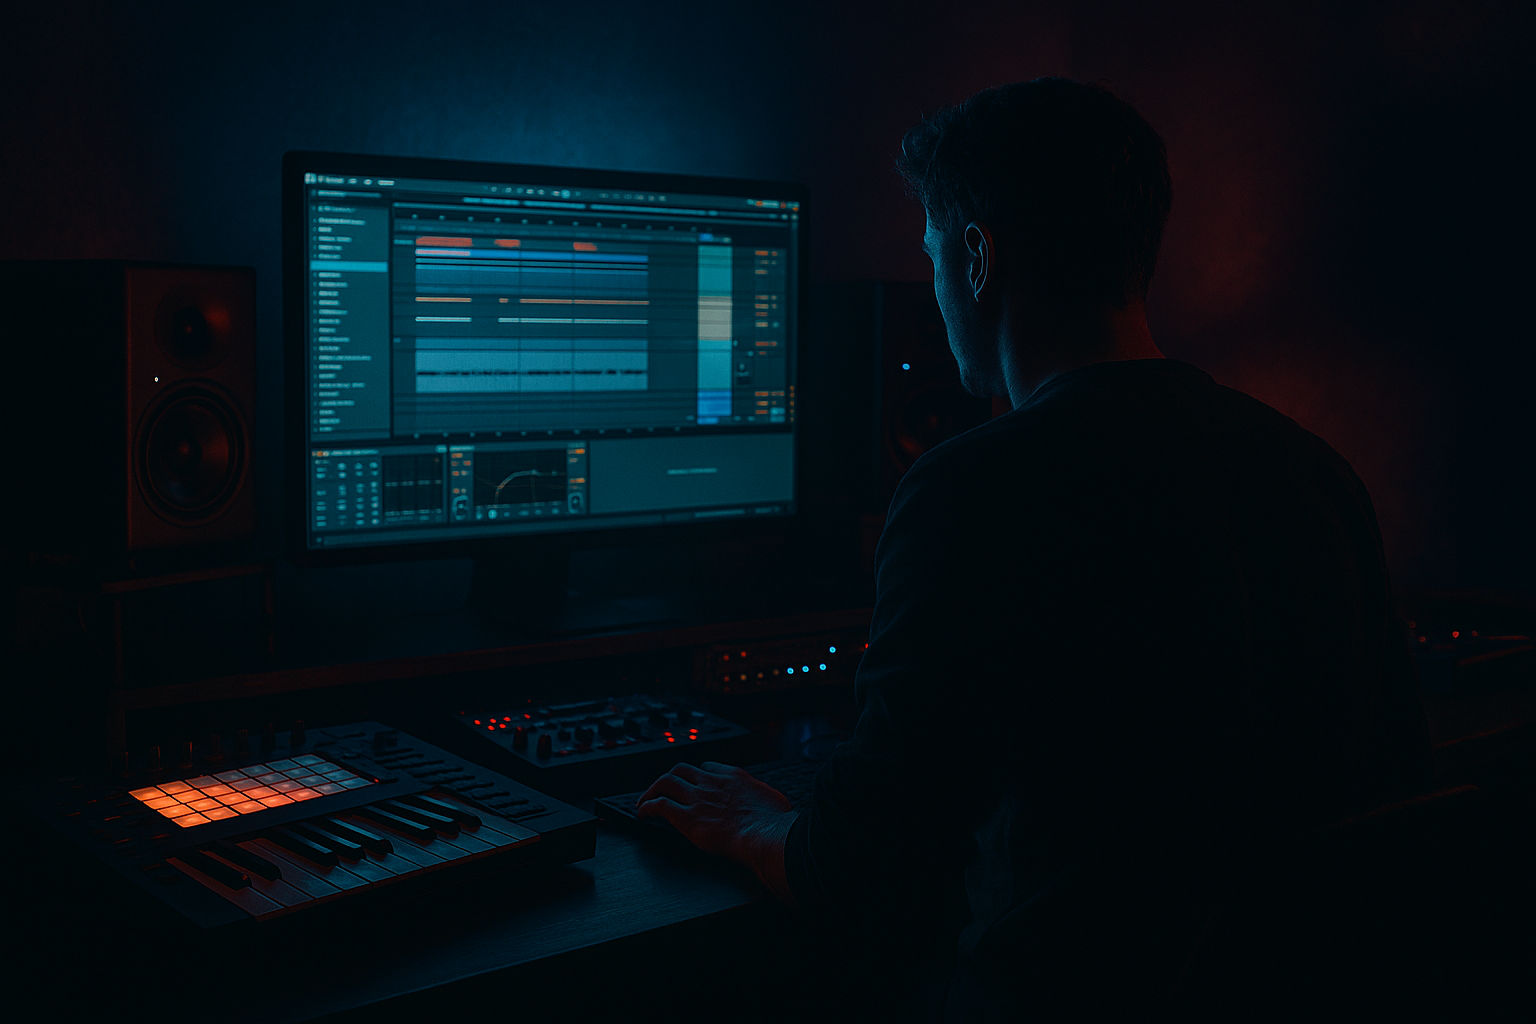
Main tutorial
Transition in Ableton Live 12: Widen It Using Session View to Arrangement View for Jungle / Oldskool DnB Vibes
1. Lesson overview
In this lesson, you’ll learn how to create a dynamic transition between ideas in Ableton Live 12 by starting in Session View and then expanding that idea into Arrangement View with a wider, more musical jungle / oldskool drum and bass feel.
This is a very common DnB workflow:
- Session View = fast sketching, looping, testing drum breaks, bass loops, and FX hits
- Arrangement View = building tension, automation, breakdowns, and proper song flow
- chopped breaks
- bass drops
- dubby space
- filtered build-ups
- reverse effects
- reverb throws
- quick scene changes and drum edits
- a drum loop in Session View
- a bass loop or sub stab
- FX transition clips like risers, reverses, and impacts
- a move into Arrangement View
- widening effects such as:
- a simple oldskool-style drop setup
- 170–174 BPM
- chopped amen-style breaks or punchy 2-step drums
- dark sub bass
- dub FX
- tension before the drop
- wider, more open atmosphere at the transition
- kick
- snare
- hats
- chopped break slices
- one long sub note
- a short offbeat stab
- or a rolling Reese pattern
- Operator for clean sub
- Wavetable for a reese-style bass
- Analog for gritty oldskool tones
- EQ Eight: cut lows below 25–30 Hz
- Saturator: soft drive for harmonics
- Auto Filter: low-pass automation later
- Optional Compressor sidechained to kick with Compressor or Glue Compressor
- use Wavetable, Sampler, or a short atmospheric sample
- keep it simple and moody
- Reverb: large size, long decay
- Echo: 1/4 or dotted 1/8 feedback low
- EQ Eight: roll off low end below 150 Hz to keep it clean
- automate a high-pass filter opening up over 1–2 bars
- add Auto Filter with resonance around 0.5–1.2
- add Reverb for size
- mute the kick for half a bar
- add a snare roll
- repeat a break slice
- throw in a tiny cymbal hit or ghost note
- Scene 1: Main break + bass
- Scene 2: Breakdown with filtered drums and atmos
- Scene 3: Drop with full drums and bass
- whether the energy dips too much
- whether the transition feels too sudden
- whether the bass is cluttering the FX
- Do not widen the sub bass
- Widen the FX, atmospheres, and highs
- Keep the low end mono and controlled
- Hybrid Reverb
- EQ Eight after reverb to cut low frequencies
- Decay: medium to long
- Low cut: around 150–250 Hz
- High cut: around 7–10 kHz if the top end is too bright
- Echo
- EQ Eight
- Time: 1/8, 1/4, or dotted values
- Feedback: 25–40%
- Filter out low frequencies
- Use ducking so the delay stays out of the way of the drums
- snare
- crash
- vocal chop
- atmosphere
- transition noise
- extend the reverb tail before the drop
- mute the kick for a moment before impact
- automate a filter sweep on the bass
- cut the drums for a half-bar or one-bar breath
- bring in the full break again with more energy
- Auto Filter cutoff on noise and atmos
- Utility width on FX tracks
- Reverb dry/wet for a big wash at the transition
- Echo feedback for one dramatic throw
- Bass filter to make the drop feel fuller
- drums get filtered slightly
- atmosphere gets wider
- reverse crash rises
- bass closes down
- final bar has a short silence or drum stop
- drop lands with full mono low end and wide top FX
- chop the break into smaller slices
- rearrange the last bar before the drop
- add a snare pickup
- use ghost notes or fast hat variations
- Simpler in Slice mode
- Drum Rack
- Beat Repeat for glitchy fill moments
- Interval: 1 Bar or 1/2 Bar
- Grid: 1/16 or 1/32
- Chance: low to moderate
- Mix: automate it in only at the end of the phrase
- make sure the sub bass stays centered
- use Utility on bass if necessary to keep stereo width at 0%
- check the transition FX do not muddy the kick
- remove low frequencies from reverbs and delays
- riser
- crash
- snare roll
- fill
- vocal
- impact
- reverse
- extra bass note
- filtering the pads down
- adding a distant sub hit
- using a dubby delay throw
- bringing in a haunted vocal chop
- the low end is tight and mono
- the atmosphere and FX get wide
- Auto Filter
- Saturator
- Echo
- Hybrid Reverb
- 1/4 beat of silence
- drum stop on the last snare
- reverse tail carrying into the drop
- add a short sub note or pitch drop
- keep it simple
- automate a low-pass so it blooms into the drop
- once with a clean modern DnB transition
- once with a grittier oldskool jungle transition
- Use Session View to test loops, scenes, and energy shifts
- Use Arrangement View to shape the transition with automation
- Widen the FX, atmos, and highs, not the sub
- Use stock Ableton tools like:
- Keep the transition focused, musical, and punchy 🥁
For jungle and oldskool DnB, transitions are especially important because the style often relies on:
We’re going to make a transition that feels like it moves from a tight loop in Session View into a wider, more cinematic arrangement section with oldskool energy 🎛️🥁
---
2. What you will build
By the end of this lesson, you’ll have a short DnB transition that includes:
- reverb sends
- stereo delay
- filter automation
- ping-pong delay
- widening on atmospheres, not on the sub
Target vibe
Think:
---
3. Step-by-step walkthrough
Step 1: Set up the project
1. Open Ableton Live 12 and create a new set.
2. Set the tempo to 172 BPM for a classic jungle / DnB feel.
3. In Session View, create these tracks:
- Drums
- Bass
- Atmos/FX
- Transition FX
- Optional: Vocal Chop or Rave Hit
Step 2: Build a basic loop in Session View
#### Drums
On your Drums track, load a break sample or a drum rack with:
If using a break sample:
1. Drag it into a Simpler or audio track.
2. Turn on Warp.
3. Try Beats mode for preserving punch.
4. Set start/end markers to get a tight loop.
#### Bass
On your Bass track, make a simple pattern:
Useful stock devices:
Suggested bass chain:
#### Atmos / FX
Add a pad, vinyl noise, or a dark texture:
Step 3: Make the transition elements
Now create clips that are designed specifically to move energy from one scene into the next.
#### A. Reverse crash
1. Import a crash cymbal.
2. Reverse it in Arrangement or use a reversed sample.
3. Warp it if needed so it lands perfectly on the downbeat.
Add effects:
#### B. Noise riser
Use a noise sample or a synth noise patch:
#### C. Drum fill / break edit
Take the last 1–2 bars before the transition and:
For jungle, even a small break variation can make the transition feel alive.
Step 4: Use Session View to test the energy shift
In Session View:
1. Create one scene for your main loop
2. Create one scene for your transition
3. Create one scene for your new section/drop
For example:
Launch scenes one at a time and listen for:
Step 5: Widen the transition
This is the key lesson: widening the transition means making the section sound bigger, broader, and more spacious before the next drop or phrase.
#### Important rule:
#### Good ways to widen:
1. Stereo spread on atmospheric tracks
- Use Utility and widen only high elements carefully
- Avoid overdoing it
2. Echo / Delay
- Add Echo to the transition FX track
- Try:
- Time: 1/4
- Feedback: 20–35%
- Ducking: On
- Filter: reduce low end and harsh highs
3. Reverb
- Use Hybrid Reverb or stock Reverb
- Put it on a return track for cleaner control
- Decay: 2.5–6 seconds depending on the vibe
- Pre-delay: 10–25 ms
4. Auto Filter automation
- Open the filter gradually on pads and noise
- Start closed, then sweep open over 2 bars
5. Chorus-Ensemble
- Great on pads or dubby FX
- Use lightly to create width and movement
Step 6: Build return tracks for space
Create two return tracks in Ableton:
#### Return A: Reverb
Stock device chain:
Suggested settings:
#### Return B: Delay
Stock device chain:
Suggested settings:
Send your:
This creates the feeling that the section opens up into a larger space before the next drop.
Step 7: Move from Session View to Arrangement View
Now we turn the loop into a proper song moment.
#### Record the session performance
1. Hit Arrangement Record in Ableton.
2. Launch your scenes live as if you’re performing the track.
3. Let the clips record into Arrangement View.
This is excellent for beginners because it captures the musical flow naturally.
#### In Arrangement View, edit the transition
Now refine the transition:
Step 8: Add automation for the wideness
This is where Arrangement View shines.
Automate:
#### Example automation idea:
Over 2 bars before the drop:
Step 9: Add a jungle-style drum break variation
To make it feel more oldskool:
Ableton devices that help:
#### Beat Repeat tip:
Use it on a send or insert for the last 1/2 bar only.
Suggested settings:
Step 10: Final check on the low end
Before you finish:
Good DnB transitions sound huge, but the low end stays disciplined.
---
4. Common mistakes
1. Widening the bass too much
This is the biggest beginner mistake.
If the sub gets stereo-wide, the mix can lose punch and collapse on smaller speakers.
Fix: keep bass mono below about 120 Hz.
2. Too much reverb on drums
Oldskool DnB can be spacious, but if the kick and snare are drenched in reverb, the groove loses impact.
Fix: use reverb mostly on FX, not on the core drum backbone.
3. Transition is too busy
A common beginner issue is adding:
all at once.
Fix: choose 2–4 elements max for the transition.
4. No contrast between sections
If the loop and the drop feel the same width and density, the transition won’t feel meaningful.
Fix: make the breakdown narrower or filter-lower, then open up the FX and top end before the drop.
5. Low-end clutter in delays and reverbs
This can muddy the groove very quickly.
Fix: always EQ your reverb and delay returns.
---
5. Pro tips for darker/heavier DnB
Tip 1: Make the transition feel darker before it gets bigger
Instead of simply making things brighter, try:
That creates tension before the wider release.
Tip 2: Use contrast between mono and stereo
A heavy DnB transition often works because:
That contrast makes the drop feel huge.
Tip 3: Saturate your transition FX
Try this chain on noise or risers:
Light saturation adds aggression and makes the transition feel more “rave” and less polite.
Tip 4: Use short silences
A very brief gap before the drop can hit harder than a huge fill.
Try:
Tip 5: Layer a sub drop carefully
For a heavier jump:
---
6. Mini practice exercise
Exercise: Make a 4-bar jungle transition
#### Goal
Create a 4-bar section that moves from a loop into a wider drop.
#### Instructions
1. Build a 2-bar drum loop in Session View.
2. Add a bass stab or sub line.
3. Create a reverse crash on bar 4.
4. Add a noise riser with Auto Filter opening over 2 bars.
5. Mute the kick for the last half-bar.
6. Add a snare fill in the final bar.
7. Record the scene launch into Arrangement View.
8. Automate:
- filter opening on atmos
- reverb send rising on the crash
- delay throw on the last snare
9. Check the bass stays mono and the FX feel wide.
#### Challenge version
Do it twice:
Compare which one feels more dramatic.
---
7. Recap
You now know how to build a DnB transition in Ableton Live 12 using Session View to Arrangement View in a way that suits jungle and oldskool drum and bass.
Key takeaways:
- Auto Filter
- Echo
- Hybrid Reverb
- Utility
- EQ Eight
- Saturator
- Beat Repeat
- Simpler
If you want, I can also turn this into a bar-by-bar Ableton template for a 172 BPM jungle transition, complete with exact automation moves and track layout.

