Main tutorial
```markdown
Tuning Vinyl One‑Shots in Ableton Live (Arrangement View) — Drum & Bass Focus 🎛️🎚️
1. Lesson overview
Vinyl one-shots (stabs, hits, vox chops, horn blasts, ragga shouts, dusty SFX) are gold in jungle/DnB—but they often land slightly sharp/flat, drift in pitch, or clash with your bass key. In this lesson you’ll learn a fast, reliable Arrangement View workflow for tuning those one-shots so they sit perfectly with rolling basslines and heavy drums.
We’ll cover:
- Finding the note (even when it’s noisy/short)
- Warp vs. no-warp decisions for one-shots
- Clip Transpose + fine-tune with cents
- Consolidate + commit so your arrangement stays clean
- Practical DnB use cases: stabs on the 2&4, call/response with bass, jungle fills
- A DnB-ready “vinyl one-shot tuning lane” in Arrangement View
- A tuned set of stabs/vox hits locked to your track key (e.g., F minor / G minor)
- A repeatable template: audition → tune → print/commit → arrange
- Operator → Osc A: Sine
- Amp Env: long sustain
- Volume low (just a reference)
- Warp OFF for most one-shots you’re simply pitching (cleanest, most “vinyl real”).
- Warp ON when:
- While the one-shot loops, play your Operator reference note.
- If you hear beating/warble, you’re close but not locked.
- Adjust transpose until beating reduces.
- Jump by ±12 if you need octave shifts (stabs often sit well around C3–C5 region, depending on vibe).
- Then fine tune in ±5–30 cents steps until it sits.
- The one-shot doesn’t fight the bass’s fundamental.
- It feels like it belongs to the chord/key, even if it’s gritty.
- Beats: good for percussive one-shots (keeps punch)
- Complex / Complex Pro: better for harmonic stabs/vox (less “chipmunk”)
- Tones: can work on single-note stabs, but may get “phasey”
- Warp: ON
- Mode: Complex Pro
- Formants: try 0–20 (subtle) to keep character
- Envelope: default is usually fine; adjust if it smears too much
- Offbeat stab: hit on the “&” after beat 2 (classic push)
- Call/response with bass: stab answers the bass in bar 2 or 4
- Jungle sprinkle: low-velocity ghost stabs behind the break for texture
- Bar 1: introduce stab once (tease)
- Bar 2: repeat + variation (different pitch/octave)
- Bar 3: drop out (space for drums)
- Bar 4: fill (reverse + reverb tail)
- Tuning the transient instead of the tonal body
- Leaving Warp ON by default
- Over-tuning gritty vinyl
- Ignoring the bass key
- Not committing
- Tune to the root or the 5th for instant darkness
- Layer tuned + untuned for menace
- Automate Transpose for “fall” stabs
- Gate the reverb for classic rave density
- Mid/Side cleanup with EQ Eight
- Use Arrangement View to build a clean “audition → tune → commit → arrange” workflow.
- Prefer Warp OFF for most vinyl one-shots; turn it on only when timing/length demands it.
- Find pitch with Tuner + Spectrum, but trust your ear against a reference note.
- Tune using Clip Transpose + Detune (cents), then Consolidate/Resample to commit.
- Shape the stab with EQ Eight, Saturator, Drum Buss, Utility, and use send reverb for controlled space.
---
2. What you will build
By the end, you’ll have:
Think: classic jungle stab tuned to the root, hitting on offbeats, supporting a sub that’s already dialed in. 🔥
---
3. Step-by-step walkthrough
Step 0 — Set the musical context (key + reference)
1. Pick your track key (common DnB keys: Fm, Gm, Dm).
2. Create a simple reference:
- Add a MIDI track with Operator (stock) set to a sine wave.
- Program a sustained note on your root (e.g., F1/F2 depending on your sub register).
3. Keep that MIDI note playing while you tune.
This gives your ear a stable “home base” 🎧.
Operator quick setup
---
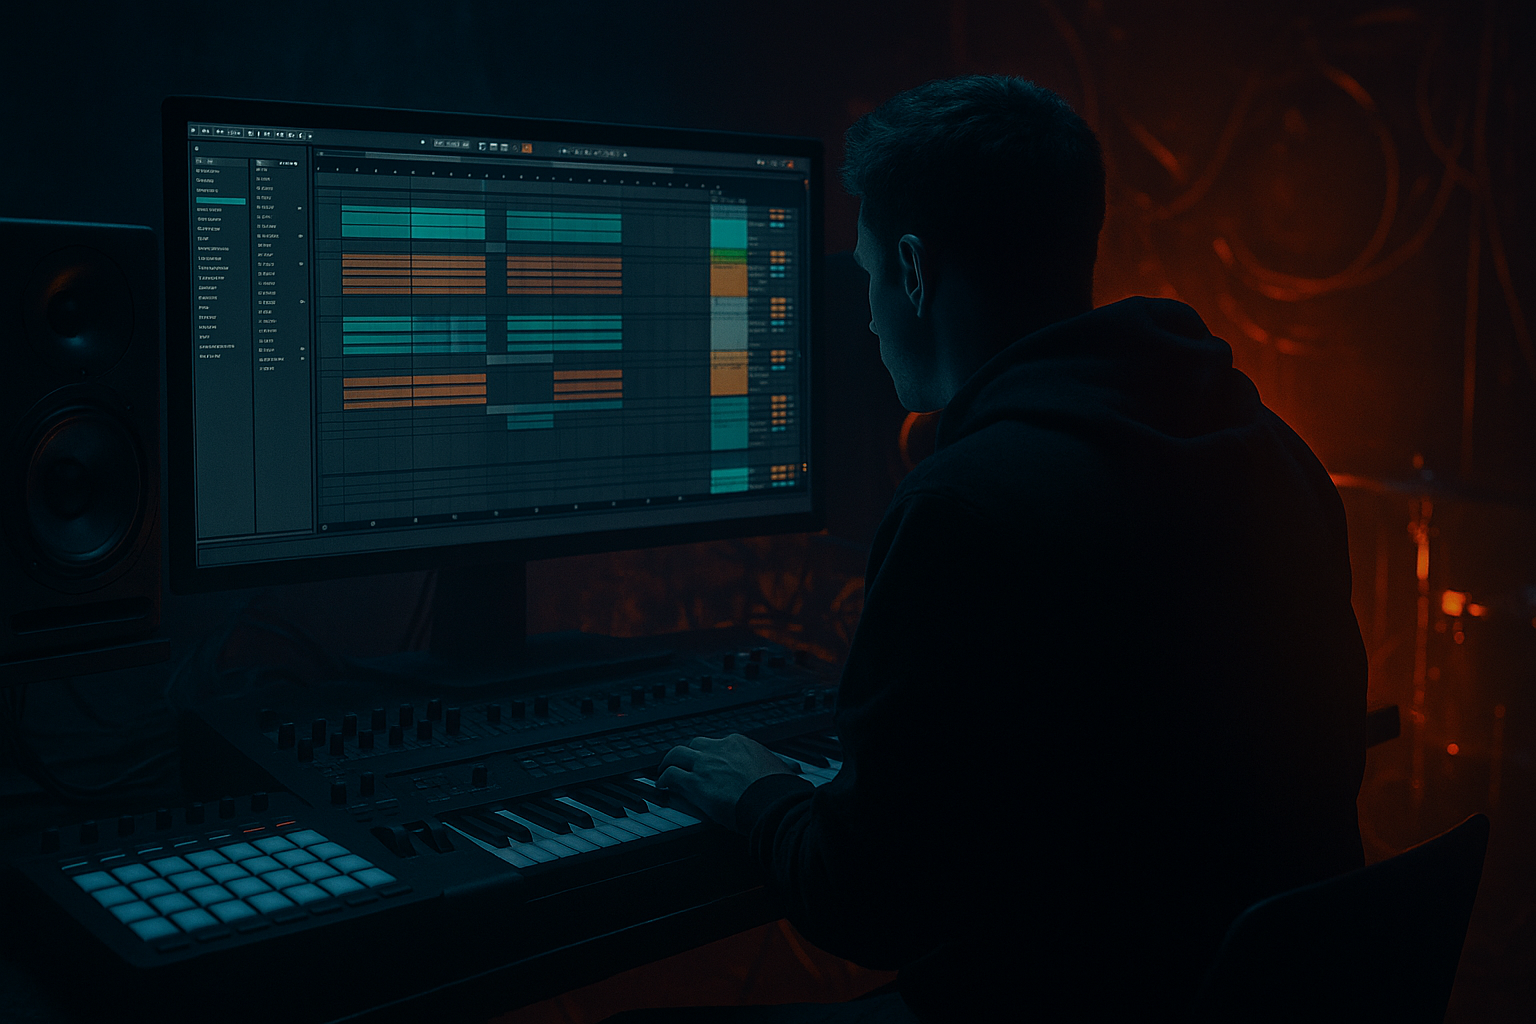
Step 1 — Import and prep the one-shot in Arrangement View
1. Drag your vinyl one-shot onto an Audio Track in Arrangement View.
2. Rename the clip immediately (e.g., `VINYL_STAB_raw_01`).
3. Trim the clip start so the transient hits clean:
- Zoom in, drag the clip start to remove vinyl lead-in noise (unless you want it).
4. Add short fades to avoid clicks:
- Enable clip fades (drag the fade handles)
- Start fade: 1–5 ms, End fade: 5–30 ms depending on tail
DnB note: Clean transients help stabs punch through a busy break + reese.
---
Step 2 — Decide: Warp or no Warp? (critical for one-shots)
Click the clip to open Clip View.
Rule of thumb:
- you need the hit to fit a specific rhythmic length (e.g., exactly 1/8)
- the sample has noticeable timing drift
- you want creative stretch artifacts
Try this first:
✅ Turn Warp OFF and test Transpose.
If timing becomes awkward in the groove, turn Warp ON.
---
Step 3 — Find the pitch (even if it’s short/noisy)
Vinyl one-shots can be messy. Here are reliable ways to identify pitch:
#### Method A: Tuner device (fastest)
1. Drop Tuner (Audio Effects → Tuner) on the one-shot track.
2. Loop a small region around the most tonal part of the sample:
- In Arrangement, highlight a small section and press Cmd/Ctrl + L to loop (or enable clip loop).
3. Play the clip repeatedly and watch Tuner.
Tip: If the transient confuses it, loop slightly after the transient where the body rings.
#### Method B: Spectrum + freeze your eyes
1. Add Spectrum after Tuner.
2. Set Spectrum:
- Block: 4096 or 8192
- Avg: ~200–400 ms (smoother read)
3. Look for the strongest stable peak (ignore broadband noise).
#### Method C: Your ear + reference note (works when analyzers fail)
---
Step 4 — Tune with Clip Transpose + Detune (cents)
In Clip View:
1. Use Transpose to get near the target note (e.g., to F, G, D).
2. Use Detune (cents) to lock it.
Workflow I recommend:
What “sits” means in DnB:
---
Step 5 — If Warp is ON: choose the right Warp Mode
If you must warp (for timing/length), pick a mode that fits the material:
Settings suggestions (common DnB case: harmonic stab)
Important: Warping + Transpose can introduce artifacts. Decide if that crunch is a vibe or a problem.
---
Step 6 — Align groove: place it like a DnB producer
Now that it’s tuned, place it with intent:
Rolling DnB stab placement ideas
Arrangement trick: 4-bar language
---
Step 7 — Commit the tuning (print it cleanly)
Once you’re happy, commit so the project stays lightweight and consistent.
Option A: Consolidate (quick)
1. Select the tuned clip region in Arrangement.
2. Press Cmd/Ctrl + J (Consolidate).
3. Rename the new audio file: `VINYL_STAB_Fm_tuned`.
Option B: Resample (best when Warp/FX involved)
1. Create a new audio track called `STAB_PRINT`.
2. Set its input to Resampling.
3. Solo the stab track, record the tuned hit(s).
4. Trim + consolidate the print.
This is especially useful if you add effects (below) and want a stable “finished” stab.
---
Step 8 — Quick DnB-ready device chain (stock) for vinyl stabs
Here’s a practical chain you can drop on the tuned one-shot track:
1. EQ Eight
- HPF at 120–250 Hz (keep sub clean for your bass)
- Small dip 300–500 Hz if boxy
- Presence boost 2–5 kHz if it needs bite
2. Saturator
- Drive: 2–6 dB
- Soft Clip: ON (often)
3. Drum Buss (light)
- Drive: 2–5
- Crunch: subtle
- Boom: usually OFF for stabs (unless you want weight)
4. Utility
- Width: reduce if it messes with mono compatibility (try 70–100%)
5. Reverb (send recommended)
- Use a Return track for space; keep the dry hit punchy
DnB mix rule: Stabs are usually mid-focused; keep the sub lane sacred. 🫡
---
4. Common mistakes
The “click” isn’t the pitch—loop the ringing part.
Ableton may auto-warp; for one-shots, that can add unwanted smearing.
If it’s meant to be crusty, perfect tuning can remove the charm. Aim for “compatible,” not “sterile.”
In DnB, the sub is the law. If the stab clashes with the sub note, it’ll feel wrong even if it sounds “cool.”
30 tuned clips with Warp + heavy FX = messy session and CPU pain later.
---
5. Pro tips for darker/heavier DnB 🖤
In minor keys, root/5th stabs often feel more “weighty” than tuning everything to the 3rd.
- Duplicate the track
- Track A: tuned clean-ish
- Track B: detuned slightly (e.g., -7 cents) + heavier saturation
- Blend quietly for width and grit
- Duplicate the hit a few times
- On the last one, automate Transpose down -2 to -5 semitones for a nasty drop effect
- Put Reverb on a Return
- After Reverb on the Return: Gate
- Shorten tails so the groove stays tight at 174 BPM
- Set EQ Eight to M/S
- High-pass the Sides a bit higher (e.g., 250–400 Hz) to keep low mids centered
---
6. Mini practice exercise (15 minutes) ⏱️
1. Set project tempo to 174 BPM.
2. Choose a key: G minor.
3. Import 3 vinyl one-shots:
- a stab
- a vocal hit
- a noisy tone/SFX
4. For each sample:
- Warp OFF → tune with Transpose/Detune
- If timing feels off, enable Warp → try Complex Pro
- Consolidate and rename with the tuned key note
5. Arrange a 4-bar loop:
- Place stab on offbeats (try 2& and 4&)
- Place vocal hit as a call on bar 2
- Use SFX as a pickup into bar 4
6. Add the stock chain:
- EQ Eight → Saturator → Utility
- Reverb on a Return with a Gate after it
Deliverable: a clean 4-bar DnB idea where every one-shot is tuned and sitting with the key.
---
7. Recap
If you want, tell me your track key and the type of one-shots you’re using (rave stab / ragga vox / horn / SFX), and I’ll suggest exact tuning targets and a 4–8 bar arrangement pattern that fits rolling DnB.
```

