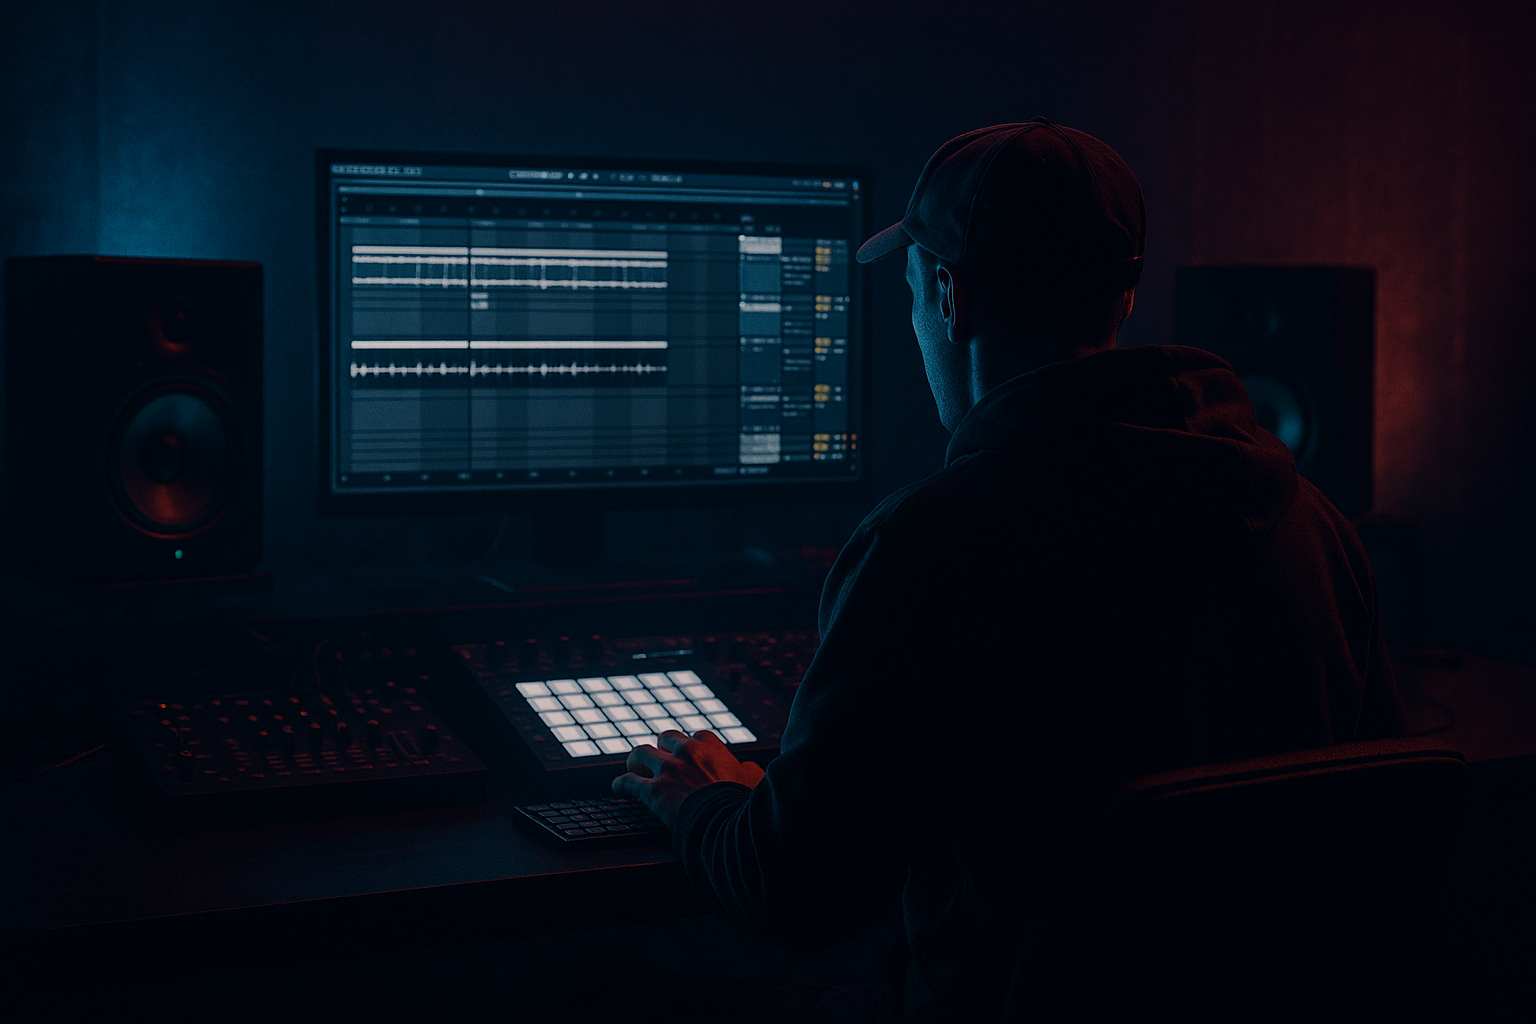
Main tutorial
```markdown
Turntable-Style Spinback FX Without Decks (Ableton Live) 🌀
Skill level: Advanced
Category: FX
Context: Drum & Bass / Jungle / Rolling Bass Music
---
1. Lesson overview 🎛️
A proper spinback (aka “rewind”) isn’t just a pitch drop. It’s a gesture: the audio momentarily “grabs,” reverses with inertia, smears/transient-blurs like a needle drag, then snaps back into the drop or next bar. In DnB, it’s commonly used to:
- Hype a double drop
- Reset energy before a 16-bar tear-out
- Create a classic jungle rewind moment at the end of a phrase
- Downsample: subtle (2–6)
- Bit reduction: 0–2 (just texture)
- Hard cut the spin clip right on the downbeat.
- Add a 1–5 ms fade at the end to prevent click.
- Consider a micro “impact” right after:
- Frequency Shifter – Frequency:
- Frequency Shifter – Dry/Wet:
- Delay – Dry/Wet:
- Filter cutoff:
- Utility Gain:
- Grain Delay (for the “tear/drag” texture)
- Auto Filter (LP24)
- Saturator
- Utility (gain compensation + width)
- Map to:
- Map to:
- Map to:
- In Arrangement:
- If you’re recording automation live:
- Band-limit the spin: For neuro/dark rollers, keep the spin mostly mid-focused (200 Hz–4 kHz). Automate an EQ:
- Layer a “vinyl abuse” texture quietly:
- Gate the tail into the drop:
- Make the rewind answer the drums:
- Use it as a fake “double drop cue”:
- A convincing spinback is reverse motion + pitch inertia + transient smear + filtering.
- Method A (printed audio + reverse + transpose automation) is the most authentic and mix-stable.
- Method B (Frequency Shifter + short delay smear + filter) is great for “performed” rewinds on buses.
- Method C gives you a macro rack you can automate like a DJ move—perfect for arrangement workflows.
- For darker DnB: band-limit, protect the sub, and keep the drop clean and loud.
In this lesson you’ll build three practical, mix-ready spinback methods in Ableton Live—no decks, no plugins required.
---
2. What you will build ✅
You’ll end up with:
1. Audio-based spinback (fast + reliable) using Warp + Reverse + automation
2. Tape/turntable style spinback rack using stock devices (Pitch, transient smear, and “hand” texture)
3. Performance-ready spinback macro rack you can trigger on the master or on a bus for live arrangement moves
All methods are designed for DnB situations: rewinding drum fills, vocals, bass stabs, or the full instrumental.
---
3. Step-by-step walkthrough 🧠
Method A — The “real” spinback using Audio Clip Reverse + automation (most authentic) 🔥
This is the most controllable and convincing, especially for full-mix rewinds.
#### A1) Print the section you want to spin
1. Select the last 1–2 bars before your drop or switch.
2. Resample it to audio:
- Create a new audio track called `SPIN PRINT`
- Set its input to Resampling
- Arm and record the section (or Freeze/Flatten a bus)
DnB tip: Spinbacks usually hit best right before a drop: last 1/2 bar or 1 bar of buildup.
#### A2) Make a dedicated spin clip
1. Duplicate the recorded audio clip.
2. In Clip View:
- Enable Warp
- Set Warp Mode to Complex Pro (full mix)
- Formants: 0–20 (taste)
- Envelope: ~128 (smoother)
3. Right-click the clip → Reverse
Now you have a reversed piece that can act like the “pull-back.”
#### A3) Create the “grab and accelerate” feel
A spinback isn’t a clean reverse; it accelerates quickly. We fake inertia with automation:
1. Put the reversed clip on the timeline right before the drop.
2. Shorten it to something like:
- 1/4 bar for quick hype
- 1/2 bar for classic rewind
- 1 bar for full jungle drama
3. Automate Clip Transposition (yes, clip envelope) to simulate pitch sweep:
- Show Envelopes → Clip → Transpose
- Draw a curve that ramps down aggressively, e.g.:
- Start: 0 st
- End (over 1/2 bar): -12 to -24 st
- Make it non-linear (steeper early) for “hand force.”
Why this works: Reversing creates the directional movement; transposition adds the “turntable slowing/dragging” energy.
#### A4) Add the needle-drag smear
On the `SPIN PRINT` track, insert:
Device chain (stock):
1. Drum Buss
- Drive: 5–15%
- Crunch: 10–30%
- Boom: OFF (usually)
2. Auto Filter
- Type: LP24
- Frequency automated from ~8–12 kHz down to 1–3 kHz during the spin
- Resonance: 0.5–1.2 (don’t whistle)
3. Utility
- Automate Gain down 1–3 dB during the spin (keeps it from spiking)
Optional: Redux
#### A5) Transition into the drop cleanly
- Short noise hit
- Vinyl crack
- Sub drop (very short) into the kick
---
Method B — “Turntable physics” rack: pitch + jitter + filtering (great for vocals/drums) 🎚️🌀
This method is less about reversing a clip and more about performing a spin-like gesture in place.
#### B1) Put the rack on a BUS (recommended)
Create a group/bus like `MIX BUS` (or `DRUM BUS`), and apply the spin there so it affects multiple elements (classic DnB rewind vibe).
#### B2) Build the device chain
On the bus, add:
1. Frequency Shifter (for pitch-like movement)
- Mode: Single Sideband
- Fine: 0
- Dry/Wet: 0% (we’ll automate)
2. Delay (as smear/“slip”)
- Time: 1–20 ms (very short)
- Feedback: 0–10%
- Filter: keep it darker (LP engaged)
3. Auto Filter
- LP24, mild resonance
4. Saturator
- Soft Clip ON
- Drive: 2–6 dB
5. Utility
- Width: automate narrower during spin (optional)
#### B3) Key automation moves (the “spin gesture”)
Over 1/4 to 1/2 bar before the drop:
Sweep from 0 Hz → -300 to -1200 Hz
(negative values feel like “downward spin”)
Ramp 0% → 30–70%, then snap back to 0% on the drop
Rise 0% → 10–25% during the spin only
Automate down to 1–4 kHz
Pull down 1–4 dB during peak spin
DnB placement idea: Do it on the last 2 beats of bar 16, then drop into bar 17 with a clean reset.
---
Method C — Performance Macro Rack you can “hit” like a DJ rewind 🎯
This is for fast arrangement moves while writing.
#### C1) Create an Audio Effect Rack on your bus
Drop an Audio Effect Rack at the end of your bus chain and add these inside:
- Dry/Wet: 0% (macro)
- Pitch: -12 to -24 (macro)
- Frequency: ~1–3 kHz
- Random Pitch: 0.10–0.30
#### C2) Map 3 macros
Macro 1: SPIN AMOUNT 🌀
- Grain Delay Dry/Wet (0 → 35%)
- Grain Delay Pitch (0 → -24)
- Auto Filter cutoff (12k → 2k)
- Utility Gain (0 → -3 dB)
Macro 2: DRAG (JITTER) 🎛️
- Grain Delay Random Pitch (0.00 → 0.30)
- Grain Delay Frequency (3k → 800 Hz)
Macro 3: SNAP BACK ⚡
- Utility Gain (momentary +1 dB at drop if needed)
- Auto Filter cutoff back to open (2k → 12k)
#### C3) How to “perform” it
- Automate Macro 1 from 0 → 80–100% over 1/4–1/2 bar
- Bring it instantly back to 0% on the downbeat
- Turn up Macro 1 quickly, add a touch of Macro 2, then slam Macro 1 back to 0.
Best use: on break edits or vocal chops before a reload.
---
4. Common mistakes 🚫
1. Only pitching down (no reverse / no inertia)
Result: sounds like a tape stop, not a rewind. Add reverse or acceleration curves.
2. Spinback is too long
In rolling DnB, a 2-bar spin often kills momentum. Try 1/4–1 bar max unless it’s a deliberate “MC reload” moment.
3. Too bright / too clean
Real spinbacks get duller due to drag + filtering. Automate a LP filter down to ~2 kHz.
4. Clicks at edit points
Always add tiny fades (1–5 ms) on the start/end of the printed spin clip.
5. Wrecking the sub
If you spin the whole mix, automate a high-pass at 30–60 Hz during the spin so the sub doesn’t wobble uncontrollably.
---
5. Pro tips for darker/heavier DnB 🖤🔊
- HP: 80–120 Hz
- LP: 2–5 kHz
Use a noise sample or Ableton’s Vinyl Distortion (if available in your version) very low, only during the spin.
Put a Gate after your spin chain, keyed by the kick (sidechain) so the spin tail gets out of the way when the drop lands.
If you’re spinning a break, keep your snare transient present with parallel:
- Dry drums stay clean
- Spin FX on a return track, blended in
Spin the last 1/2 bar of phrase 1, then drop phrase 2 with a new bass patch—instant DJ-style energy switch.
---
6. Mini practice exercise 🎯
1. Take a 16-bar rolling DnB loop (break + kick/snare + bass).
2. At bar 16, create two spinbacks:
- Version 1 (tight): 1/4-bar spin, ends exactly on bar 17
- Version 2 (classic): 1-bar spin with heavier filtering + saturation
3. Bounce both and A/B them in context.
4. Goal: The drop should feel bigger after the spin, not smaller. If it feels smaller:
- Reduce spin length
- Reduce wet FX
- Add a tiny impact/ride pickup into the downbeat
---
7. Recap ✅
If you tell me what you’re spinning (full mix, drums only, vocal, or bass stab) and your tempo (e.g., 174), I can suggest exact bar lengths and automation curves that match your arrangement.
```

