Main tutorial
Lesson Overview
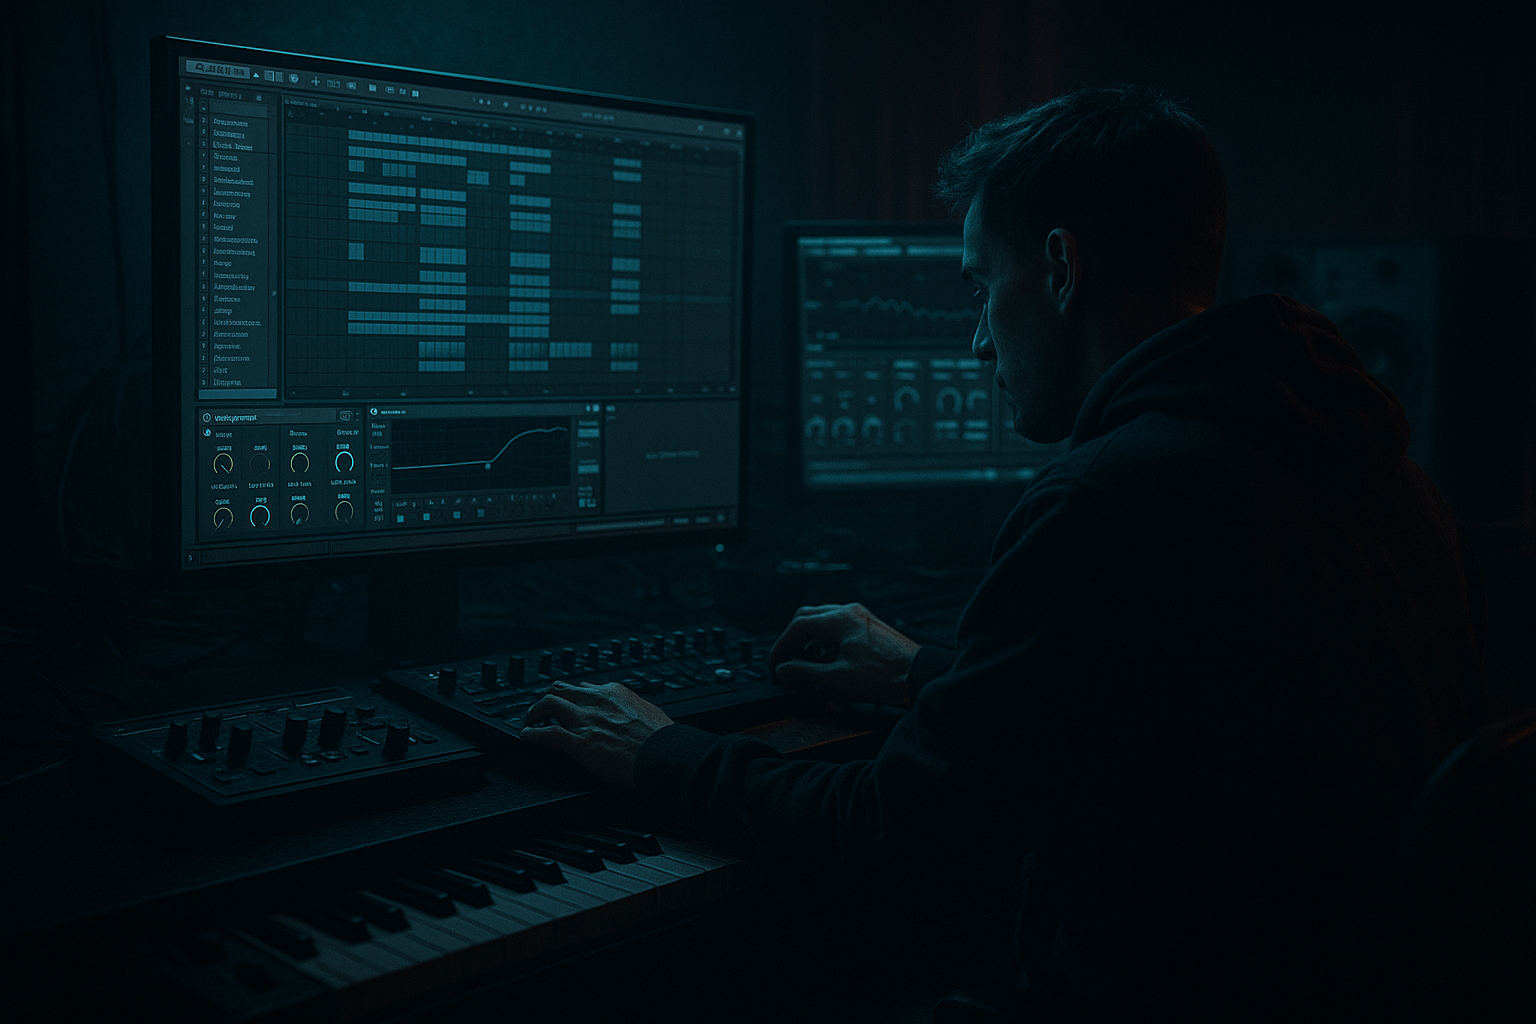
“Urban Echo” is a drop-bounce bass technique for jungle and oldskool-influenced DnB where the bassline feels like it’s answering the drums instead of sitting on top of them. The core idea is simple but powerful: build one bass patch in Ableton Live 12, then use Macro controls to reshape its envelope, tone, stereo width, distortion bite, and movement across the drop. The result is a bassline that can go from tight, sub-led pressure to ragged, echoing call-and-response energy without changing instruments.
This matters in DnB because the drop is not just “more loud.” It’s groove architecture. The bassline has to leave room for the break, lock to the snare backbeat, and still create tension between hits. In oldskool jungle and darker rollers, that bounce often comes from short repeating phrases, note-length control, resampled character, and clever automation rather than constant note density. In modern Ableton Live 12, Macros let you perform those changes quickly and keep the workflow musical.
We’ll build a bass rack designed for drop performance: a sub layer, a mid reese layer, and a controllable “echo” layer that can bloom on fills or push into the next phrase. The approach is geared toward advanced producers who already know how to program drums and write bass MIDI, but want a more deliberate way to create movement, contrast, and replay value in a DnB arrangement.
What You Will Build
By the end of this lesson, you’ll have a macro-driven bass instrument for an 8- or 16-bar drop that does all of this:
- Clean mono sub weight below roughly 120 Hz
- A mid-bass/reese layer with controlled detune and movement
- A rhythmic echo bounce that can widen or collapse on command
- A “drop lift” macro movement for fills, switch-ups, and transitions
- A bassline that sits in a classic jungle/DnB pocket: punchy, syncopated, and responsive to the drums
- A rack you can reuse for rollers, darker halftime sections, or oldskool-styled rinseouts
- Letting the sub layer get stereo or wide
- Using too much delay feedback on the bass
- Making the reese too thick in the low mids
- Writing bass notes that fight the break
- Over-automating everything at once
- Relying on saturation to create bounce
- Use Roar or Saturator on the mid chain with gentle drive, then automate drive only on the phrase lift. Small changes can make the drop feel much more aggressive.
- Add a very short Utility gain dip on the echo layer during kick hits if the low-mid bloom gets in the way.
- In Auto Filter, automate a slight resonance bump on the bass fill note, but keep it subtle so it feels like tension, not squeal.
- Layer a noise burst or filtered texture very quietly behind the bass for atmosphere in darker sections.
- Use Clip Envelopes for MIDI note length variation if you want consistent tightness without redrawing every note.
- For neuro-adjacent heaviness, map a macro to wavetable position or filter modulation amount so the reese has controlled movement without becoming a wobble.
- If the drop needs more underground pressure, create a second bass variation where the delay layer is mono but filtered higher, making it feel intimate and claustrophobic rather than wide and glossy.
- Resample a phrase with slightly different macro positions, then choose the best half-bar fragments. Oldskool energy often comes from edited audio behavior, not pristine repetition.
- Build your bass as a macro-driven rack, not a single static patch.
- Keep the sub mono and let the mid layers create bounce, grit, and width.
- Use note spacing, envelope control, and selective echo to make the bass respond to the break.
- Automate macros for phrase changes, not constant motion.
- Resample when the rack starts feeling alive — that’s where the jungle/oldskool character comes through.
- In DnB, the best bass bounce is rhythmic, controlled, and mix-aware.
Musically, imagine an 8-bar drop with a chopped break on bars 1–4, then a variation on bars 5–8 where the bassline answers the snare with short pickup notes and a filtered echo tail. The sub stays focused, the mids wobble just enough to feel alive, and the whole thing breathes like a live performance rather than a loop pasted across the timeline.
Step-by-Step Walkthrough
1. Build a clean bass rack foundation in Ableton Live 12
Create a new MIDI track and drop in an Instrument Rack. Inside the rack, create three chains:
- Chain 1: Sub
- Chain 2: Mid/Reese
- Chain 3: Echo/Texture
For the Sub chain, use Wavetable, Operator, or simpler still Analog. Keep it plain:
- Oscillator: sine or triangle
- Low-pass filtering minimal or off
- Set the sub to mono behavior using the rack’s chain design and later Utility control if needed
- Add Saturator after the synth with Soft Clip on, Drive around 1–3 dB only
Why this works in DnB: the sub needs to remain stable while the upper layers do the dancing. If the low end changes too much, the drop feels inconsistent and the kick/snare relationship gets blurry.
On the Mid/Reese chain, load Wavetable or Analog and create a detuned two-oscillator sound:
- Oscillator detune: subtle, around 8–20 cents total
- Unison voices: 2–4, not 7–10, unless you want it much more synthetic
- Low-cut the chain around 90–140 Hz using Auto Filter or EQ Eight
- Add Saturator or Roar if you want more aggressive edge, but keep it controlled
On the Echo/Texture chain, use a second synth layer or a sampled bass stab with Auto Filter and Delay/Redux for gritty movement. This chain should be quiet initially; it will become your bounce character layer.
2. Create a Macro map that actually performs the bass
Map the rack’s Macros to a set of useful musical controls rather than random parameters. A strong starting map:
- Macro 1: Sub Level
- Macro 2: Reese Width/Detune
- Macro 3: Filter Cutoff
- Macro 4: Drive/Saturation
- Macro 5: Echo Send/Feedback
- Macro 6: Decay/Release
- Macro 7: Stereo Spread
- Macro 8: Texture/Bit Reduction
Suggested ranges:
- Sub Level: 0 to -6 dB
- Cutoff: roughly 120 Hz to 2.5 kHz depending on the layer
- Drive: 0 to 8 dB
- Delay feedback: 10% to 45%
- Release: 40 ms to 300 ms for short punchy bass, or up to 600 ms for a longer rolling feel
Map the important stuff in a way that gives you “drop choreography.” You want one macro twist to change the phrase, not just the tone. In other words, treat macros like arrangement performance controls.
3. Shape the bass envelope for bounce, not wash
In the Sub chain, use the synth amp envelope for short, controlled notes:
- Attack: 0–5 ms
- Decay: 120–250 ms
- Sustain: around 70–100% depending on note length
- Release: 20–80 ms
In the Mid/Reese chain, make the transient slightly more percussive:
- Attack: 0–10 ms
- Decay: 80–180 ms
- Sustain: 40–80%
- Release: 60–160 ms
Then map Macro 6 to release so you can perform between two bass behaviors:
- Tight mode: short, dry, almost stab-like
- Bounce mode: longer tails that overlap just enough to create “echo pressure”
For jungle/oldskool DnB, this is huge. The bassline often feels more exciting when a note ends right before the next snare or break ghost note, creating a pocket of tension. That “air gap” is part of the groove.
4. Write a phrase that leaves space for the break
Program an 8-bar MIDI phrase with deliberate negative space. Don’t fill every offbeat. A good advanced starting shape:
- Bars 1–2: establish the root and a syncopated answer note
- Bars 3–4: add a pickup into the snare or a short octave jump
- Bars 5–6: repeat with one variation and one silence
- Bars 7–8: add a call-and-response turnaround using a higher bass note or a quick slide
Example context:
- Key: F minor
- Root motion: F – Ab – Eb – C
- Use short notes on the “&” of 2 or the “a” of 4 to create bounce against the snare
- End bar 4 and bar 8 with a brief pickup into the next phrase, not a full sustain
In DnB, bass phrasing matters as much as sound design. A great reese can still feel static if it doesn’t speak rhythmically with the drums. Your job is to make the bass feel like it’s reacting to the break.
5. Use Macro-controlled echo as a drop accent, not a constant wash
On the Echo/Texture chain, add Delay or Echo, then tame it with Auto Filter and Utility:
- Delay time: tempo sync, often 1/8, 1/8 dotted, or 1/16 for tighter bounce
- Feedback: 15–35% for subtle response, up to 45% for a fill moment
- Filter the delay return around 250 Hz to 4 kHz so it doesn’t clutter the sub
- Use Utility to narrow or mono the low end of the texture chain
Map Macro 5 to delay feedback and Macro 7 to width or Utility gain. Now automate or perform that macro only on key moments:
- End of bar 4
- Last hit of bar 8
- Transition into a breakdown or switch-up
- A single phrase in the drop where you want “urban echo” energy
Why this works in DnB: a short delay on bass can make the groove feel larger without needing extra notes. It creates a sense of motion between the drums and bassline, especially when the break is busy and the bass needs to “answer” rather than dominate.
6. Resample the rack for grit and control
Once the bass phrase is working, resample 4 or 8 bars to audio. In Ableton, create a new audio track and set its input to resample, or freeze/flatten if you want faster iteration. Then:
- Chop the rendered bass into phrases
- Reverse a few tails
- Add tiny fades to avoid clicks
- Use Warp if needed, but keep timing natural
Now layer the resampled audio under the MIDI rack or replace certain sections entirely. This is an advanced jungle move: the resample captures micro-variations from the rack, especially if you automate Macro 4 (drive) and Macro 5 (echo feedback) during the capture.
Add Redux lightly if you want more early-digital grime:
- Downsample slightly, not destructively
- Bit reduction only enough to roughen the edge
- Filter after Redux to keep high-end fizz from fighting hats
This creates that oldskool “machine behaves slightly differently every pass” feel.
7. Lock the low end and widen only the right layer
Keep the sub chain mono. Use Utility on the Sub chain and, if necessary, set Width to 0%. If your synth allows, avoid stereo spread on the lowest notes entirely.
On the Mid/Reese chain, widen carefully:
- Stereo spread or chorus-like movement: subtle
- Keep the widest content above 150–180 Hz
- Check mono compatibility regularly by collapsing the master or using Utility
Place EQ Eight on the bass group and carve with intent:
- High-pass the mid chain at 90–140 Hz
- Cut a small area around 200–350 Hz if the reese clouds the kick
- If the bass gets harsh, tame 2.5–5 kHz with a gentle dip
In DnB, low-end separation is non-negotiable. Your kick and sub have to feel like one system, while the bounce and atmosphere live in the mids and upper mids. If your bassline sounds huge in stereo but collapses weakly in mono, it will fail on club systems.
8. Automate the macros as arrangement events
Use automation in the Arrangement View to make the drop evolve over 8 or 16 bars. Good automation ideas:
- Macro 1 Sub Level: reduce slightly on fill bars, then restore on the drop hit
- Macro 2 Reese Width: narrow for tension, widen on phrase resolution
- Macro 3 Filter Cutoff: sweep open across the first 4 bars of the drop
- Macro 4 Drive: increase during the second half of the drop for energy lift
- Macro 5 Echo Feedback: spike only on the final note before a transition
- Macro 6 Release: increase briefly for a “smeared” answer note, then snap back
A strong arrangement example:
- Intro: tease the bass motif filtered and low-passed
- Drop 1: tight bounce, restrained echo
- Bar 9 or 17: widen and drive harder
- Second drop: resampled variation with one extra note and more delay feedback
- Outro: strip back to sub + a filtered mid ghost for DJ-friendly mixing
Think like a selector and a dancer at the same time. The arrangement should make the bassline feel like it’s speaking in sentences, not repeating a loop endlessly.
9. Shape the bass against the drums, not separately from them
Put the drum group and bass group side by side and tune them together. Use a reference loop with a chopped Amen, Think break, or similar oldskool-style break edit. Then:
- Shorten bass note lengths if they blur kick transients
- Move bass notes slightly earlier/later by a few milliseconds if the groove needs push or drag
- Use sidechain compression only if necessary, and keep it musical
Ableton stock tools that help:
- Compressor with sidechain from the kick or drum group
- Glue Compressor on the drum bus for cohesion, not squash
- EQ Eight for surgical separation
- Drum Buss on the drum group if you want extra punch and transient body
For advanced DnB, I’d rather hear a bassline that breathes around the drums than one over-managed by sidechain pumping. The best bounce often comes from note placement and envelope design first, compression second.
10. Freeze the “happy accidents” and build a variation pack
Once the drop feels right, create variants:
- Version A: tight and dry
- Version B: wider with more echo
- Version C: resampled and more distorted
- Version D: stripped back for the second 8 bars or breakdown lead-in
Save the rack as a user preset with clear macro labels. This becomes a reusable Urban Echo template for future tracks. Advanced workflow win: build one bass instrument that can be re-performed across multiple tunes, instead of starting from scratch every time.
Common Mistakes
Fix: keep sub mono, check with Utility, and high-pass all non-sub layers properly.
Fix: keep feedback low most of the time. Reserve bigger values for one-shot fills or arrangement transitions.
Fix: cut 200–350 Hz carefully and high-pass the mid chain higher than you think if the mix is dense.
Fix: shorten notes, leave space, and place answers around the snare rather than over every drum hit.
Fix: choose one or two macro changes per phrase. Strong DnB movement is usually focused, not chaotic.
Fix: bounce comes from rhythm, envelope, and phrase contrast. Saturation should enhance, not replace, the groove.
Pro Tips for Darker / Heavier DnB
Mini Practice Exercise
Spend 15 minutes building a mini drop loop:
1. Set your project to 170–174 BPM.
2. Create an 8-bar MIDI clip with a simple F minor or G minor bass motif.
3. Build the three-chain Instrument Rack from this lesson.
4. Map at least four Macros: Sub Level, Cutoff, Drive, Echo Feedback.
5. Program the bass so bars 1–4 are tight and bars 5–8 introduce one wider, echoed response note.
6. Automate Macro 3 and Macro 5 across the last two bars only.
7. Resample the full 8 bars to audio and chop one phrase into a fill.
8. Check the whole loop in mono for low-end stability.
Goal: finish with one drop loop that feels like it has a first half and second half, not just a repeated bar.

