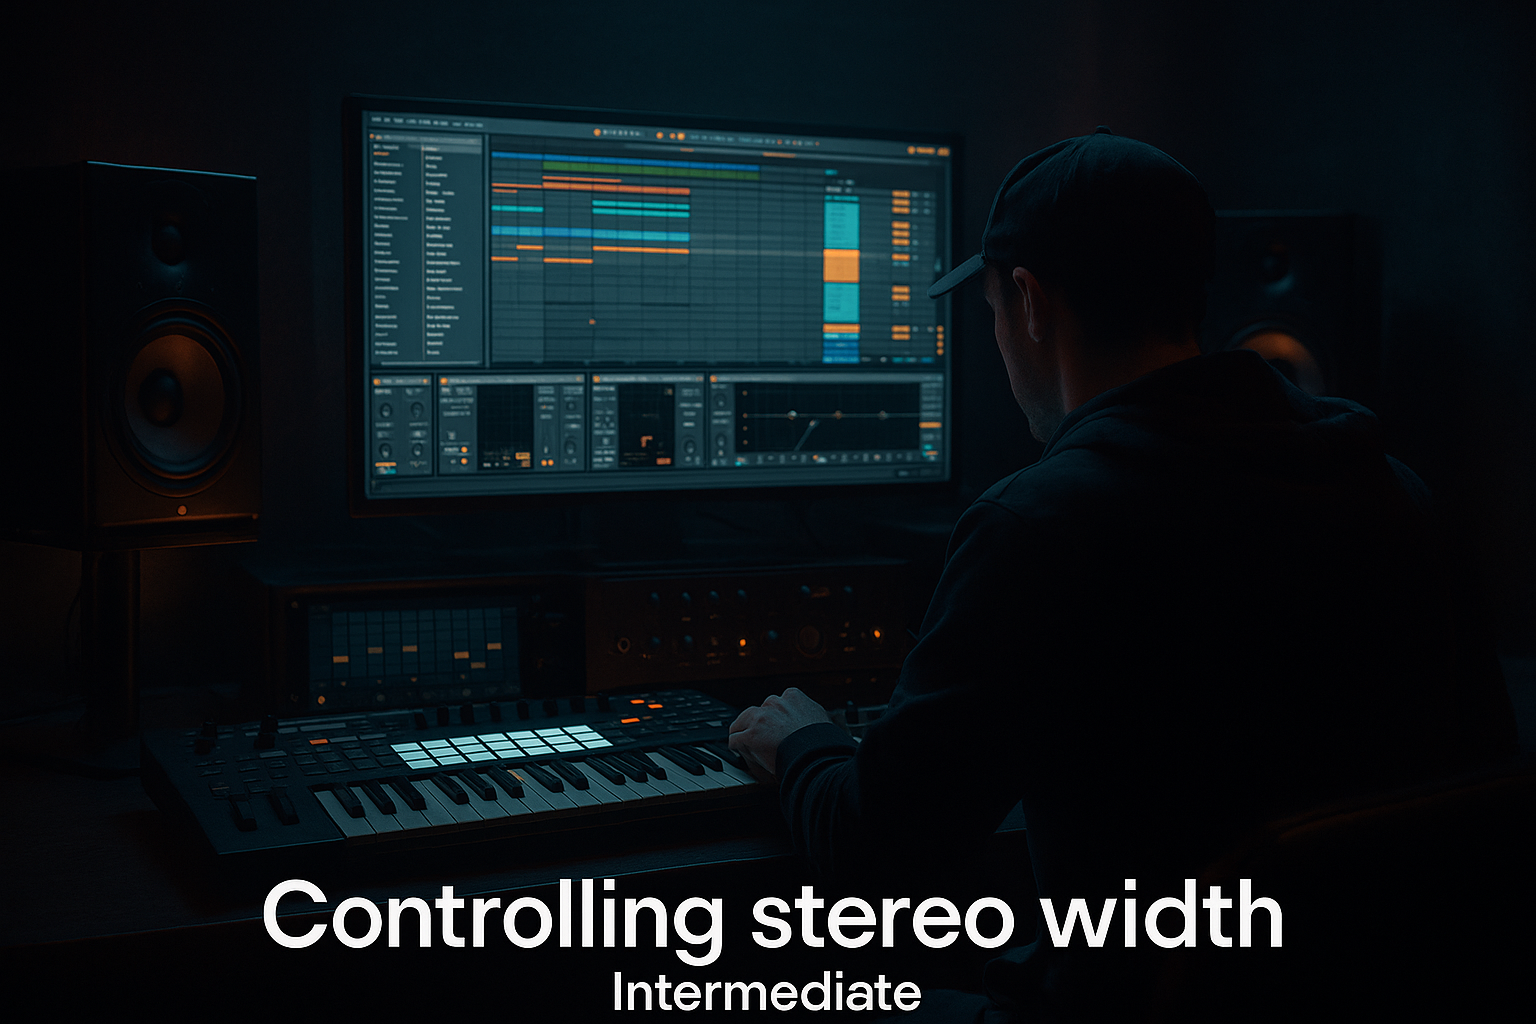
Main tutorial
Lesson Overview
In this lesson, you’ll build an Urban Echo jungle bassline in Ableton Live 12 and learn how to balance it, resample it, and arrange it so it actually works inside a Drum & Bass track — not just as a cool loop.
The goal is to make a bassline that feels like it belongs in a dark jungle / rollers / urban halftime-adjacent DnB environment: weighty sub, a gritty mid layer, and enough movement to keep the groove alive without fighting the drums. This matters because in DnB, the bassline is not just “sound design.” It is part of the rhythm section, and if it isn’t balanced correctly, the whole tune loses power. 💥
You’ll use Ableton stock devices like Operator, Wavetable, Saturator, Auto Filter, EQ Eight, Utility, and Resampling to turn a simple idea into a usable bass phrase. The lesson also shows how to place that bassline in an arrangement with proper tension and release: intro, drop, switch-up, and breakdown-friendly movement.
By the end, you’ll understand how to make a bassline that:
- sits under a jungle break or modern DnB drum grid
- keeps the sub clean and centered
- has midrange character for translation on smaller speakers
- uses resampling to create variation and arrangement movement
- leaves space for kick, snare, and break edits
- Sub layer: a simple mono sine or triangle foundation
- Mid bass layer: a detuned, slightly distorted reese-like tone with motion
- Resampled texture layer: an audio copy of the bass chopped and arranged for call-and-response
- a rolling DnB bassline with short note stabs and a few longer holds
- a dark, urban atmosphere with subtle delay/echo tails
- space for a breakbeat or crisp modern drum loop
- a drop that can sit under an 85–174 BPM DnB groove, especially in a 2-step or jungle-leaning arrangement
- Making the sub too loud
- Letting the mid bass cover the whole low end
- Using too much stereo width on the bass
- Overcomplicating the note pattern
- Adding delay or reverb to the sub
- Not resampling anything
- Ignoring the drums
- Use short gaps for tension
- Add grit only to the mids
- Try call-and-response with the break
- Automate filter cutoff in small moves
- Resample with effects printed
- Keep the low end disciplined
- Use contrast
- Build the bass in layers: sub, mid, then resampled texture
- Keep the sub mono and clean
- Use the mid bass for character, rhythm, and movement
- Resample early to create fills, switch-ups, and arrangement energy
- Balance bass against the drums and breakbeat, not in isolation
- Use small automation moves and simple phrasing to make the loop feel like a real DnB drop
This is a beginner-friendly workflow, but it’s the kind of process you can keep using as your tracks get more advanced.
What You Will Build
You’ll make a 4-bar Urban Echo jungle bass phrase with three layers:
Musically, the result should feel like:
You’re not building a giant sound design monster. You’re building a usable bassline that balances cleanly with drums and can be rearranged fast.
Step-by-Step Walkthrough
1. Set the project up for a DnB workflow
Open Ableton Live 12 and set the tempo to 174 BPM for a classic DnB feel. If you prefer a deeper roller vibe, you can later test 170–172 BPM, but 174 is a strong starting point.
Create a new MIDI track called:
- `SUB`
- `MID BASS`
- `RESAMPLED FX`
Add a drum loop or breakbeat on another track so you can balance the bass against something real. A simple starting context is:
- kick on the 1
- snare on the 2 and 4
- hats or break choppage on the offbeats
Why this works in DnB: basslines in Drum & Bass are judged against drums, not in isolation. If the sub feels massive alone but disappears when the break enters, it’s not balanced.
2. Build the sub foundation first
On the `SUB` track, load Operator.
Use these starter settings:
- Oscillator A: Sine
- Octave: -2 or -3
- Filter: off, or very gently low-passed if needed
- Amp envelope: short attack, medium release
Suggested envelope shape:
- Attack: 0–5 ms
- Decay: 300–500 ms
- Sustain: 0 to 20%
- Release: 80–150 ms
Draw a simple 4-bar MIDI pattern. Begin with a few notes, not too many:
- Bar 1: root note on beat 1, then a shorter note on the “and” of 2
- Bar 2: repeat with a small variation
- Bar 3: add a note change to create call-and-response
- Bar 4: leave a little space before the loop restarts
Keep the notes mostly in the same key area. For beginner jungle bass, fewer notes with strong rhythm usually sound better than busy lines.
Add Utility after Operator and set:
- Width: 0%
- Gain: adjust so the sub sits quietly below the drums
Add EQ Eight after Utility:
- High-pass only if needed, around 20–25 Hz
- Do not boost the sub yet
The sub should feel like a controlled foundation, not the main event.
3. Create the mid bass on a separate track
On `MID BASS`, load Wavetable or Operator again if you want a simpler synth. For this lesson, Wavetable gives a nice beginner-friendly route to a reese-style tone.
Starter setup in Wavetable:
- Oscillator 1: saw
- Oscillator 2: saw, slightly detuned
- Unison: 2–4 voices
- Detune: small to moderate, around 5–15%
- Filter: low-pass, with moderate resonance
- Envelope amount: subtle
Add Saturator after Wavetable:
- Drive: 2–6 dB
- Soft Clip: On
Add Auto Filter if you want more movement:
- Filter type: Low-pass
- Cutoff: start around 200–600 Hz for darker bass, or higher if you need more bite
- LFO amount: low, just enough to make motion
- Rate: sync to 1/8 or 1/4
Write a MIDI pattern that complements the sub rather than copying it exactly. A useful beginner rule:
- let the sub hold the root
- let the mid bass answer with shorter, rhythmical notes
For example, if the sub hits on beat 1, place a mid-bass stab on the “and” of 1 or beat 2. This gives you call-and-response, which is a classic DnB arrangement trick.
4. Balance the bass layers before you add effects
This is where the track starts to become a real DnB bassline. Use Utility and faders to balance the layers.
Start with this rough balance:
- Sub: loud enough to feel, but not dominate
- Mid bass: slightly louder than the sub in the mids, but not in the low end
- If needed, lower the mid bass by 2–5 dB and raise the sub slightly
Put EQ Eight on `MID BASS`:
- High-pass around 70–120 Hz
- Cut any harsh area if needed around 2.5–5 kHz
- If it sounds muddy, try a gentle dip around 200–400 Hz
Put Utility on the `MID BASS` track and click Bass Mono if available in your workflow, or simply keep the bass centered. If you’re using a wider stereo effect, check that the very low end remains mono.
Use Live’s Spectrum device if you want a visual check:
- The sub should live mostly below 100 Hz
- The mid bass should carry most of the character from 150 Hz upward
Why this works in DnB: the kick, snare, and break need room. If sub and mid layers are separated properly, your drums hit harder and the bass feels bigger without becoming muddy.
5. Add movement with subtle modulation, not chaos
The Urban Echo feel comes from motion and space, but beginner-friendly movement should stay controlled.
On the `MID BASS`, try one of these:
- Auto Filter with a slow cutoff move
- LFO in Wavetable controlling wavetable position or filter cutoff
- Envelope shaping the initial bite of each note
Good starter settings:
- Wavetable LFO rate: 1/8 or 1/4
- LFO amount: just enough to hear movement, not wobble
- Auto Filter resonance: low to moderate
Add Echo on a Return track or lightly on the mid bass if you want the urban space vibe:
- Time: 1/8 dotted or 1/4
- Feedback: 10–25%
- Dry/Wet: keep low if inserted directly, or use on a return
Keep delays out of the sub. Use them on the mid bass or on resampled audio only. This keeps the low end tight.
6. Resample the bass to create arrangement material
Now do the resampling part of the lesson. Create a new audio track called `RESAMPLED FX`.
Set its Audio From to:
- `MID BASS` or
- `Resampling` if you want to print the full mix later
Arm the track and record 4 bars of your bassline. Then:
- turn off record
- drag the recorded audio into a new clip slot or onto the timeline
- zoom in and cut out the best bits
You’re looking for:
- a strong note tail
- a gritty transient
- a little delay or movement happening at the end of a phrase
Use Simpler or just audio slicing:
- Slice the resampled clip at transients
- Reorder a few slices to make a fill
- Reverse one slice for tension
- Leave one slice as a “ghost” pickup into the next bar
A practical resampled phrase idea:
- Bars 1–2: original bassline
- Bar 3: chop the tail of a note and repeat it twice
- Bar 4: reverse one bass stab into the next downbeat
This is classic resampling logic in DnB: make one strong idea, then print it and re-edit it into something more musical and arrangement-friendly.
7. Arrange the bass for a real DnB drop
Now place your bass across a simple arrangement.
A beginner-friendly 16-bar drop structure:
- Bars 1–4: main bass phrase
- Bars 5–8: small variation with one extra note or resampled chop
- Bars 9–12: drop out one layer for space
- Bars 13–16: bring the full bass back with a switch-up
Use this kind of phrasing:
- In bars 1–4, keep the bass consistent so the listener locks in
- In bars 5–8, add a response note or a resampled echo stab
- In bars 9–12, remove the mid bass for 1 bar to create contrast
- In bars 13–16, restore the full bass and maybe add a fill before the loop resets
Add automation:
- Auto Filter cutoff opening slightly into the drop
- Saturator drive increasing by 1–2 dB for the second phrase
- Echo dry/wet rising briefly at the end of a 4-bar section
If your drums are busy, simplify the bass during the snare roll or fill. Let the drums speak. Then bring the bass back on the drop.
8. Check the balance against drums and make it DJ-friendly
Play the full beat and ask three questions:
- Can I hear the kick and snare clearly?
- Is the sub present but controlled?
- Does the bassline feel like it dances with the break, not against it?
Use these quick checks:
- Mono check: collapse the bass to mono with Utility and confirm the low end still works
- Headroom: keep the master from clipping; leave space for later mastering
- Transient balance: if the snare feels weak, lower the mid bass around the snare hits
For an intro/outro, strip the bass down:
- intro: only atmospheric echo, filtered bass hints, or a low-pass version of the mid bass
- outro: remove the sub first, then leave a final ghost chop or reverb tail
A DJ-friendly DnB track needs clear sections. Your bassline should help the arrangement breathe, not occupy every second.
Common Mistakes
- Fix: lower the sub until you feel it more than hear it. Check against the kick and snare.
- Fix: high-pass the mid bass around 70–120 Hz and keep the sub separate.
- Fix: keep the sub mono and be careful with widening effects. Wide mids are fine, wide lows are not.
- Fix: simplify to 2–4 strong notes and use rhythm, not note count, for energy.
- Fix: keep those on the mid layer or resampled audio only.
- Fix: print your bassline and cut it up. DnB arrangements often get stronger when sound design turns into editing.
- Fix: always listen to bass with kick, snare, and break. DnB is a drum-led genre.
Pro Tips for Darker / Heavier DnB
- Drop the bass out for a 1/16 or 1/8 before the snare. That tiny pocket can make the next hit feel bigger.
- Saturate or distort the mid bass, not the sub. This keeps weight intact while adding aggression.
- Let the bass answer a drum fill or a snare pickup. This creates a proper jungle conversation between elements.
- Even a 5–10% movement can stop a loop from feeling static.
- Record the bass after Saturator, Auto Filter, or Echo so the audio itself becomes arrangement material.
- If your bass feels huge but the kick disappears, reduce the mid bass around the kick zone and keep the sub simple.
- Heavy section, stripped section, heavy section again. Dark DnB hits harder when the arrangement knows when to back off.
Mini Practice Exercise
Spend 10–20 minutes making a simple 4-bar bass phrase and resampling it.
1. Create a sub on Operator with a sine wave.
2. Create a mid bass on Wavetable with slight detune and mild Saturator drive.
3. Write a 4-bar DnB bass pattern with at least one empty gap.
4. Balance the sub and mid bass against a drum loop.
5. Record the mid bass to an audio track using resampling.
6. Slice the recorded audio and make one 1-bar fill.
7. Arrange the original 4 bars, then insert the fill at the end of bar 4.
8. Export or bounce the loop and listen once on headphones, once on speakers.
Goal: by the end, you should have a bassline that feels like a real DnB idea, not just a synth patch.
Recap
If you can make one bassline breathe, hit, and resample cleanly, you’re already thinking like a Drum & Bass producer.

