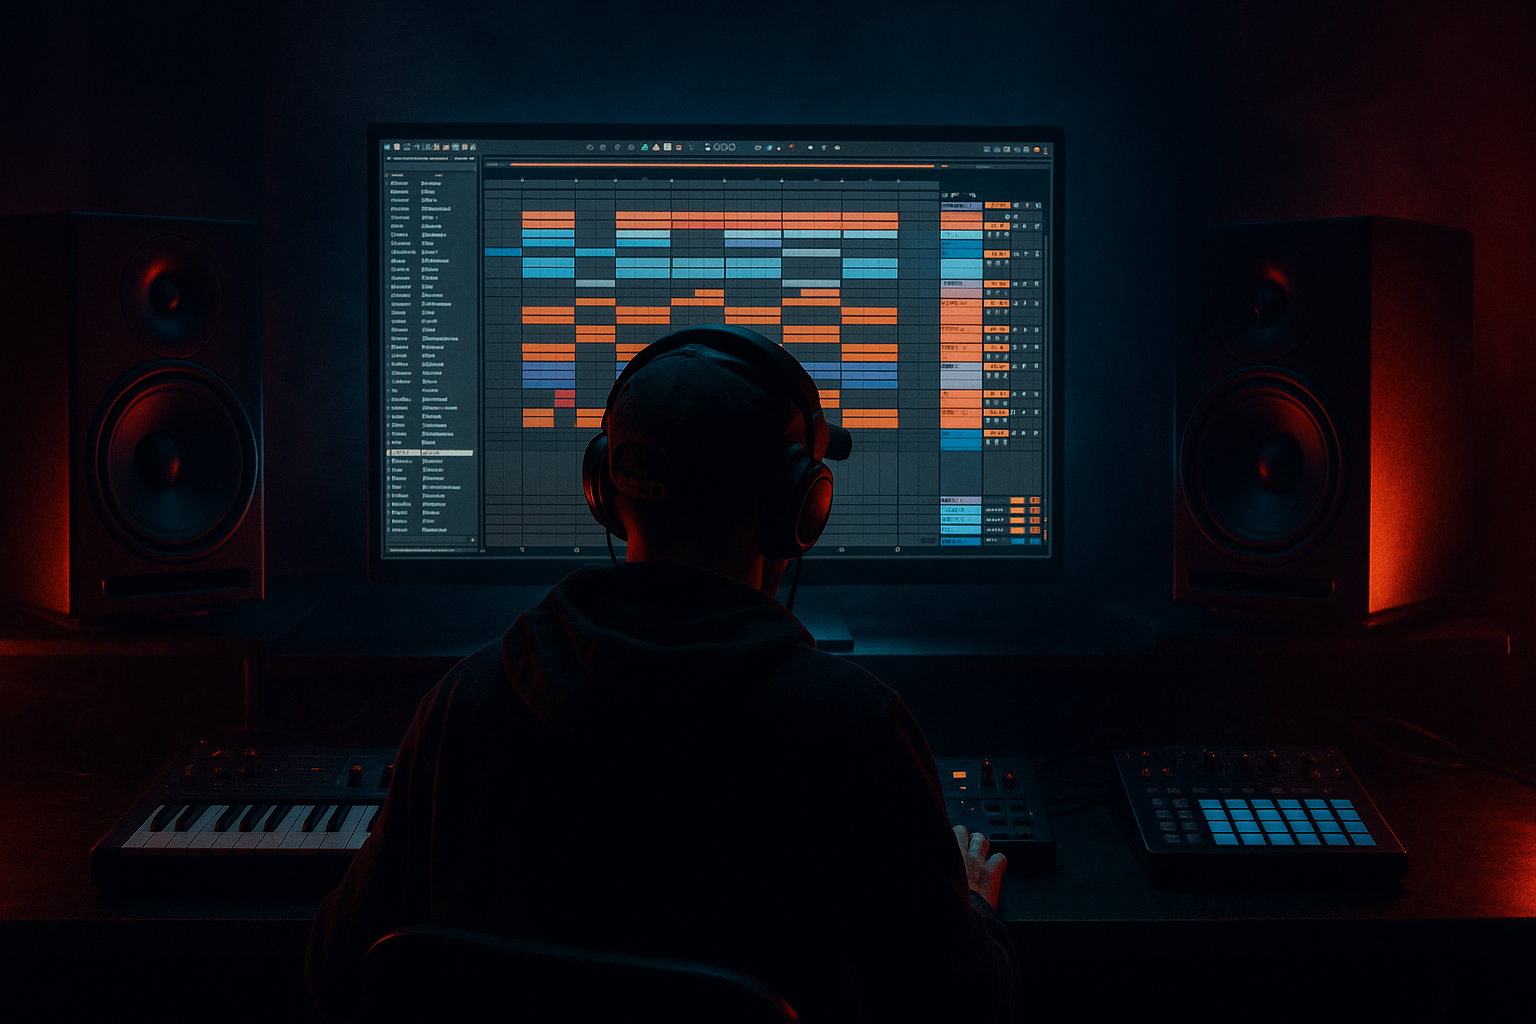
Main tutorial
Urban Echo Tutorial: Sampler Rack Shape (Ableton Live 12) — Jungle/Oldskool DnB Risers 🔊🌀
1. Lesson overview
In this lesson you’ll build an “Urban Echo” riser—a gritty, dubby, jungle-flavoured transition effect that feels like it’s being pulled through a warehouse tunnel. The core idea: use Sampler inside an Instrument Rack, then use Macro “shapes” (Live 12’s intuitive modulation/automation workflow) to morph pitch, filter, reverb, delay feedback, and stereo width into a controlled, musical riser that sits perfectly in drum & bass arrangements.
This is an advanced workflow: clean routing, consistent gain staging, deliberate time-based FX, and arrangement-ready automation.
---
2. What you will build
A single Instrument Rack that generates a riser from any short sound (amen slice, vocal stab, noise burst, ride, Reese stab, even a single snare hit). It will include:
- Sampler-based source (warped/transposed in a musical way)
- Parallel FX chains (Clean + Dub + Air/Noise)
- Macros controlling:
- Arrangement-ready moves for oldskool jungle energy leading into a drop 🥁
- A single amen hit (snare or crashy slice)
- A ragga vocal one-shot (“come again!”, “rewind!”)
- A hoover stab or rave chord hit
- A short noise burst (white noise works but feels generic—layer it)
- Another Sampler with a noise/texture sample or
- Use the same sample but push it into airy space.
- Sampler Transpose:
- Sampler Filter Freq (if using Sampler filter) slightly upward too.
- Min: 120–300 Hz
- Max: 8–14 kHz
- Min: 200 Hz
- Max: 1.5–3 kHz
- Min: 25–35%
- Max: 70–85% (careful—can run away)
- Dry/Wet Min: 10–20%
- Dry/Wet Max: 35–55%
- Min: 2.0–3.0s
- Max: 8–14s
- Min: 30–40%
- Max: 90–100%
- Min: 10 ms
- Max: 35–60 ms (adds that “slam then bloom”)
- Core Utility Width: 80% → 110%
- Air Utility Width: 120% → 180%
- Echo Stereo (if you’re using stereo controls) or Reverb width/spread.
- Core Saturator Drive: 2 → 10 dB
- Redux Downsample (Dub chain): 1.2 → 4.5 (subtle to crunchy)
- Air chain: -inf → -6 dB
- Dub chain: -12 dB → -4 dB
- Rack output gain (or a Utility Gain at end): -6 dB → 0 dB
- Bar 1: “dark tunnel build” (filter mostly closed, low air)
- Bar 2: “warehouse opens up” (pitch climbs, echo blooms, air lifts)
- Last 1/8 note: quick dip in OUT gain to leave room for the drop transient 🥁
- Too much feedback too early: you lose impact and mask the groove. Keep feedback growth late.
- No high-pass management: risers that carry 150–400 Hz into the drop fight your bass and kick.
- Width everywhere: if the core goes super wide, your drop feels smaller. Keep width “earned” at the end.
- Over-reverb without pre-delay: it becomes a washed pad instead of a punchy tunnel effect.
- Not gain staging chains: your parallel chains can sum into clipping fast—use Chain Volume and the OUT safety.
- Make it minor-key aware: set Sampler Root Note and automate pitch musically (+7, +12) instead of only a straight sweep.
- Add a “shadow layer”: duplicate Core chain, pitch it down -12, HP it at 120 Hz, distort lightly—barely audible, but it adds menace.
- Use Resonance like a siren (carefully): automate Auto Filter Resonance from ~0.8 to ~1.4 in the last 1/2 bar for that old rave tension.
- Transient dip before drop: automate OUT down by 1–2 dB in the last 1/16—your drop will hit harder.
- Print and chop: the most “jungle” results come from resampling and editing audio like it’s part of the break workflow.
- Risers at bars 15–16, 31–32
- First one subtle, second one heavy (classic escalation)
- Loop a tiny region in Sampler for sustain
- Control pitch + filter for motion
- Use Echo + Reverb for dubby space
- Manage width + low-mids so the drop stays huge
- Resample and commit for authentic jungle workflow 🎚️
- Pitch climb
- Filter sweep
- Reverb size + pre-delay
- Delay feedback + time
- “Tunnel” width + mono compatibility
- Distortion drive
- Output safety (limiting + gain)
---
3. Step-by-step walkthrough
Step 0 — Prep: choose the right source (important)
Pick a sound with character. Good jungle/DnB sources:
Workflow tip: Make a “Riser Sources” folder in your browser: Vocals / Break Hits / Stabs / Textures.
---
Step 1 — Create the rack skeleton
1. Create a MIDI Track.
2. Drop in Instrument Rack.
3. Inside the rack, create 3 chains:
- Chain 1: Core
- Chain 2: Dub Echo
- Chain 3: Air/Noise
Now drop a Sampler into each chain (yes—same source, different treatments).
---
Step 2 — Load and shape your sample in Sampler (Core chain)
1. In Core > Sampler, drag in your chosen one-shot.
2. Set Sampler basics:
- Voices: 1 (keeps it tight and oldskool)
- Trigger mode: Trigger (for consistent riser behaviour)
3. In the Sample tab:
- Enable Loop ✅
- Set Loop Mode: Forward
- Find a stable loop region (20–150 ms often works great for “tone”)
- Add a tiny Fade on loop (2–10 ms) to avoid clicks
Goal: Turn a short hit into a steady, tone-like sustain you can pitch and filter.
4. In Pitch/Osc:
- Keep Transpose at 0 for now (we’ll macro it)
- Optional: set Spread slightly (0–10) if the sample is too point-like
---
Step 3 — Add the “Urban Tunnel” FX inside each chain
#### Chain 1: Core (clean but controllable)
Order:
1. Auto Filter
- Mode: LP24
- Freq: ~200 Hz (start dark)
- Resonance: 0.70–1.20 (don’t whistle yet)
- Drive: 2–6 dB (subtle grit)
2. Saturator
- Mode: Analog Clip
- Drive: 2–8 dB (depends on source)
- Soft Clip: ON
3. Utility
- Width: 80–100% (we’ll macro this)
- Bass Mono: 120 Hz (keeps low-end stable)
#### Chain 2: Dub Echo (the jungle sauce) 🎛️
Order:
1. Auto Filter
- HP12
- Freq: 200–600 Hz (keep delay from muddying low end)
2. Echo
- Mode: Sync
- Time: start at 1/8 or 3/16 (DnB sweet spots)
- Feedback: 35–55%
- Wobble: 5–15% (tiny movement)
- Noise: 2–8% (urban grit)
3. Reverb
- Size: 40–80%
- Decay: 2.5–6.0s (we’ll macro longer)
- Pre-Delay: 10–35 ms
- High Cut: 6–10 kHz (oldskool roll-off)
4. Redux (optional, very effective)
- Downsample: 1.2–4.0
- Bit Reduction: 0–2 (just a hint)
#### Chain 3: Air/Noise (lift + excitement)
You can either use:
Order:
1. Auto Filter
- HP24 at 2–5 kHz
- Resonance: ~0.8
2. Reverb
- Decay: 4–10s
- High Cut: 10–14 kHz
3. Chorus-Ensemble (subtle width)
- Amount: 10–25%
- Rate: slow
4. Utility
- Width: 130–170% (macro controlled)
---
Step 4 — Macro mapping (the “Sampler rack shape” concept)
Rename your 8 Macros like this (practical DnB layout):
1. RISE (Pitch)
2. FILTER (Open)
3. ECHO (Feedback)
4. SPACE (Reverb)
5. TUNNEL (Width)
6. GRIT (Drive)
7. AIR (Level)
8. OUT (Safety)
Now map parameters:
#### Macro 1 — RISE (Pitch)
Map across all three Samplers:
- Min: 0 st
- Max: +12 to +24 st (taste)
For jungle, +12 often feels “musical”; +24 is more extreme/modern.
Optional extra mapping:
#### Macro 2 — FILTER (Open)
Map Core Auto Filter Freq:
Map Dub Echo chain HP filter slightly upward:
(keeps the tail clean as it rises)
#### Macro 3 — ECHO (Feedback)
Map Echo Feedback:
Also map Echo Output or Dry/Wet slightly:
#### Macro 4 — SPACE (Reverb)
Map Reverb Decay Time on Dub + Air chains:
Map Reverb Size:
Optional: map Pre-Delay up a bit:
#### Macro 5 — TUNNEL (Width)
Map Utilities:
Optional mapping:
#### Macro 6 — GRIT (Drive)
Map:
Keep it jungle: grit should sound like hardware stress, not like a destroyed meme clip.
#### Macro 7 — AIR (Level)
Map chain volumes in the Rack (Chain Volume sliders):
This makes the riser “ignite” near the end.
#### Macro 8 — OUT (Safety)
Inside the Rack (after chains), add:
1. Glue Compressor
- Attack: 3 ms
- Release: Auto
- Ratio: 2:1
- Soft Clip: ON
- Aim: 1–3 dB GR on peaks
2. Limiter
- Ceiling: -0.8 dB
- Lookahead: default fine
Map Macro 8 to:
This is your “don’t blow up the mix” macro.
---
Step 5 — Program the MIDI + make it a riser (arrangement-ready)
1. Make a MIDI clip 2 bars long (classic DnB transition length).
2. Hold a single note (e.g., C3) for the whole 2 bars.
3. Now automate Macros in the clip (or Arrangement View):
- RISE (Pitch): slow curve up (start linear, steepen near end)
- FILTER (Open): steady opening
- ECHO (Feedback): increase mostly in the second half
- SPACE (Reverb): bloom in last 1 bar
- AIR (Level): bring up late (last 1/2 bar)
- OUT (Safety): pull down slightly at the very end if it gets wild
DnB timing idea:
---
Step 6 — Freeze/Resample for classic jungle control
Oldskool vibes love commitment:
1. Create an Audio Track called `Riser Print`.
2. Set its input to Resampling.
3. Record the riser performance while you tweak Macros live.
4. Now you can:
- Reverse the tail
- Chop it into fills
- Add Gate for rhythmic pumping
- Add a final Tape stop feel with Pitch automation or Shifter (if you want extra drama)
---
4. Common mistakes
---
5. Pro tips for darker/heavier DnB 🖤
---
6. Mini practice exercise 🎯
Build three variations from the same rack:
1. Amen Tunnel
- Source: amen snare slice
- Pitch max: +12 st
- Echo time: 3/16
2. Ragga Lift
- Source: vocal one-shot
- More pre-delay (40–60 ms)
- Less pitch (+7 to +12 st) but more filter movement
3. Metal Air Riser
- Source: ride/crash hit
- Air chain louder, Core chain quieter
- Add more Chorus width, but keep Core near-mono
Then place them into a 32-bar DnB sketch:
---
7. Recap
You built an Urban Echo riser rack using Sampler + parallel chains and a macro-driven shape that’s perfect for jungle/oldskool DnB transitions. The winning formula:
If you want, tell me what source you’re using (amen hit / vocal / stab) and what BPM (160–175), and I’ll suggest exact macro ranges tailored to that sound.

