Main tutorial
```markdown
Using Convolution for Warehouse Spaces (DnB in Ableton Live) 🏭🔊
1) Lesson overview
Convolution reverb is how you get realistic “big room” depth without relying on generic algorithmic tails. For drum & bass—especially rolling, jungle, techy, or dark/heavy styles—warehouse spaces can add weight, size, and menace if you control three things:
- Pre-delay (keeps transients punchy)
- EQ/filters around the reverb (stops mud + harshness)
- Dynamics on the reverb return (keeps it loud, controlled, and rhythmic)
- Mode: Convolution (or blend heavily toward convolution if you’re using Hybrid)
- Dry/Wet: 100% (because it’s a Return)
- Decay/Time: ~ 0.7–1.3 s (DnB room vibe—short and punchy)
- Pre-delay: 18–30 ms
- Size: Medium-large (depends on IR, but don’t go “cathedral” here)
- ER / early reflections: If available, push early reflections slightly above the tail for realism and punch.
- Choose something like Warehouse / Large Room / Industrial / Concrete.
- If you don’t have a labeled warehouse IR, pick Large Room and make it warehouse-like with EQ + saturation.
- HPF: 24 dB/oct at 160–250 Hz
- Cut boxiness: Dip 250–450 Hz by 2–4 dB (Q ~1.2)
- Tame harshness: Dip 2.5–5 kHz by 1–3 dB if hats get spitty
- LPF: 12 dB/oct at 8–12 kHz (warehouse air, not hiss)
- Sidechain input: Kick (or a “Drum Trigger” track)
- Ratio: 3:1
- Attack: 5–15 ms (let the initial verb pop slightly)
- Release: 80–160 ms (tempo dependent)
- Gain reduction: aim 2–6 dB on kick hits
- Set Width to 120–160% or keep it near 100% if your mix is already wide.
- If the verb feels too dominant, trim -1 to -3 dB here.
- Snare: -10 to -6 dB send
- Hats/tops: -18 to -12 dB send
- Kick: very little or none (try -24 to -18 dB if you want room glue)
- Bass: usually off (we’ll do a special bass room later)
- Convolution IR: Small/Medium room, stairwell, garage, tiled room—anything “hard”
- Decay: 0.25–0.55 s
- Pre-delay: 8–18 ms
- Tone: slightly bright, but we’ll filter later
- Threshold: set so it closes after the slap (watch the meter)
- Release: 60–140 ms
- Floor: -inf (or very low)
- HPF: 200–350 Hz (steeper if needed)
- Presence boost (optional): +1 to +2 dB around 1.5–3 kHz (if snare needs bite)
- LPF: 7–10 kHz (keeps it tough, not fizzy)
- Drive: 2–6 dB
- Soft Clip: ON
- Optionally set Color to darken/shape
- IR: Large chamber / concrete hall / tunnel
- Decay: 1.6–2.8 s (longer than drums)
- Pre-delay: 25–45 ms (keeps it behind the source)
- Wet: 100%
- HPF: 220–350 Hz, 24/48 dB/oct
- Dip mud: -2 to -5 dB at 300–600 Hz
- LPF: 6–9 kHz (dark vibe)
- Mode: LP or BP
- Rate: 1/8 or 1/4 (sync)
- Amount: small (you want movement, not wobble)
- Drive: a bit (if needed)
- Attack: 10 ms
- Release: Auto or 0.3 s
- GR: 1–3 dB
- Perc loops, ghost snares, atmos, FX hits: moderate
- Bass: only via a dedicated mid-bass send (next step)
- Add EQ Eight and high-pass at 150–250 Hz
- Snare send to Slap (Return B):
- Drum Room (Return A) decay:
- Rumble Chamber (Return C) send on FX hits:
- On the last snare before the drop, automate:
- Put a Gate after the convolution on Return A or C
- Sidechain the Gate with a ghost 1/8 or 1/16 pattern (from a muted click track)
- This “trances” the reverb into a rhythmic pulse without audible pumping artifacts.
- Too much low end in the reverb → mud, weak kick/sub. Fix: HPF the return at 160–350 Hz depending on purpose.
- No pre-delay → snare loses crack, kick loses punch. Fix: 18–30 ms for drum room, 8–18 ms for slap.
- Reverb on everything → wash. Fix: focus sends on snare/tops/FX, keep sub dry.
- Wide reverb in the low mids → phasey mess. Fix: use Utility width control, and consider narrowing to 100% (or lower) on darker mixes.
- Long decay in the drop → flamming/blur at 174 BPM. Fix: shorten decay or gate it.
- Distort the reverb, not the dry signal (sometimes):
- Make the space “concrete”:
- Snare authority trick:
- Pre-drop dread:
- Mono-check your space:
- Use Hybrid Reverb convolution on returns for believable warehouse size 🏭
- Protect DnB punch with pre-delay and sidechain compression
- Warehouse realism comes from early reflections + EQ shaping, not massive decay
- Keep sub dry, send only mid layers into big spaces
- Automate sends/decay for arrangement impact—space should perform with the track 🎚️
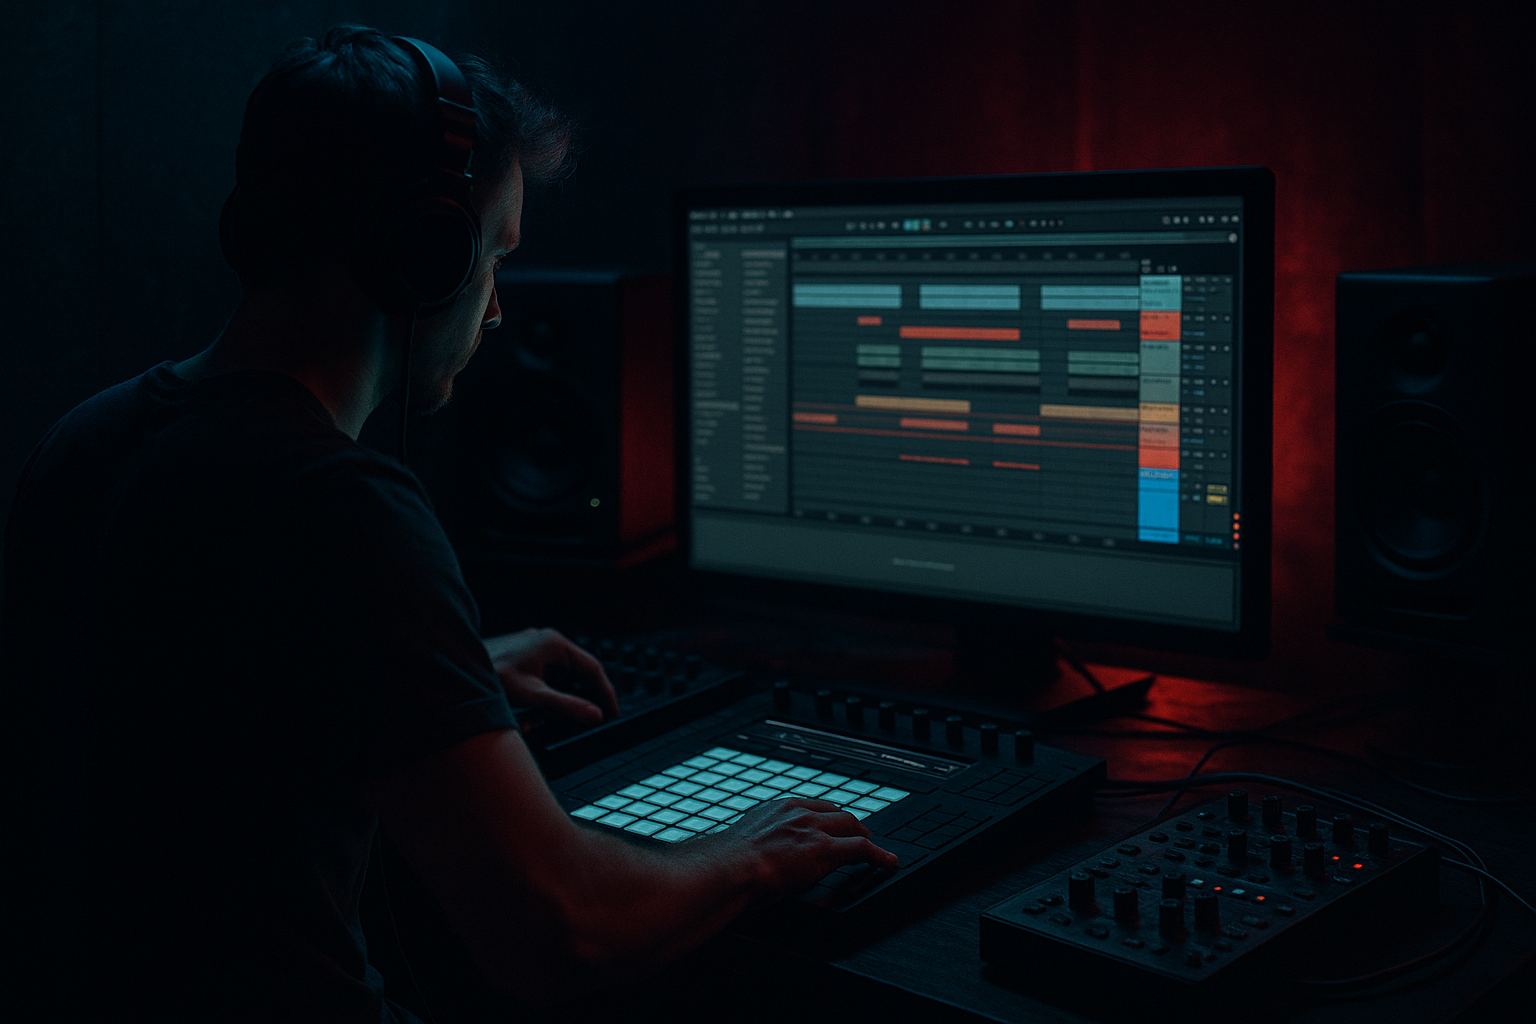
In Ableton Live, you’ll do this with Hybrid Reverb (Convolution mode) + stock devices like EQ Eight, Saturator, Compressor/Glue, Gate, and Utility.
---
2) What you will build
A practical, mix-ready convolution setup for DnB:
1. A “Warehouse Drum Room” Return (tight early reflections, controlled tail)
2. A “Warehouse Slap” Return (short, aggressive slap for snares/claps)
3. A “Rumble Chamber” Return (dark low-mid reverb for atmosphere—without ruining the sub)
Plus: a workflow for automation and arrangement (drops, fills, breakdowns).
---
3) Step-by-step walkthrough
Step 0 — Session prep (DnB-friendly routing)
1. Group your drums:
- Drum Bus group (kicks, snares, tops)
- Optional: split into Kick, Snare, Tops groups
2. Keep sub-bass mostly dry (we’ll add space with very controlled sends later).
Goal: Convolution goes on Return tracks, not inserted everywhere.
---
Step 1 — Create Return A: “Warehouse Drum Room” 🏭
Return Track A chain:
1. Hybrid Reverb
2. EQ Eight
3. Compressor (sidechained from kick/snare)
4. Utility
#### 1) Hybrid Reverb settings (Convolution-focused)
- Start at 24 ms to keep the transient clear.
IR choice:
#### 2) EQ Eight (reverb shaping = the whole game)
Place after Hybrid Reverb:
- This prevents kick/sub from turning to fog.
#### 3) Sidechain compression (keeps groove clean)
Add Compressor:
This makes the room “breathe” around the drums—classic DnB clarity trick ✅
#### 4) Utility
#### Send targets (starting point)
---
Step 2 — Create Return B: “Warehouse Slap” for snare attitude 🥁
This is that short, aggressive “concrete slap” that makes snares sound like they’re hitting a loading dock wall.
Return Track B chain:
1. Hybrid Reverb
2. Gate
3. EQ Eight
4. Saturator
#### 1) Hybrid Reverb slap settings
#### 2) Gate (tighten the tail)
Ableton Gate right after reverb:
This creates a “slap” instead of a wash.
#### 3) EQ Eight
#### 4) Saturator (makes it feel like concrete)
Send this mostly from snare/clap, sometimes a touch of rimshots/percs. This can be your “snare identity” verb in a rolling tune.
---
Step 3 — Create Return C: “Rumble Chamber” (dark atmosphere without sub chaos) 🌑
We want depth and dread, but not low-end smearing.
Return Track C chain:
1. Hybrid Reverb
2. EQ Eight
3. Glue Compressor (optional)
4. Auto Filter (movement)
5. Utility
#### Hybrid Reverb
#### EQ Eight (strict low cut)
Yes, that high—because DnB low-end is sacred.
#### Auto Filter (subtle motion)
#### Optional Glue Compressor (reverb “pad” control)
Send sources:
---
Step 4 — Convolution on bass (the safe way) 🎛️
Never send your sub directly into a big warehouse verb and expect it to stay clean.
Do this instead:
1. Create a Bass Group with:
- Sub track (clean sine/triangle, mostly mono)
- Mid-bass track (distorted/reese layer)
2. Only send the mid-bass to Return C (or a dedicated bass room).
Extra control trick (recommended):
On the mid-bass track, before the send:
This ensures the reverb never sees true low-end.
---
Step 5 — Arrangement moves: make the warehouse “perform” 🎚️
Warehouse space feels real when it changes with sections.
Automate these:
- Higher in the drop (adds energy), lower in busy fills (reduces clutter)
- Slightly shorter in the drop (tight)
- Slightly longer in breakdown (cinematic)
- Big sends on impact hits, reverse cymbals, vocal stabs
- Then cut it suddenly for tension before the drop (classic DnB move)
DnB-specific idea:
- Send to Return C up for that one hit
- Then hard cut the return mute on the downbeat of the drop
Creates a vacuum → slam 🧨
---
Step 6 — Glue the space to the tempo (optional advanced)
If your convolution tail feels “random” against fast 174 BPM drums:
This is killer on jungle breaks and rolling percussion beds.
---
4) Common mistakes
---
5) Pro tips for darker/heavier DnB 🌑🔥
Put Saturator or Overdrive after convolution on the return. This gives gritty warehouse reflections without wrecking transient clarity.
Try a subtle Resonator or Corpus after the reverb (very low mix) to add metallic/industrial tone—great for neuro/techstep vibes.
Send snare to both Return A (room) and B (slap). Keep A lower, B higher. The combo reads as “big room + wall hit”.
Automate Return C decay longer in the breakdown, then shorten + reduce send right at the drop to make the drop feel closer and more violent.
Put Utility (mono) on the Master temporarily. If the groove collapses, reduce width on returns and cut more low mids.
---
6) Mini practice exercise (15–20 minutes) ⏱️
1. Load a rolling drum loop (break + 2-step) and a reese mid-bass.
2. Build Return A (Drum Room) exactly as above.
3. Send:
- Snare: -8 dB
- Hats: -14 dB
4. Build Return B (Slap) and send snare at -7 dB.
5. A/B test:
- Toggle pre-delay on Return A between 0 ms and 24 ms.
- Listen: does the snare regain crack at 24 ms? It should.
6. Automate in Arrangement:
- Last 1 bar before drop: increase Return C send on a crash/impact
- At drop: cut Return C return volume to -inf for 1 beat, then bring it back subtly
Deliverable: bounce 8 bars (4 before drop + 4 drop) and confirm the drop stays tight while the breakdown feels huge.
---
7) Recap
If you tell me your subgenre (liquid, jungle, neuro, minimal rollers) and what your snare style is (crack/snappy vs thick), I can suggest a more specific IR choice + exact EQ targets.
```

