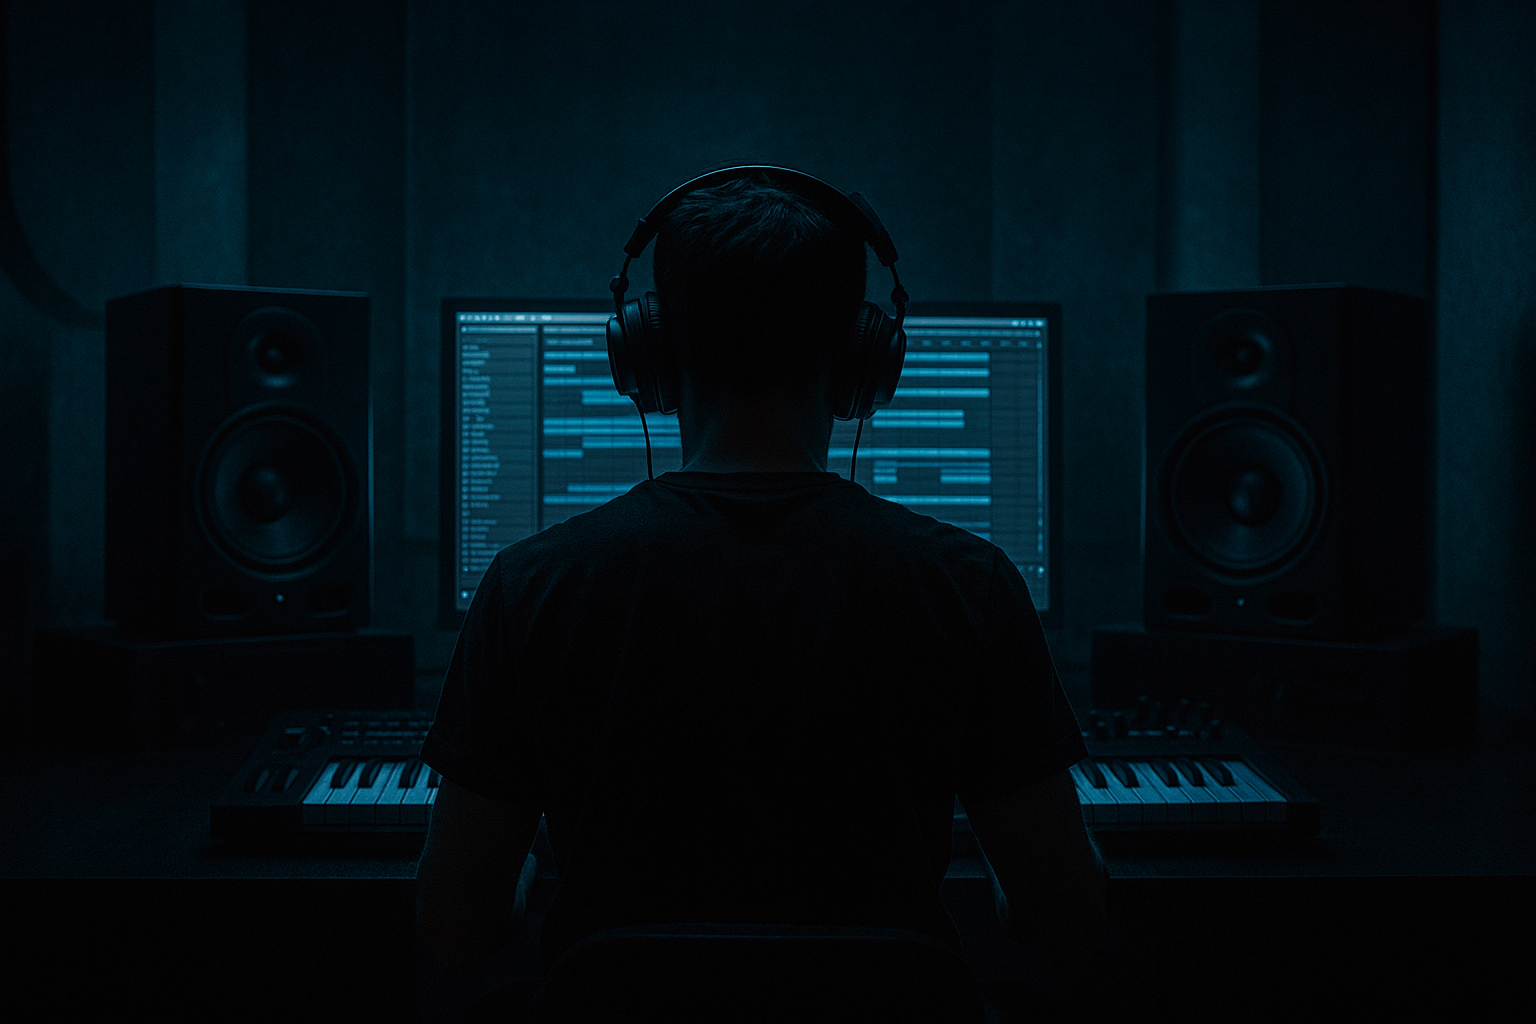
Main tutorial
```markdown
Using Silence as Part of Composition (DnB in Ableton Live) 🔇🥁
1. Lesson overview
Silence in drum & bass isn’t “nothing”—it’s negative space that creates impact, groove, tension, and clarity. Advanced DnB arrangements often feel huge because they strategically remove elements right before key moments: snare hits, bass phrases, fills, drop impacts, and switch-ups.
In this lesson you’ll learn how to compose with silence in Ableton Live using:
- Micro-silence (milliseconds) to increase punch and perceived loudness
- Bar-level dropouts to create tension and structure
- Frequency-specific silence (muting only lows/mids/highs) for dynamic contrast
- Ableton stock workflows: Auto Filter, Utility, Gate, Shaper (if Live 12), Compressor/Sidechain, Reverb, Delay, Beat Repeat
- A tight, punchy drum loop that uses micro-gaps for extra snap
- A reese/rolling bass phrase with call-and-response silence
- A pre-drop 1-beat “airlock” (full stop or near-stop) for impact
- Selective dropouts (e.g., hats disappear for 2 beats, bass disappears for 1 bar, snare ghost gaps) that keep momentum while adding drama
- Decay: 0.4–0.8s
- Pre-delay: 10–25ms
- HP filter: 250–400 Hz
- Keep it tight—this is for “space,” not wash.
- Time: 1/8 or 1/4 (try dotted 1/8 for movement)
- Feedback: 20–35%
- Filter: HP 200–400 Hz, LP 4–8 kHz
- Add a touch of `Saturator` after Echo for weight.
- Add a short reverb tail that gets cut:
- Gain down -inf for a moment OR
- Width to 0% briefly for a “mono vacuum” effect
- Compressor Sidechain: from Kick
- Ratio: 4:1
- Attack: 1–5 ms
- Release: 60–120 ms (tune to tempo/groove)
- Threshold: until you get 2–6 dB gain reduction
- Bars 1–4: Full groove. No big gaps yet.
- Bar 5: Remove hats for beat 4 → snare feels bigger.
- Bar 6: Remove bass for 1 beat (beat 3) → “question mark.”
- Bar 8: 1/2 bar low-cut (Auto Filter HP to ~250 Hz).
- Bars 9–12: Bring it back, add a small variation.
- Bar 13: Full stop for 1 beat (airlock), keep only a reversed cymbal tail.
- Bars 14–16: Heaviest version (extra percussion, extra distortion layer), but still include a 2-beat dropout somewhere to avoid fatigue.
- Too much silence too often: If every 2 bars has a dramatic cut, the drop loses authority.
- Cutting the wrong elements: Removing the snare on 2/4 can kill the spine of DnB unless you replace it with a clear alternative.
- Uncontrolled tails: Silence doesn’t work if your reverb/echo continues everywhere. HP your returns and automate them intentionally.
- Clicks/pops from hard cuts: Add tiny fades (2–10 ms) on audio cuts or ensure zero-crossings.
- Silence without implication: A gap should suggest the next hit. If it doesn’t increase anticipation, it’s just empty space.
- Sub-drop silence: Remove sub for 1 bar, then reintroduce with a short pitch fall (even 1–2 semitones) for menace.
- Mono “vacuum” trick: Automate `Utility` Width to 0% for the silent beat, then snap back to normal width on the drop impact.
- Distortion contrast: Automate `Saturator` (or `Roar` if available) so the bass is less distorted during sparse moments and more distorted when full—silence makes the distortion feel heavier.
- Breakbeat negative space: For jungle rollers, take 1–2 slices out of an Amen-style break before the snare—instant swing and threat.
- Noise floor matters: A tiny layer of vinyl/noise (very low) can make your intentional silence feel deeper by contrast—just keep it subtle and high-passed.
- Silence is a compositional tool in DnB: it creates punch, tension, and perceived loudness.
- Use micro-gaps for transient impact, especially on snares.
- Use airlocks (1 beat or 1/2 bar) before drops or switch-ups.
- Create frequency-specific silence with Auto Filter/Utility so momentum continues.
- Control space by automating returns and cutting tails for aggression.
- Place silence strategically across 8/16-bar structures to avoid fatigue and keep the roller feeling alive.
---
2. What you will build
A 16–32 bar rolling DnB drop section with:
---
3. Step-by-step walkthrough
Step 0 — Session setup (fast + correct)
1. Set tempo: 172–176 BPM (start at 174).
2. Create these tracks:
- DRUMS (Drum Rack or audio loop)
- BASS
- MUSIC/ATMOS
- FX
- RETURN A: Short Verb
- RETURN B: Dub Delay
Return A (Short Verb): `Reverb`
Return B (Dub Delay): `Echo` (or `Delay`)
---
Step 1 — Micro-silence for drum punch (transient “air gaps”) 🥊
This is the classic “let the transient breathe” move. You’re not changing the pattern—you’re creating micro pockets where the hit feels louder.
#### Option A: Audio drums (quickest)
1. Put your drum loop in an Audio Track.
2. Consolidate a 2-bar loop: select region → `Cmd/Ctrl + J`.
3. Turn on Warp, use Complex Pro only if necessary; otherwise try Beats mode.
4. Switch Warp mode to Beats:
- Preserve: Transients
- Envelope: ~10–30% (tighter)
5. Now create micro-silence:
- Go into the clip, add very short fades and slice tiny gaps before key hits.
- Start with: 5–20 ms of silence right before the snare and sometimes the kick.
DnB-specific tip: Put the micro-gap before the snare on 2 and 4. It makes the backbeat feel like it “jumps out” without EQ or limiting.
#### Option B: Drum Rack (more surgical)
1. If using MIDI drums: group key elements (kick/snare/hats) into a Drum Rack.
2. Add a Gate on the hat bus or noisy layers:
- Threshold: adjust so it only opens on hits
- Return: short
3. Create intentional gaps by editing MIDI:
- Remove 1–2 hat hits right before snare.
- Leave the kick/snare intact, but reduce clutter.
Why it works: silence before a transient increases perceived contrast—your ear hears the transient as bigger.
---
Step 2 — The “airlock” moment: 1 beat of near-silence before the drop 🚪
This is a staple in modern DnB: a fraction of a bar where the track “inhales.”
1. In Arrangement View, locate the bar right before the drop.
2. Choose a moment: classic is beat 4 of the last bar pre-drop (or last 1/2 bar).
3. Create a Stop:
- Mute drums and bass for 1 beat (or 1/2 bar).
- Keep only a tiny element (like a reversed cymbal tail or a short vocal chop).
#### Make it feel professional (not empty)
- Put `Reverb` on a return.
- Automate Return send up for a single hit (like a snare or stab) right before the silence.
- Then hard cut the source, letting the tail “hang” alone.
Ableton move: Use `Utility` on the Master (or a pre-master group) and automate:
Keep it subtle—DnB drops should feel tight, not gimmicky.
---
Step 3 — Frequency-specific silence (mute only lows or highs) 🎚️
Instead of muting everything, remove a band so the groove keeps rolling.
#### A) Kill the low end for 1 bar (massive tension builder)
On the BASS group (or pre-master):
1. Add `Auto Filter`:
- Type: Highpass
- Slope: 24 or 48 dB
2. Automate cutoff:
- Normal: 30–60 Hz (depends on your bass)
- “Silence lows” moment: sweep up to 180–300 Hz for 1 bar
3. Optional: add slight resonance (5–15%) for a subtle “pressure” tone.
This creates a “hollow” section where drums feel forward, then the sub returns like a punch.
#### B) Drop the hats without losing momentum
1. Group hats/shakers into a HATS group.
2. Use `Utility` automation:
- Gain to -inf for 2 beats every 8 bars
3. Keep ghost percussion or rides low—so it feels intentional.
Jungle-rooted idea: Remove hats, keep an amen-style ghost shuffle quiet underneath. Silence isn’t binary; it’s hierarchy.
---
Step 4 — Compositional silence: call-and-response bass phrasing 🎸
A rolling reese that never shuts up becomes wallpaper. Silence turns it into a conversation.
1. In the BASS MIDI clip (2 or 4 bars), create a phrase:
- Bar 1: busy
- Bar 2: leave space (e.g., rests on beat 3–4)
2. Aim for a repeatable structure:
- “Say something” (1 bar) → “leave a gap” (1 bar)
3. Fill the gap with:
- A short stab
- A noise sweep
- Or simply the drums + room tone
#### Ableton device chain suggestion (rolling reese)
On BASS:
1. `Wavetable` (or `Operator`) for source
2. `Saturator` (Soft Clip on, Drive to taste)
3. `Auto Filter` (movement)
4. `Compressor` (sidechain from kick)
5. `Utility` (mono below ~120 Hz via Bass Mono if using Live 12, or keep sub layer mono)
Sidechain settings (starting point):
Now when you remove the bass for a beat, the kick/snare feel enormous.
---
Step 5 — Use silence as “editing”: cut reverb/delay tails for aggression ✂️
Dark/heavy DnB often uses abrupt stops—but controlled.
1. Put `Echo` or `Reverb` on a return.
2. After a big snare fill or bass hit, automate a hard stop:
- Add `Utility` after the return effect (on the return channel)
- Automate Utility Gain from 0 dB → -inf instantly
3. This creates a “gated space” without needing an actual gate.
DnB vibe: It’s like slamming a door on the ambience—instant pressure.
---
Step 6 — Arrangement blueprint: where to place silence (16 bars)
Here’s a practical 16-bar drop map:
---
4. Common mistakes
---
5. Pro tips for darker/heavier DnB 🖤
---
6. Mini practice exercise (15 minutes) ⏱️
1. Pick a 2-bar drum loop and a 2-bar bass loop.
2. Create three versions of the same 8-bar drop:
- Version A: No intentional silence (baseline).
- Version B: Micro-silence before snare (5–20 ms) + remove hats for 2 beats every 4 bars.
- Version C: Add a 1-beat airlock before bar 1 (or before bar 5), plus a 1-bar low-cut on bass at bar 6.
3. Bounce each version (or A/B with Track Activator).
4. Ask: which one feels louder and more menacing at the same peak level?
---
7. Recap ✅
If you want, tell me your sub style (clean sine / reese / foghorn / neuro) and whether you’re using sampled breaks or one-shots, and I’ll suggest a silence map tailored to your exact groove.
```

