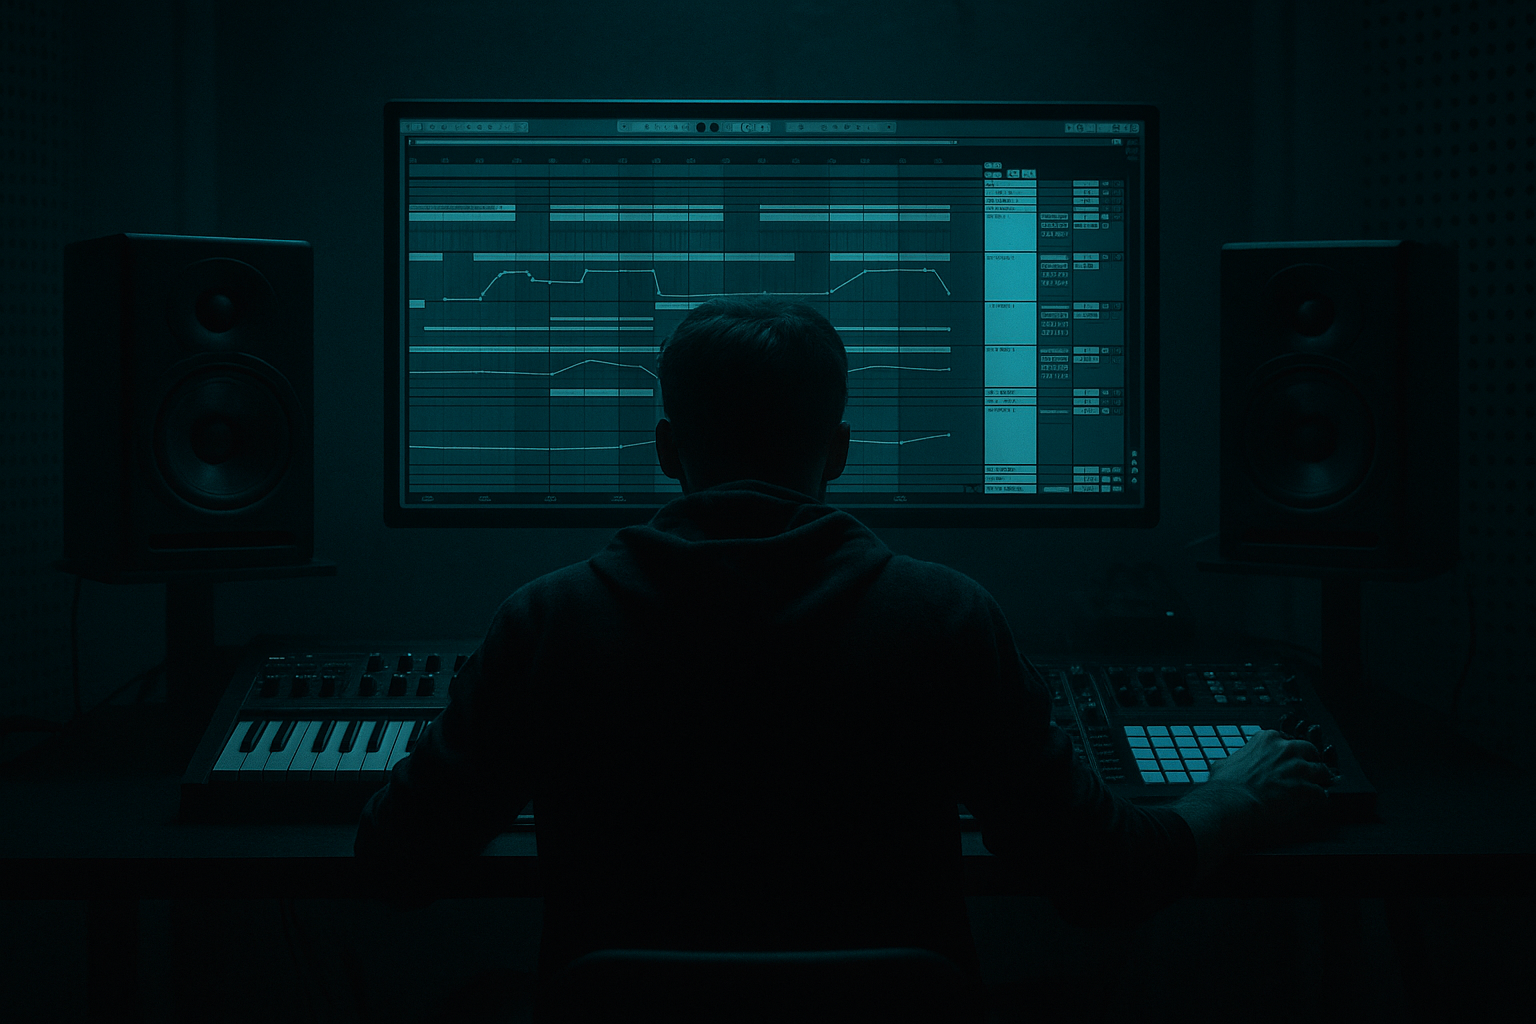
Main tutorial
```markdown
Velocity Swing on Hand Percussion (DnB in Ableton Live) 🥁⚡
Skill level: Advanced
Category: Groove
---
1. Lesson overview
Velocity swing is the secret engine behind rolling DnB percussion: it’s not just “off-grid timing”—it’s dynamic imbalance that creates forward motion. In fast genres (170–175 BPM), micro-differences in hit strength read as groove more reliably than timing nudges alone, especially on shakers, bongos, congas, rims, and foley ticks.
In this lesson you’ll build a velocity-driven swing system for hand percussion inside Ableton Live—using stock tools to:
- Generate controlled loud/soft “push-pull” patterns
- Lock the groove to your kick/snare while still feeling human
- Keep the top-end animated without getting harsh or messy
- Drum Rack with hand percussion (shaker + conga/bongo + rim/wood click)
- A velocity swing pattern that repeats every 1 bar or 2 bars (your choice)
- Velocity → Filter / Transient / Saturation mapping so loud hits get brighter/more aggressive
- Optional Groove Pool support (timing swing), but velocity remains the main driver
- Arrangement-ready variations (fills, drop energy control, breakdown reductions)
- Place shakers on every 1/16 note for one bar.
- Place conga hits on:
- Add very light hits on:
- Hit 1: 95
- Hit 2: 55
- Hit 3: 80
- Hit 4: 45
- First syncop hit: 88
- Second: 72
- Third (end of bar): 96 (slight “pickup” into the loop)
- 25–40 range (barely there)
- Select the shaker pad → open Simpler
- In Simpler, set:
- Vel > Vol: 15–25%
- Vel > Filter: 10–20%
- Mode: HP12 (12 dB high-pass) or BP if you want character
- Set base Freq around 180–300 Hz (so you’re cleaning lows)
- Now use Envelope Follower (stock) to make louder hits “open” the top end:
- Drive: 5–15%
- Crunch: 0–10% (careful—tops get harsh fast)
- Transient: +5 to +20 (only if samples are too soft)
- Boom: OFF for hand percussion (usually)
- Mode: Random
- Out Hi: 127
- Out Low: 1
- Random: 3–10 (tiny!)
- Drive: 0 (we’re not compressing velocity yet)
- Velocity (MIDI effect) second instance, set to:
- In the first 8 bars of the drop:
- After 8 bars:
- Raise the final conga hit velocity to 110–120
- Add 2 extra shaker 1/32 notes (quiet) as a “rush”
- Lower overall velocities by ~10–20
- Close the Auto Filter slightly (lower the mapped base frequency)
- Accents = distortion triggers
- Use multiband control for savage tops
- Sidechain hand percussion to the snare
- Ghost hits should be darker, not just quieter
- Print and resample your best 2-bar loop
- Velocity swing is repeatable dynamic contrast that reads as groove at 174 BPM.
- Build a strong/weak velocity pattern (especially on 16ths) and keep it intentional.
- Make velocity affect tone and transient, not just loudness:
- Use Groove Pool timing swing lightly—velocity swing is the main feel in rollers.
- Arrange with evolving velocity contrast to keep drops moving.
---
2. What you will build
A hand percussion rack that grooves like a proper roller:
---
3. Step-by-step walkthrough
Step 0 — Session setup (DnB-ready)
1. Set tempo to 174 BPM.
2. Create a MIDI track named `Perc Swing`.
3. Drop in a Drum Rack (stock).
4. Load samples:
- A tight shaker (short/bright)
- A mid hand drum (conga/bongo)
- A clicky rim/wood (for definition)
DnB tip: Choose shorter samples than you think. Fast BPM + long tails = blur.
---
Step 1 — Program a “skeleton” that feels too straight (on purpose)
Create a 1-bar MIDI clip. Start with these placements:
#### A) Shaker (16ths)
#### B) Conga/Bongo (syncopation)
- 1.2.3 (the “e” of beat 1)
- 1.3.2 (the “&” of beat 3)
- 1.4.4 (the “a” of beat 4)
#### C) Rim/wood (ghost grid)
- 1.2.1 and 1.4.1 (start of beat 2 and 4)
This should sound rigid. Great. Now we animate it with velocity swing.
---
Step 2 — Build velocity swing: “strong/weak” logic (core concept)
Open the clip’s Notes view and focus on velocity lanes.
#### Shaker velocity pattern (classic roller feel)
For 16 shaker hits, use a repeating 4-step velocity shape:
Repeat across the bar.
This creates a “lean-forward” groove without touching timing.
Why this works in DnB: It implies a micro-accent pattern that the brain reads as swing at high tempo.
#### Conga velocity (call & response)
Set conga hits to:
#### Rim/wood ghosting
Set rim hits very low:
---
Step 3 — Turn velocity into movement using stock devices (this is the upgrade)
Right now velocity is only volume. We want velocity to shape tone/attack.
#### Device chain (percussion track)
On the `Perc Swing` track, add:
1. Drum Rack (your samples)
2. Drum Buss
3. Auto Filter
4. Saturator
5. EQ Eight
6. Glue Compressor (optional, subtle)
Now the key: map Velocity to parameters inside the Drum Rack.
##### A) Per-pad velocity sensitivity
In Drum Rack:
- Vel > Vol: ~ 25–40% (not 100—keep it controlled)
- Vel > Filter: 15–30% (if using Simpler filter)
- Add a little Drive (if available) or do it later with Saturator
Do the same for conga, but with lower sensitivity:
##### B) Make accents brighter with Auto Filter
On the track Auto Filter:
How:
1. Create an Audio Effect Rack after the Drum Rack (or keep it simple and just add Envelope Follower).
2. Add Envelope Follower after Drum Rack (it listens to incoming audio).
3. In Envelope Follower, click Map and map it to Auto Filter Frequency.
4. Set:
- Attack: 3–10 ms
- Release: 80–180 ms
- Amount: small at first (you want tasteful motion)
Now your velocity accents produce brightness swing automatically.
##### C) Make accents punch harder with Drum Buss
On Drum Buss:
This helps strong hits sound “thrown forward” without just being louder.
---
Step 4 — Add controlled randomness (advanced: human but intentional)
Random velocity is not swing. Swing is repeatable intention with slight variation.
Add a MIDI Effect: Velocity before the Drum Rack:
Then re-balance with:
- Mode: Comp
- Drive: 10–25
- Random: 0
This narrows extremes while keeping micro-variation.
Chain order (MIDI):
`Velocity (Random small) → Velocity (Comp) → Drum Rack`
---
Step 5 — Optional: Pair velocity swing with Groove Pool timing (tastefully)
If you also want timing swing, do it lightly so it doesn’t flam with hats.
1. Open Groove Pool
2. Try grooves like MPC-style 16 swing (or any subtle 16th groove)
3. Apply to your percussion clip:
- Timing: 5–15%
- Velocity: 0–10% (you already designed velocities!)
- Random: 0–5%
4. Click Commit only when you’re sure (or keep it live for flexibility)
DnB rule: In heavy rollers, let hats drive timing, and let hand percussion drive dynamics.
---
Step 6 — Arrangement moves (make it work in a drop)
Velocity swing shines when you automate density and accent depth.
Try these arrangement ideas:
#### A) Drop energy scaling
- Reduce shaker accent range: keep highs at 90, lows at 55
- Increase contrast: highs 100, lows 40 (more “snap”)
#### B) Pre-drop lift
In the last bar before the drop:
- Velocities: 35–55
- Then slam back to the normal pattern on the downbeat
#### C) Breakdown minimalism
In breakdowns, keep the groove but remove harshness:
---
4. Common mistakes
1. Making everything loud
If every hit sits at 90–110 velocity, you killed the swing. You need contrast.
2. Over-randomizing velocity
Random 20–40 makes it sound drunk, not rolling. Keep random subtle (3–10).
3. Velocity only affecting volume
In DnB, velocity swing becomes real when it affects tone/transient too.
4. Too much low-mid in hand drums
Congas can fight the snare body. High-pass them (often 150–300 Hz).
5. Swinging timing and velocity equally hard
If both are extreme, your hats/percs feel late and messy. Pick a leader:
- Timing swing = subtle
- Velocity swing = primary
---
5. Pro tips for darker/heavier DnB 🖤
Put Saturator after Auto Filter and keep it gentle:
- Mode: Analog Clip
- Drive: 2–6 dB
- Soft Clip: ON
Loud hits will “bark” without turning the whole loop harsh.
Add Multiband Dynamics (or OTT lightly):
- Depth: 5–15% (not 100%)
- Focus it on the high band so accents stay crisp.
Use Compressor with sidechain input from snare:
- Ratio: 2:1–4:1
- Attack: 5–15 ms
- Release: 60–120 ms
- Gain reduction: 1–3 dB on snare hits
This keeps the snare dominant while the groove keeps rolling.
For your lowest-velocity hits, make them less bright:
- Simpler filter slightly lower
- Or use Auto Filter mapping so low hits are less “open”
Once it grooves:
- Resample to audio
- Cut micro fades
- Add tiny reverse bits or stretch artifacts for texture (jungle flavour)
---
6. Mini practice exercise ✅
Goal: Create a 2-bar hand-perc loop that feels like it’s “running” without changing note timing.
1. Duplicate your 1-bar clip to 2 bars.
2. In bar 2 only:
- Shift the shaker velocity pattern so the strongest accent lands on a different 16th step (but keep the same numbers).
3. Add one extra conga ghost hit (velocity 35–50) in bar 2.
4. Use Envelope Follower → Auto Filter Freq mapping:
- Adjust until loud hits are clearly brighter but not piercing.
5. Render to audio and A/B:
- With velocity mapping
- Without velocity mapping
If the groove collapses without mapping, you nailed it.
---
7. Recap
- Simpler velocity sensitivities
- Envelope Follower mapped to Auto Filter
- Drum Buss / Saturator for accent bite
If you want, tell me what style you’re aiming for (jungle roller, techy minimal, neuro-influenced, liquid), and I’ll give you a ready-to-program velocity grid + device settings tailored to that vibe.
```

