Main tutorial
Lesson Overview
This lesson is about building a Vinyl Heat style edit in Ableton Live 12 that feels like it was dug out of a smoky 1995 warehouse tape, but still hits with modern mix control. The goal is to create timeless roller momentum: that forward-moving, hypnotic, heads-down pressure that sits perfectly between oldskool jungle energy, ragga attitude, and darker DnB discipline.
In a real DnB track, this technique lives in the mid-intro into first drop, the 8- or 16-bar groove foundation, and the switch-up sections that keep a roller from becoming loop fatigue. The “Vinyl Heat” idea here is not just lo-fi coloration — it’s the combination of break edit movement, dubwise delay behavior, pitched ragga vocal chops, subtle pitch instability, and controlled saturation that makes the track feel alive and human.
Why this matters: timeless rollers do not rely on endless sound design tricks. They rely on phrasing, groove, low-end discipline, and tension management. If you can make an edit feel like a DJ-friendly, break-driven, ragga-laced loop that never loses momentum, you’ve got a weapon for intros, drops, blends, and full arrangements. 🔥
What You Will Build
You will build a 4-track core roller section in Ableton Live 12:
- A ghosted break edit with sliced fills, shuffled hats, and controlled transient punch
- A sub + reese bass system with call-and-response phrasing
- A ragga vocal chop layer processed to feel like a worn vinyl dubplate
- A Vinyl Heat master scene using saturation, delay throws, light wow-style movement, and arrangement automation
- Oldskool jungle swing, but tighter and cleaner
- A dark, rolling DnB foundation that can hold 16 bars without collapsing
- A ragga-flavoured attitude layer that punctuates the groove
- A mix-ready section with headroom, mono low end, and enough grit to sound urgent
- Too much low end in the reese
- Over-edited breaks that lose the groove
- Ragga vocals sitting too loud and too dry
- Vinyl effects muddying the mix
- Saturation flattening transients
- Arrangement looping without progression
- Resample your own drum bus after a good 8-bar groove, then chop that audio for fills. This gives the track a more cohesive “recorded performance” feel.
- Use micro pitch movement on a reese or ragga hit with very small modulation amounts. Subtle instability can feel expensive and eerie.
- Automate filter resonance carefully on transition moments to create tension without whistle-piercing harshness.
- Parallel distortion works better than full insert abuse for heavy DnB. Keep the clean path alive.
- Use call-and-response between sub and vocal chop: one answers the other, rather than both firing at once.
- Check the mix at low volume. If the roller still grooves quietly, the drum and bass relationship is working.
- Build a “pull-up” moment with a short silence, a reverse tail, then a vocal stab. That’s pure jungle club language.
- Build the track around break edits, sub weight, and restrained reese movement
- Treat ragga vocals as rhythmic dubplate punctuation
- Keep the low end mono, clean, and separate
- Use saturation, delay, and automation to create vinyl heat and momentum
- Arrange in 8-bar phrases with small but meaningful variations
- The best timeless rollers feel human, tense, and DJ-friendly without sounding overworked
The end result should feel like:
Musically, imagine a 174 BPM track with a D minor / F minor center, a break-based drum bed, a sub that answers the kick, and a ragga phrase chopped into short callouts like “step inna di riddim” or “pull up selector” placed as rhythmic punctuation rather than a full lead vocal.
Step-by-Step Walkthrough
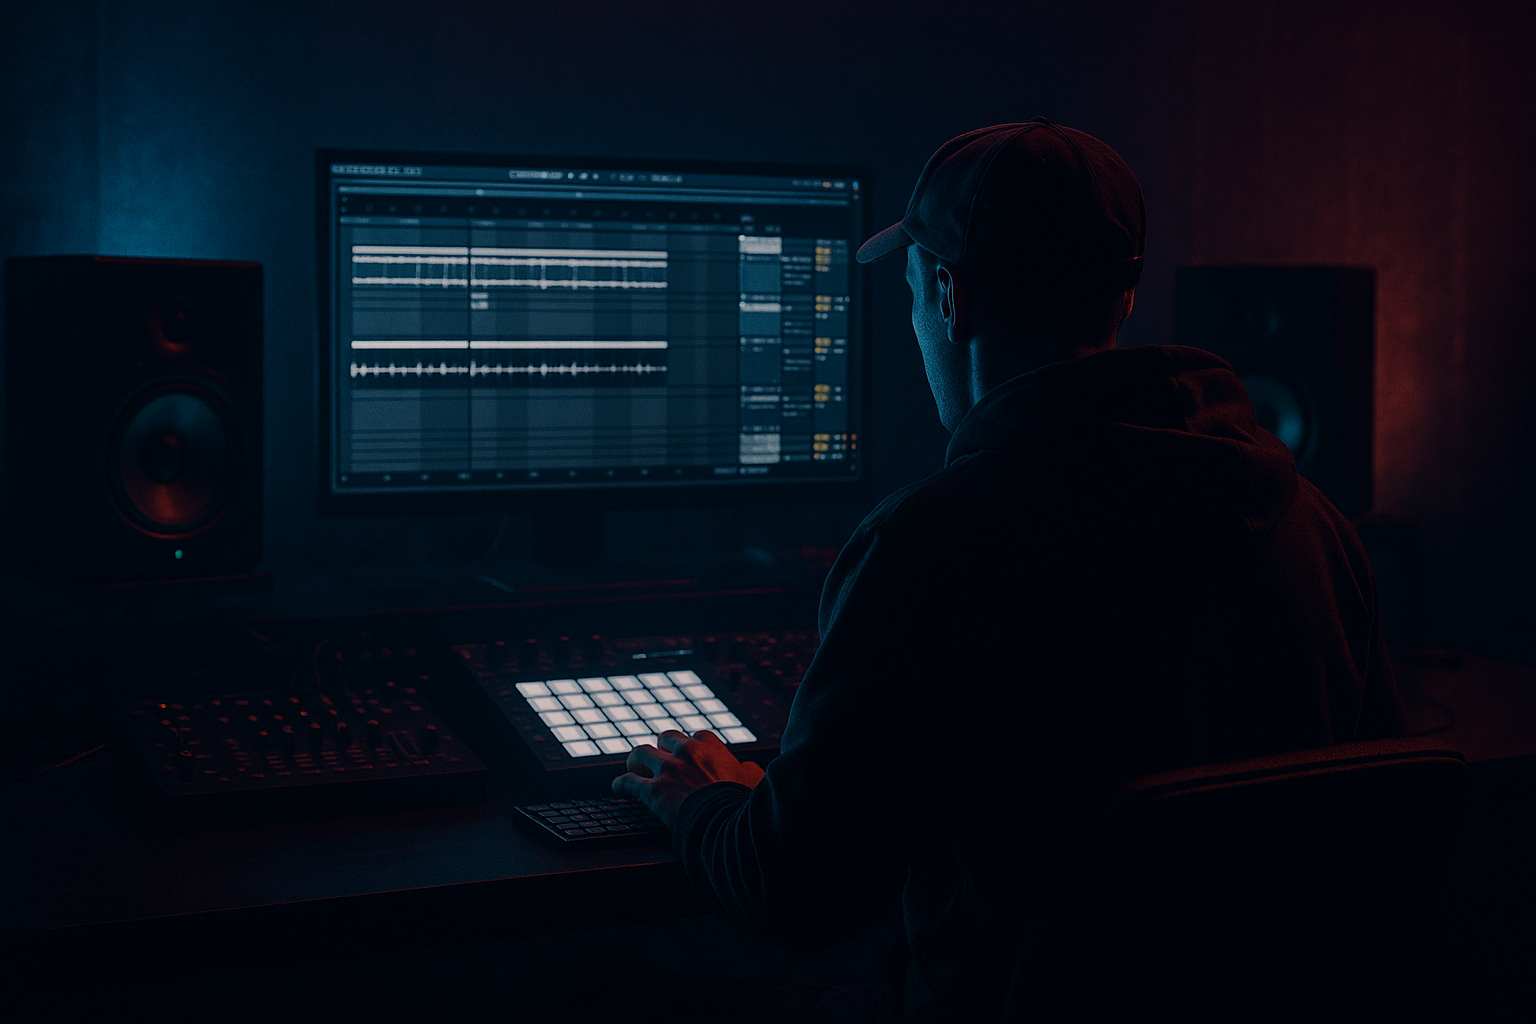
1. Set the session up for a roller-first arrangement
Start at 174 BPM and build around an 8-bar loop. In Ableton Live 12, create four core groups:
- DRUMS
- BASS
- VOCAL / RAGGA
- FX / TRANSITIONS
Put a reference track in a muted audio lane if you want, but keep it low while designing. For this style, the arrangement goal is usually:
- 4 or 8-bar intro
- 16-bar groove establishment
- 8-bar tension edit
- drop reprise with variation
In the DRUMS group, place an Audio Effect Rack on the break bus, then load Drum Buss after it for glue and punch. Leave headroom: aim for your drum bus to peak around -8 to -6 dBFS before mastering.
Why this works in DnB: rollers need room to breathe. If the intro is too dense too early, the drop loses the “I know this groove” payoff. DJ-friendly space also makes the track easier to mix out of and into.
2. Build the break edit from a classic break, then modernize the movement
Drag in a break with strong snares and ghost hits — think Amen, Think, or a similar oldskool-style loop. Use Slice to New MIDI Track in Ableton Live to chop it by transient or 1/8 note if the break is already grid-friendly.
On the new Drum Rack, program a 2-bar pattern with:
- Main snare on 2 and 4
- Ghost notes before the snare
- Small hat pickups in the last 1/8 of bar 2
- One or two micro-fills every 4 or 8 bars
Practical settings:
- In Simpler, use Classic mode for sliced break hits
- Adjust Transient Envelope slightly tighter if the break feels too loose
- Use Groove Pool with a swing around 54–58% if the break needs more human push
- Nudge selected slices by 5–20 ms to create shuffle without wrecking the grid
Add Drum Buss to the break bus:
- Drive: 5–15%
- Crunch: low to moderate, around 5–20%
- Boom: usually off or very subtle for this style
- Transient: +10 to +25 for snap
If the break is too polite, add Saturator before Drum Buss with Soft Clip enabled and Drive around 2–6 dB. This gives the edits a bit of worn tape bite without destroying transient clarity.
Advanced move: duplicate the break track and process the copy with Redux very lightly or Frequency Shifter at tiny amounts for a parallel “dust layer.” Blend it low under the main break to evoke vinyl wear and age.
3. Shape the sub so the groove has weight without swallowing the drums
Create a dedicated sub bass on a MIDI track using Operator or Wavetable. For oldskool roller work, Operator is excellent because it is direct and controlled.
Suggested setup in Operator:
- Oscillator A: sine wave
- No unneeded harmonics
- Filter mostly open or bypassed if not needed
- Short amp attack: 0–5 ms
- Release: 80–160 ms for note overlap control
Write a bassline that is more about phrasing than note count:
- Leave space for the break
- Let the sub answer the kick on offbeats or after-snare pockets
- Use 1/8 and occasional 1/16 pickup notes for momentum
- Keep the line repetitive enough to hypnotize, but vary the last bar every 8 bars
Useful settings:
- Mono: on
- Glide/Portamento: subtle, around 20–60 ms if you want a liquid slide between notes
- Utility after the instrument: Bass Mono only if needed, but avoid overdoing it if the patch is already centered
- Sidechain the sub lightly from the kick using Compressor or Auto Filter envelope follower workflow if you want stronger kick clarity
Keep the sub centered. No stereo tricks down low. The bassline should feel like a physical pulse, not a wide effect.
4. Add a reese layer that carries the tension, not the sub
Build the reese on a separate bass track using Wavetable, Analog, or even a resampled synth audio clip. The classic move is a detuned saw-based patch with movement, but for darker modern DnB, keep the low end out of the reese and let the sub handle fundamentals.
Suggested Wavetable starting point:
- Oscillator 1: Saw
- Oscillator 2: Saw, slightly detuned
- Unison: 2–4 voices maximum if you want control
- Filter: low-pass with moderate resonance
- LFO to wavetable position or filter cutoff for subtle motion
Processing chain:
- EQ Eight: high-pass around 90–140 Hz to clear the sub lane
- Saturator: Drive 2–8 dB
- Chorus-Ensemble or Phaser-Flanger very lightly for width
- Utility: narrow or mono-check low mids if the patch spreads too much
Phrase it like a response system:
- Sub answers the kick in the first half of the bar
- Reese holds longer notes in the second half
- Leave a gap before the snare for impact
- Bring in extra movement on bar 4 and bar 8 only
The “timeless roller” effect comes from restraint. A reese that constantly wobbles is modern but tiring. A reese that breathes with the drums feels like a mature DnB record.
5. Create the ragga element as a rhythmic dubplate, not a lead vocal
Drop in a vocal phrase with clear ragga attitude — it can be a recorded sample, a chopped acapella fragment, or your own voice. The key is to treat it like an instrumental percussion hook.
In Ableton Live:
- Slice the vocal into short hits with Simpler or the built-in warp markers
- Place the chops on offbeats, pickup moments, and end-of-phrase hits
- Use a Send to a dub delay return rather than printing huge delay onto the clip
A strong processing chain:
- EQ Eight: high-pass around 120–180 Hz, cut mud around 250–500 Hz
- Saturator: Drive 1–4 dB
- Echo or Delay: sync to 1/4, 3/16, or dotted 1/8
- Reverb: short or medium room, low wet amount, just enough space
For ragga authenticity, automate:
- Delay feedback on the final word of a bar
- Filter cutoff on selected chops for “radio to dubplate” moves
- Reverb send only on transition hits, not all phrases
This is the musical glue: a few well-placed ragga stabs instantly root the track in jungle culture without cluttering the mix.
6. Make the Vinyl Heat character with controlled lo-fi movement
This is where the track earns its title. Use a parallel texture chain or a dedicated texture return to create “vinyl heat” without killing clarity.
On a return track or parallel bus, try:
- Vinyl Distortion very subtly if you want added crackle character
- Saturator with Soft Clip
- Redux at a very light setting for digital dust
- Auto Filter with a slow, narrow band-pass sweep for transitional moments
- Frequency Shifter at tiny amounts for unstable analogue-like edge
Practical ideas:
- Add a very low vinyl noise bed only in intros and breakdowns, not through the full drop
- Automate a high-pass filter opening from 150 Hz down to 40–60 Hz into the drop for impact
- Create a “heat swell” by automating Saturator drive up 1–2 dB just before a switch
- Use Beat Repeat sparingly on fills with grid settings around 1/8 or 1/16, mix low, and only in transitional spaces
Keep this layer beneath the drums and vocal chops. The point is to imply age and pressure, not to make the mix fuzzy.
7. Arrange the energy like a DJ would mix it
For timeless roller momentum, your arrangement should feel like it can be mixed in and out cleanly. Build an 8-bar intro, then introduce the main break and bass over another 8 bars. After that, alternate between stable groove and micro-variation.
A useful arrangement template:
- Bars 1–8: filtered drums, vinyl texture, short ragga teaser
- Bars 9–16: full break + sub, bass enters gradually
- Bars 17–24: reese joins, vocal chops begin call-and-response
- Bars 25–32: switch-up with a fill, delay throw, or break mutation
- Bars 33–48: main drop variation, slightly denser or darker
- Outro: strip bass first, then break, then texture
Add one clear “statement” moment every 8 bars:
- a snare drag
- a vocal rewind-style delay tail
- a one-bar break cut
- a bass octave jump
- a filter slam into silence before the return
This keeps the roller from flattening out. The listener feels motion because the structure breathes.
8. Mix the core with DnB discipline before adding more spice
Before extra ear candy, lock the core balance:
- Sub and kick should not fight
- Break snare must stay present
- Reese should live above the sub and below the vocal
- Ragga chops should cut through without taking over
Use EQ Eight aggressively but musically:
- On the reese, high-pass around 90–140 Hz
- On vocal chops, trim low mids around 250–400 Hz if cloudy
- On break bus, if harsh, use a gentle dip around 3–6 kHz
- On master only for checks, never for corrective overwork
Use Utility to check mono compatibility. A crucial rule in DnB: the low end must hold up in mono. If the groove collapses, narrow the bass layers and simplify the reverb tails.
Add light bus compression only if needed:
- Glue Compressor on the drum bus with 1–2 dB gain reduction
- Attack moderate or slow enough to preserve punch
- Release timed to the groove, not clamped hard
The best rollers feel loud because they are stable and coherent, not because every track is pushed hard.
9. Automate movement in the last 4 bars of each phrase
Advanced DnB arranging is often about what happens at phrase endings. In your 4th, 8th, or 16th bars, automate small but meaningful changes:
- Open the break filter slightly
- Increase delay send on the vocal chop
- Add a quick reese octave rise
- Drop the sub for one beat before the next phrase
- Raise distortion subtly on the drum bus for the last hit only
Use automation clips/lanes cleanly and commit to repeatable motifs. If every 8-bar phrase ends with a similar maneuver, the track feels intentional and mixable.
A powerful transition trick: mute the sub for 1/4 beat right before a drop re-entry while letting the break and vocal delay continue. That tiny absence makes the return feel bigger.
Common Mistakes
- Fix: high-pass the reese around 90–140 Hz and let the sub own the foundation.
- Fix: keep the original break feel intact. Only move a few slices and preserve natural ghost notes.
- Fix: treat them like rhythmic punctuation. Use short delays, filtered sends, and keep them tucked into the groove.
- Fix: confine noise, crackle, and lo-fi processing to intro/breakdown moments or parallel buses.
- Fix: use parallel processing or lighter Drive, and restore punch with Drum Buss Transient or transient-friendly gain staging.
- Fix: introduce one change every 4 or 8 bars so the listener feels forward motion.
Pro Tips for Darker / Heavier DnB
Mini Practice Exercise
Spend 10–20 minutes building a one-phrase Vinyl Heat roller:
1. Set Ableton Live to 174 BPM.
2. Load a break and slice it into a 2-bar Drum Rack pattern.
3. Program a simple sub line of 3–5 notes in one key.
4. Add a detuned reese that only plays in the second bar.
5. Chop one ragga vocal phrase into 3 short hits and place them at the ends of bars.
6. Add Saturator and Drum Buss on the drum group, keeping the processing subtle.
7. Automate a filter opening into bar 2 and a delay throw on the final vocal hit.
8. Loop it for 8 bars and ask: does it still move when I stop thinking about individual sounds?
Challenge yourself to make the groove feel complete using only these elements. If it works here, scaling it into a full track will be much easier.

