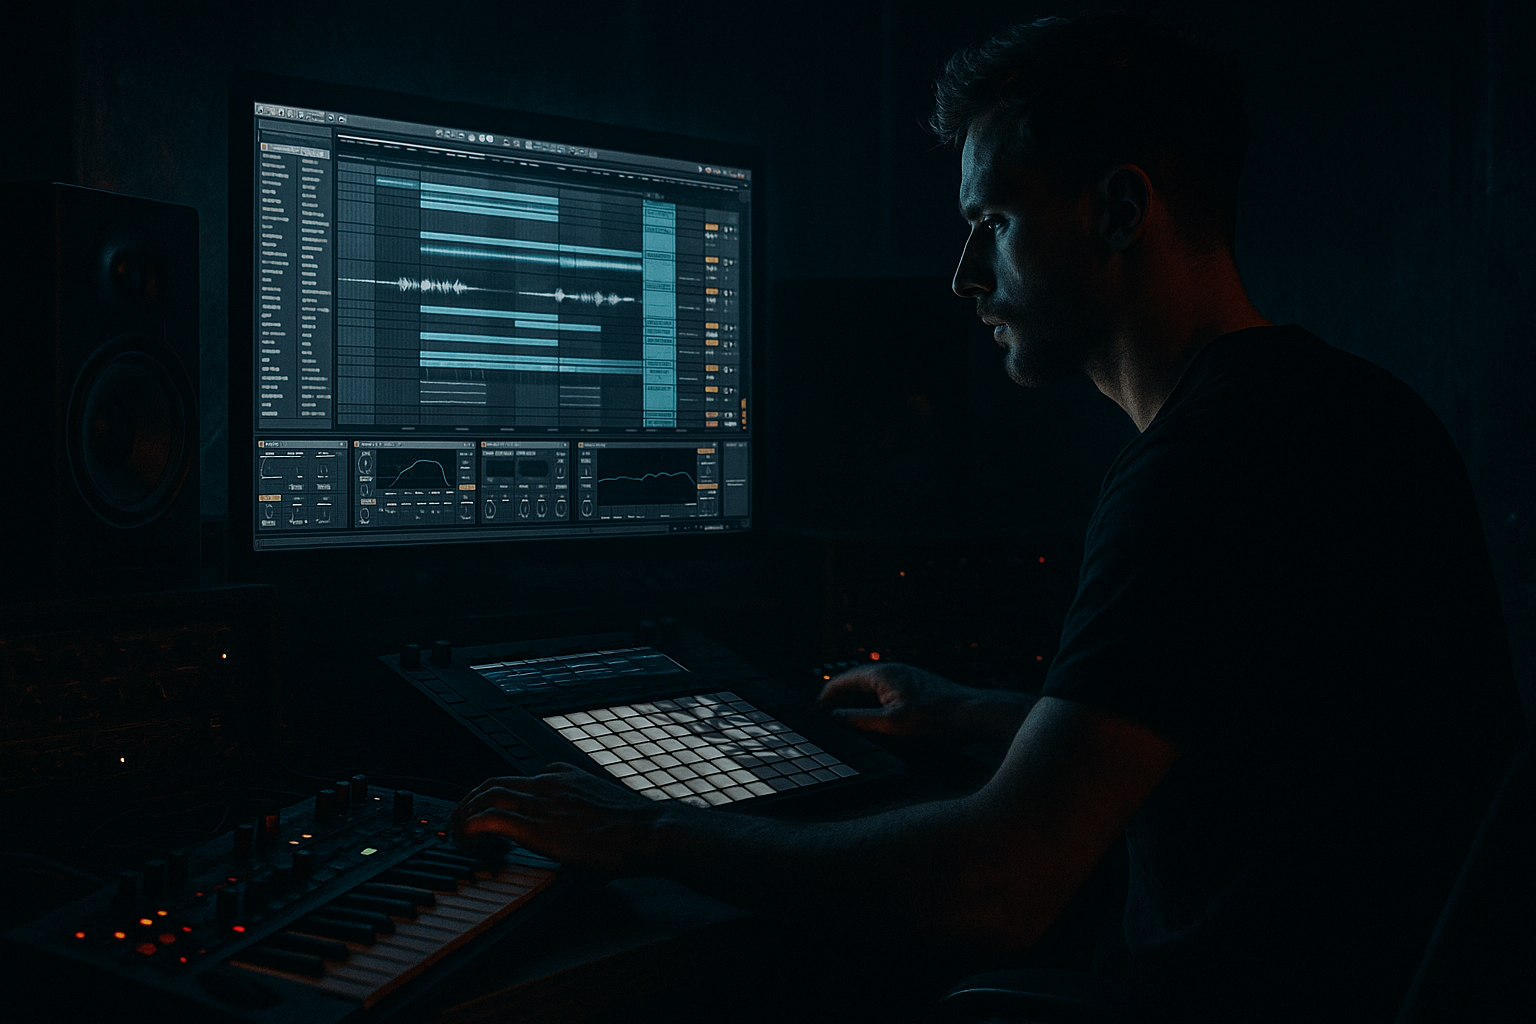
Main tutorial
Lesson Overview
“Vinyl Heat jungle shuffle” is about building a DnB groove that feels like it was cut from a warm, slightly worn record, then rearranged into a modern Ableton Live 12 roller with jungle energy and tight sub control. The goal is not just to make drums “swing” — it’s to create a loop that has character, shuffle, and pressure, then arrange it into a proper track section with tension, release, and DJ-friendly structure.
This technique sits right at the core of darker DnB, jungle revival, rollers, and broken beat-inflected bass music. You’re combining:
- a shuffled break foundation
- vinyl-style texture and transient grit
- a disciplined sub/bass layer
- arrangement moves that keep the loop evolving every 8 or 16 bars
- a swung jungle break layered with a punchy kick and controlled snare
- a sub bass that stays mono and leaves space for the drums
- a darker mid-bass or reese texture for call-and-response
- vinyl-style grit and room tone for character
- transition effects, fills, and automation to make the loop evolve
- a DJ-friendly intro or outro that could slot into a larger track
- Over-swinging the whole drum pattern
- Too much low end in the break layer
- Bassline playing constantly
- Stereo widening the sub
- Distorting the drums too early
- Too many fills every 2 bars
- Ignoring the arrangement after making a good loop
- Layer a very quiet noise or vinyl ambience track under the break, then high-pass it heavily so it adds texture without mud.
- Use subtle frequency modulation or filter automation on the mid-bass to create menace without changing the sub note choice.
- For extra underground grit, add a second Saturator on the drum bus at low drive instead of cranking one device hard.
- Duplicate the snare and process the duplicate differently: one clean/snappy, one darker/thicker. Blend to taste.
- Try short reverse cymbal or reverse break hits into the snare of bar 9, 17, or 25 to create drop pull.
- If the groove feels too polite, delay selected ghost notes by a few milliseconds instead of quantizing everything harder.
- For roller weight, keep the bass phrase simple but vary the drum accents. For neuro-darker movement, do the opposite: keep the drums locked and animate the bass texture more.
- Use Utility to automate a tiny width lift on mid-bass only during build moments, then collapse it back before the drop for impact.
- Build the groove from a shuffled break, not from a rigid grid.
- Reinforce kick and snare so the rhythm hits hard in the mix.
- Keep the sub mono, sparse, and phrase-aware.
- Use a separate mid-bass layer for movement and call-and-response.
- Automate filter, saturation, and fills to turn the loop into an arrangement.
- In DnB, the magic is in the balance of swing, pressure, and restraint.
Why it matters: in DnB, groove is identity. A plain four-to-the-floor mindset won’t give you the push-pull feel that makes jungle or rollers move. The “vinyl heat” part adds warmth, saturation, and a slightly unstable human feel. The “shuffle” gives the drums pocket and momentum. The “arrange” part turns a good loop into an actual tune.
In this lesson, you’ll build a drum-and-bass section in Ableton Live 12 using stock devices only, then shape it into a mix-ready 16- to 32-bar musical idea. 🎛️
What You Will Build
You’ll create a compact DnB arrangement element with:
Musically, think of a 174 BPM roller with a moody 2-bar drum cycle, where the snare lands hard on 2 and 4, the break chatter fills around it, and the bass answers the drum phrasing instead of fighting it. A good reference context here is the energy of a dark warehouse roller with a subtle jungle nod — enough swing to feel alive, enough control to hit in the club.
Step-by-Step Walkthrough
1. Build the project foundation and set your working grid
Start a new Ableton Live 12 set at 172–176 BPM. For this lesson, 174 BPM is the sweet spot because it sits right in the center of modern DnB and keeps the shuffle feeling agile.
In Arrangement View, set your loop length to 16 bars so you can hear actual progression, not just loop fatigue. Turn on the metronome and set the grid to 1/16, but keep 1/8 and 1/16 triplet handy for later edits.
Create four audio/MIDI tracks:
- Drums Break
- Kick/Snare Layer
- Bass Sub
- Bass Texture / FX
Put a Utility on the Master and keep it there from the start. Set Gain to 0 dB for now, but use it later for quick stereo checks. Keep your master peaking safely below 0 dB, ideally around -6 dB during production.
Why this works in DnB: the genre moves fast, so a clean project layout saves you from overbuilding. If your loop is strong at 16 bars, it will survive arrangement later.
2. Design the “vinyl heat” drum bed with a shuffled break
Drop a classic break sample into Simpler or directly onto an Audio track. A chopped break with enough midrange detail works best. In Simpler, set Playback to Classic and turn Warp off if the sample already sits well, or use Complex Pro only if needed for timing.
Slice the break to a Drum Rack if you want more control. Keep the main drum hits on separate pads:
- kick-heavy slices
- snare ghost slices
- hats and shuffles
- fill hits or vocal noise bits
Now use Groove Pool to apply swing. A solid starting point:
- MPC 16 Swing 56–60
- or a subtle 55% groove if the break is already busy
Then manually nudge a few ghost notes late by 10–20 ms to get the “behind the beat” pocket. Don’t swing everything equally — keep the main snare strong and let the smaller notes lean back.
Add Vinyl Distortion from Ableton stock devices:
- Drive: 8–18%
- Crunch: low to moderate
- Tracing Model: small amount only
- Keep Output trimmed so it doesn’t spike
Follow that with Saturator:
- Soft Clip on
- Drive: 2–5 dB
- Dry/Wet: 40–70%
If the break needs more body, use Drum Buss lightly:
- Drive: 5–10%
- Transients: slightly up for snap
- Crunch: low
- Boom: usually off or very low for this stage
The idea is “record heat,” not destroyed lo-fi mush. You want the break to feel aged and alive, while the important transients still punch through.
3. Layer kick and snare to anchor the break
Even if your break already has usable kick and snare content, reinforce them. In DnB, this is often what separates a sketch from a tune.
On your Kick/Snare Layer track, add a clean kick sample and a snare sample. Use simpler one-shots with tight envelopes:
- kick: short decay, solid fundamental around 50–60 Hz
- snare: focused crack with some 180–220 Hz body and 2–5 kHz presence
Program the kick to support the break, not flatten it. A good starting pattern:
- kick on beat 1
- occasional pickup kick just before the snare
- avoid cluttering the lower mids with too many simultaneous low hits
Program the snare on 2 and 4, then subtly layer the break’s snare ghosts underneath.
Process the layer with EQ Eight:
- high-pass the snare layer gently below 90–120 Hz
- cut any muddy low mids around 250–500 Hz if needed
- tame harshness around 5–8 kHz only if the hit gets spitty
Add a Compressor if the layer feels inconsistent:
- Ratio: 2:1 to 4:1
- Attack: 10–30 ms for punch
- Release: 60–120 ms
- Aim for 2–4 dB gain reduction
This is where the groove gets its spine. The break provides motion; the layers provide authority.
4. Program the sub bass with room for the drums
Create a bassline that follows the break’s energy, not a busy melody that competes with it. In dark DnB, a simple, well-placed sub phrase usually works better than constant notes.
Use Wavetable, Operator, or Analog for the sub source:
- Wavetable: sine or triangle-based patch
- Operator: pure sine with slight saturation after
- Analog: basic sine/triangle with short amp envelope
Suggested starting settings:
- Oscillator: sine or triangle
- Mono on
- Glide: 40–90 ms if you want occasional slides
- Filter: low-pass open enough to keep only low fundamentals
- Amp envelope: fast attack, short/medium decay, moderate release
MIDI-wise, keep the sub phrasing sparse. Try notes that answer the snare or fill gaps after the break hits. For example, in a 2-bar loop:
- bar 1: root note on beat 1, then a short response note after the snare
- bar 2: a small variation, maybe a passing note or octave move into the next cycle
Add Saturator or Redux very gently if the sub needs translation on smaller systems:
- Saturator Drive: 1–3 dB
- keep it subtle
- avoid turning the sub into midrange fuzz
Put Utility after the synth and keep bass mono:
- Width: 0% or use Bass Mono via Utility on the low layer
- If you split layers, keep only the low band mono and allow higher texture elsewhere
Why this works in DnB: the kick/snare/break relationship drives the perceived speed. If the sub fills too much space, the track feels slower and less aggressive. Sparse sub phrasing creates impact.
5. Add a mid-bass or reese layer for call-and-response
Create a second bass layer for character. This should live above the sub and give the track a darker, more modern identity.
Build it with Wavetable, Analog, or a sampled bass resample in Simpler. Start with:
- detuned saws or a slightly hollow wavetable
- low-pass filter movement with modest resonance
- small pitch or filter modulation for motion
Add a Chorus-Ensemble or Phaser-Flanger only if it stays controlled. For darker DnB, a stereo-enhanced reese works best when the low end is stripped away:
- EQ Eight high-pass around 120–180 Hz
- emphasize the 250–800 Hz movement range
- tame any painful bite around 2–4 kHz if needed
Route the bass layers through a group called Bass Bus. On the bus, use:
- Glue Compressor for mild cohesion
- Ratio 2:1
- Attack 10 ms
- Release Auto or 0.3 s
- only 1–2 dB gain reduction
- Saturator to add density
- Utility to check mono compatibility
Phrase the mid-bass as a response to the drums:
- short note stabs after snare hits
- held note during a break fill
- filter-open note at the end of every 4 or 8 bars
This call-and-response is a huge part of modern DnB arrangement. It keeps the tune conversational instead of repetitive.
6. Shape the groove with automation and micro-edits
Now make the loop feel like it “breathes” over time. This is where intermediate producers level up.
In Arrangement View, duplicate your 2-bar idea across 16 bars. Then automate a few key parameters:
- drum break filter cutoff for subtle energy lift
- bass filter opening at the end of phrases
- Saturator Drive increase for a transition
- reverb send on selected snare hits or fills
Use Auto Filter on the break or bass texture:
- cutoff around 300–800 Hz for darker tension
- automate up slightly before a drop or switch
- keep movement small; DnB automation is often about restraint
Add tiny fills every 4 or 8 bars:
- reverse break fragment
- snare roll using repeated 1/16 or 1/32 hits
- one-bar drum dropout before the next phrase
Keep one or two “signature” moments:
- a half-bar break cut
- a bass note held into silence
- a vinyl stop-style transition using a quick filter or pitch dip
A practical arrangement context: if your drop starts at bar 17, then bars 1–16 should hint at the groove through a DJ-friendly intro, and bars 9–16 can introduce a filtered version of the break so the drop lands with contrast.
7. Build a proper DnB arrangement skeleton
Don’t leave this as a loop. Turn it into a section.
A simple structure for this idea:
- Bars 1–8: intro with filtered drums, atmosphere, and a hint of sub
- Bars 9–16: tension build, more break detail, bass teases
- Bars 17–32: full drop with all layers active
- Bars 33–40: switch-up with reduced drums or half-time-feel fill
- Bars 41–48: second drop variation or bass rewrite
For DJ usability, keep the intro/outro clean enough for mixing:
- intro: fewer low-frequency elements, maybe only hats, chopped break tops, and filtered atmospheres
- outro: strip the bass first, then let the drums ride
Use Return tracks for space:
- Reverb with short decay for drums, longer decay for atmospheric tails
- Delay on a send for occasional snare echoes or texture flicks
Keep the drop focused. In DnB, too much constantly happening kills impact. Give the listener clear sections where the groove simplifies before the next hit.
8. Final mix checks for weight and clarity
Before you print anything, do a quick discipline pass.
On the Master and Bass Bus:
- check mono compatibility with Utility
- make sure the sub stays centered
- if the bass feels wide, narrow the low end and keep stereo in the upper bass only
Use EQ Eight on the drum break if needed:
- reduce harsh cymbal peaks around 7–10 kHz
- remove muddiness around 200–400 Hz if the break fights the snare
- don’t overcut the character out of the sample
Headroom targets:
- keep the master peaking around -6 dB while producing
- avoid heavy limiting too early
- let kick/snare hit clearly without flattening the groove
If the break and snare compete, use Transient shaping via Drum Buss or adjust sample envelopes instead of just EQ. Often the problem is timing and envelope overlap, not tone alone.
Common Mistakes
Fix: keep the main snare grounded and only push ghost notes or hat details into the pocket.
Fix: high-pass the break gently and let the dedicated sub own the bottom.
Fix: leave gaps. In DnB, silence and short responses create more power than nonstop notes.
Fix: keep sub mono. Put width only in the mid-bass or texture layer.
Fix: use saturation in stages, not one huge destructive pass.
Fix: let the loop breathe. Strong 4- and 8-bar phrasing usually feels more professional.
Fix: duplicate the loop into sections and automate changes immediately.
Pro Tips for Darker / Heavier DnB
Mini Practice Exercise
Set a 15-minute timer and build this from scratch in Ableton Live 12:
1. Make a 2-bar loop at 174 BPM.
2. Load one break, one kick, one snare, one sub synth, and one mid-bass synth.
3. Apply Groove Pool swing to the break and manually move three ghost notes slightly late.
4. Reinforce the snare on 2 and 4 with a clean layer.
5. Program a sparse subline with no more than 4 notes per 2 bars.
6. Add a reese or mid-bass answer on only 2 of those notes.
7. Put Saturator and EQ Eight on the bass bus.
8. Duplicate the loop into 8 bars and automate one filter movement and one fill.
9. Check mono and trim the master so it stays comfortably below clipping.
Goal: after 15 minutes, you should have a loop that already feels like a section of a track, not just a beat.

