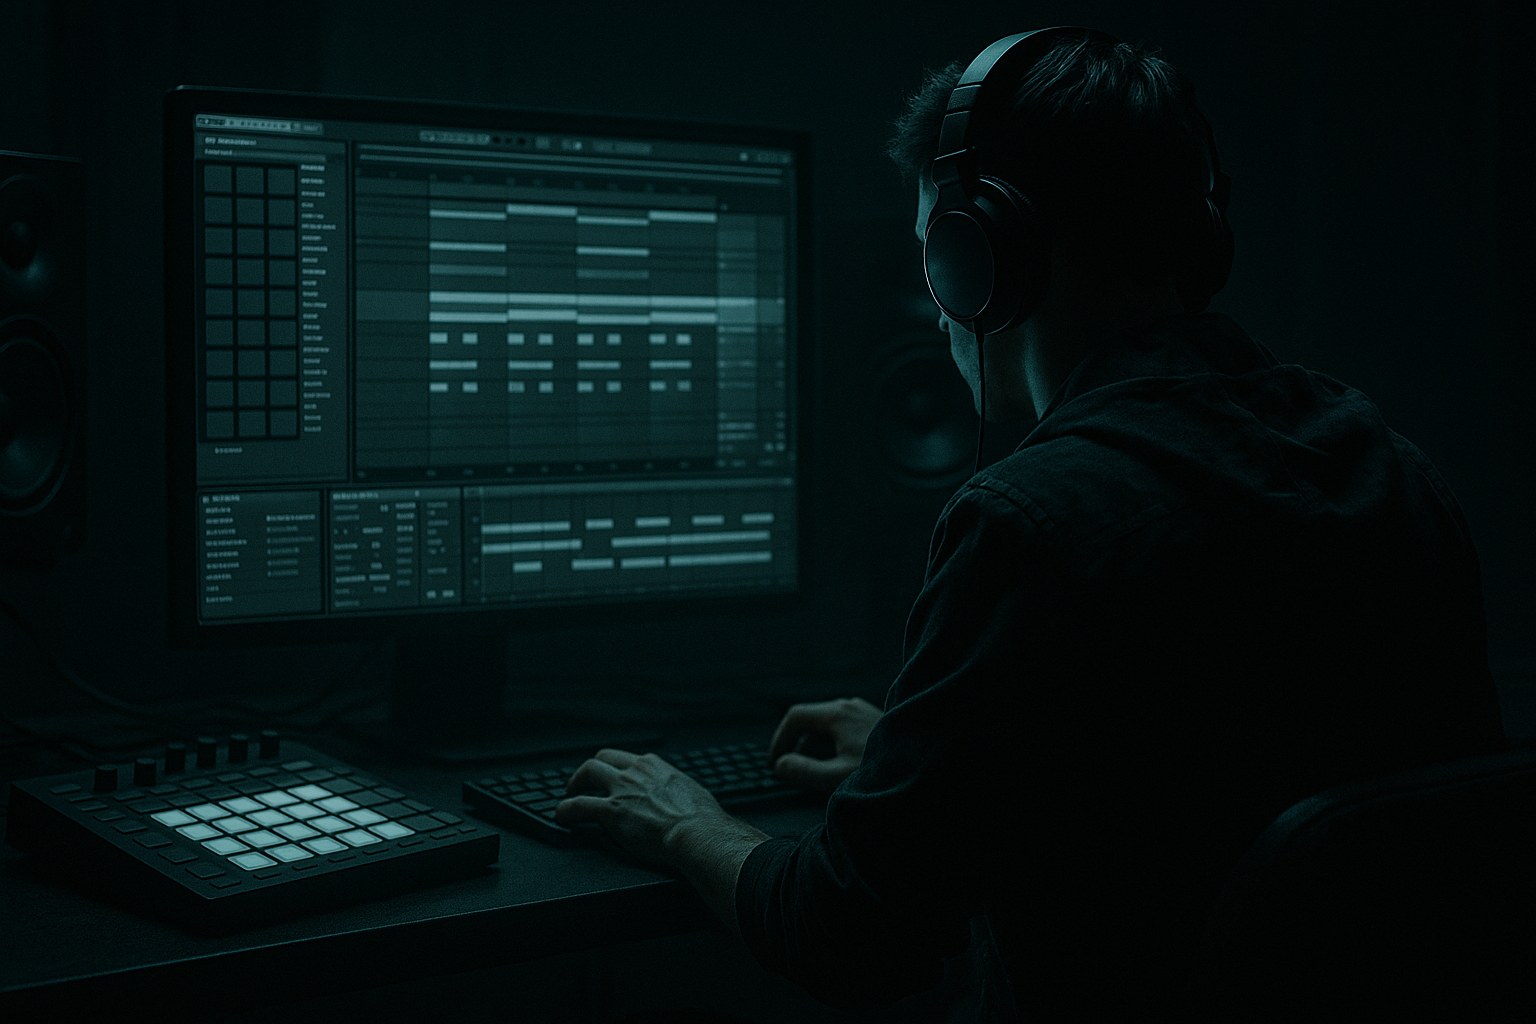
Main tutorial
```markdown
VIP Arrangement Workflows from Scratch Using Session View (DnB in Ableton Live) 🥁⚡
1) Lesson overview
A “VIP” in drum & bass usually means a special rework of your own tune: same DNA, but with new drops, alternate bass phrases, switch-ups, extra drums, and surprise moments. In Ableton Live, the fastest way to build VIPs is to treat Session View like a performance sketchpad—then record a strong live take into Arrangement View.
In this lesson you’ll build a practical VIP workflow from scratch: scenes, clip variations, clip envelopes, follow actions, resampling, and a clean “record-to-arrangement” capture—all geared for rolling, dark DnB.
---
2) What you will build
By the end, you’ll have a Session View project that can generate a full VIP arrangement, including:
- 3 drop variations (A / B / “VIP switch”)
- 2 drum intensities (rolling vs. smashed)
- Bass phrase swaps (call/response + mid-bass stabs)
- Breakdown + tension builder scenes
- A recorded performance into Arrangement View that you can refine into a final track structure
- Track 1: Kick
- Track 2: Snare/Clap
- Track 3: Hats
- Track 4: Break (amen/think)
- Track 5: Perc/Top loop
- Track 6: Drum Buss Return/Parallel (optional routing)
- Drum Rack for one-shots
- Drum Buss on the DRUMS group
- Saturator (Soft Clip on) for controlled smack
- EQ Eight to high-pass hats/percs (cut junk below 200–400 Hz)
- Rolling (A): tight, minimal ghost notes
- Heavy (B): extra hat 16ths, more break layer, extra snare flam
- Track 1: Sub
- Track 2: Mid Bass (main)
- Track 3: Bass Stabs/Resample
- Instrument: Operator
- Add EQ Eight:
- Sidechain with Compressor (stock) keyed from Kick:
- `Sub_A (straight)`
- `Sub_B (syncopated / off-beat pushes)`
- `Sub_VIP (different note pattern / octave jumps)`
- Instrument: Wavetable (or Operator if you prefer)
- Chain suggestion (stock):
- `Mid_A (call)`
- `Mid_A2 (response)` — change rhythm and end with a fill
- `Mid_B (alternate groove)` — more space, heavier hits
- `Mid_VIP (new riff)` — keep the same key, but different “signature”
- Track: Pads/Noise
- Track: Reese layer (optional)
- Track: Risers/Impacts
- Analog or Wavetable (noise/pad)
- Hybrid Reverb
- Auto Pan (slow, subtle width)
- EQ Eight high-pass to keep lows clean
- Intro atmos (DJ-friendly = less busy)
- Pre-drop noise riser (8 bars)
- Drop atmos (subtle, not masking drums)
- Track: `Downlifters`
- Track: `Uplifters`
- Track: `Impacts/Reverse`
- Macro 1: Reverb size (Hybrid Reverb)
- Macro 2: Delay feedback (Echo)
- Macro 3: Filter sweep (Auto Filter)
- Macro 4: Saturation (Saturator drive)
- Reverse crash + tape-stop style effect (use Frequency Shifter or clip transpose automation + reverb tail)
- Then drop into a new bass phrase with stripped drums for 4–8 bars.
- Put `Mid_A (call)` and `Mid_A2 (response)` as two clips in the same track.
- Set Follow Action:
- On the last 1/2 bar of a 4-bar phrase, automate Send A up for a reverb tail.
- Pitch a one-shot stab down -2 or -5 semitones as a “VIP signature.”
- Sub track: mono
- Sidechain:
- Group processing:
- Go to Arrangement View.
- Consolidate obvious sections:
- Tighten transitions with:
- Drop A (32)
- Breakdown (16)
- Drop B (32) but with VIP bass phrase + heavier drums
- Final 16 bars: bring back original hook for recognition
- Pre-drop builds to 2-step…
- Last 2 beats: cut drums → half-time 4 bars
- Slam back into full-time with a new mid phrase
- Drop A modern 2-step
- Midway: switch to Think break layer + ride hats
- Keep sub steady so DJs don’t panic 😄
- Too many tracks instead of clip variations: Session View thrives on variations in the same lane.
- VIP switch is just “more stuff”: A real VIP moment usually changes rhythm, bass phrase, or drum topology (not only louder layers).
- Break layers out of time: If your break warp is messy, your whole VIP feels amateur. Spend time aligning transients.
- Sub changes every scene: Keep sub patterns stable unless the VIP identity is specifically a new sub riff.
- Over-random Follow Actions: Controlled alternation > unpredictable roulette.
- Make the VIP switch a negative space moment: pull drums for 1 bar, let a reverb tail breathe, then drop new bass phrase.
- Use Resonators quietly for horror tone:
- Mid bass “bite” with Frequency Shifter (subtle):
- Parallel distortion on drums:
- Clip-based reverb throws (not constant wash): darker DnB stays punchy; use reverb as punctuation.
- Session View is your VIP sketch + performance environment: scenes = sections, clips = variations.
- Build A/B/VIP versions for drums and bass using clips (not extra tracks).
- Use Follow Actions for controlled movement and clip envelopes for section-based automation.
- Record your scene launches into Arrangement View, then refine transitions and automation.
- A strong VIP changes phrase, rhythm, or drum energy—while keeping the track’s identity intact.
Target vibe: rolling 174 BPM, dark, weighty, a touch of jungle energy.
---
3) Step-by-step walkthrough
Step 0 — Project setup (fast + clean)
1. Tempo: set to 174 BPM (or 172–176 depending on your style).
2. Warp mode defaults:
- Drums: Beats
- Bass/music: Complex Pro (only if necessary), or keep it simple with Repitch for breaks
3. Create groups:
- DRUMS
- BASS
- MUSIC/ATMOS
- FX
- VOCAL/SHOTS (optional)
Tip: Color code tracks now. VIP workflows depend on speed and clarity. 🎯
---
Step 1 — Build a Session View “VIP grid” (scenes = sections)
In Session View, rename scenes like this (these are typical DnB sections):
1. `01 Intro DJ-friendly (16)`
2. `02 Intro Full (16)`
3. `03 Pre-drop / Tension (8)`
4. `04 Drop A (32)`
5. `05 Break / Half-time tease (16)`
6. `06 Drop B (32)`
7. `07 VIP Switch (16)`
8. `08 Final Drop A+ (32)`
9. `09 Outro DJ-friendly (16)`
Numbers help keep Arrangement order consistent. You’re building a “choose-your-own-drop” system.
---
Step 2 — Drums: create variations as clips, not new tracks
Inside DRUMS group:
#### Core rolling kit suggestions (stock devices)
- Drive: 5–15%
- Boom: 20–40 Hz, Amount 10–30% (watch headroom!)
#### Make two drum “intensity lanes”
For each main drum track, create clip variants:
Example: on the Break track:
1. Drop an Amen or Think break.
2. Warp:
- For crunchy jungle feel: Repitch, then manually line transients.
- For tight modern: Beats with transient loop mode.
3. Create clips:
- `Break_A (subtle)`
- `Break_B (louder + more slices)`
- `Break_Fill (1 bar)` with a little stutter
Practical move: Use clip gain (not track fader) to level-match quickly across scenes.
---
Step 3 — Bass: design 3 phrases that can swap per scene
Inside BASS group:
#### Sub track (simple, solid)
- Osc A: Sine
- Envelope: short-ish release (80–150 ms)
- Low-pass around 120–180 Hz (keep clean)
- Ratio: 4:1
- Attack: 1–3 ms
- Release: 60–120 ms (tune to groove)
Create sub clips:
#### Mid bass track (movement + aggression)
- Start with a basic wavetable like Basic Shapes
- Unison: 2–4 voices (keep it controlled)
1. Auto Filter (for motion)
- LP24, Drive 2–6
- Assign Filter Freq to Macro 1
2. Saturator
- Drive 3–9 dB, Soft Clip ON
3. Amp (optional) for bite
4. EQ Eight (clean mud 200–400 Hz if needed)
5. Glue Compressor (light)
- 1–2 dB GR max
Create 3 mid clips:
DnB VIP trick: keep the sub pattern recognizable, but switch the mid rhythm so the drop feels fresh without losing identity.
---
Step 4 — Atmos/Music: build scene-specific tension tools
Inside MUSIC/ATMOS:
Stock device chain idea for atmos:
- Big dark plate or cavern
- High cut around 6–10 kHz
Make clips per scene:
---
Step 5 — Build FX clips that “announce” VIP sections
Inside FX group:
Use Audio Effect Rack on an FX bus with macros:
VIP moment idea: 1 bar before `VIP Switch`, launch:
---
Step 6 — Use Follow Actions to generate movement (controlled chaos) 🎛️
This is where Session View becomes a VIP machine.
#### For drum fills
1. On a `Fill` clip (1 bar), open Clip View → Launch box.
2. Set:
- Follow Action Time: `1 bar`
- Follow Action: `Next`
3. Place Fill clips right above the normal drum clip so “Next” returns to your main loop.
#### For bass call/response
- Clip 1: After `2 bars` → Next
- Clip 2: After `2 bars` → Previous
Now it alternates automatically in Drop A, giving you movement without manual launching.
Keep it musical: If it starts feeling random, you’ve gone too far. VIP ≠ chaos.
---
Step 7 — Clip Envelopes: automate filters, pitch, and sends per section
For each important clip (especially bass):
1. Clip View → Envelopes
2. Choose:
- Mixer → Send A (to reverb) for single-hit “throws”
- Auto Filter → Frequency for sweeps
- Transpose (for audio) to create quick pitch drops
Practical DnB examples:
---
Step 8 — Route and sidechain properly (don’t let the low end fight)
Golden routing:
- Use Utility → Width = 0% under ~120 Hz (or entire sub track)
- Sub ducks to Kick
- Mid ducks slightly to Kick + Snare (optional, subtle)
- DRUMS group with Drum Buss + gentle Glue
- BASS group with subtle saturation + EQ cleanup
Pro workflow suggestion: Put a Spectrum on the Master and on BASS group. You should see if the sub is consistent.
---
Step 9 — Record your VIP performance into Arrangement View 🎬
This is the payoff: you “play” your arrangement from scenes.
1. In Session View, enable:
- Global Quantization: `1 Bar` (safe for DnB)
2. Arm Arrangement Record (top transport).
3. Launch scenes in order:
- Start with Intro DJ-friendly
- Move into Intro Full
- Pre-drop
- Drop A
- Break
- Drop B
- VIP Switch
- Final Drop
- Outro
Perform it like a DJ: mute hats for 8 bars, drop the break layer in later, trigger fills sparingly. Your first take should feel energetic, not perfect.
After recording:
- Select 32 bars → `Cmd/Ctrl+J` to consolidate if needed.
- Automation lanes (filters, reverbs, volume fades)
- Crash placement and impact timing
---
Step 10 — VIP arrangement ideas (structures that work)
Here are practical DnB VIP patterns:
A) Classic “Double Drop” VIP
B) “Half-time fakeout”
C) Jungle injection
---
4) Common mistakes
---
5) Pro tips for darker/heavier DnB 🖤
- Add Resonators on a stab/atmo return, mix 5–15% wet, tune to track key.
- Frequency Shifter in Ring Mod mode, very low amount (2–10 Hz) for uneasy movement.
- Return track with Saturator → Drum Buss → EQ Eight (band-limit) → mix in 5–20%.
---
6) Mini practice exercise (20–30 minutes)
1. Create scenes: Intro (16), Pre-drop (8), Drop A (32), Drop B (32), VIP Switch (16), Outro (16).
2. Build only:
- Kick + Snare
- Hats
- Sub (Operator)
- Mid (Wavetable)
- One break layer
3. Make two mid-bass clips:
- `Mid_A` (2-bar loop)
- `Mid_VIP` (2-bar loop, different rhythm)
4. Add Follow Actions so `Mid_A` alternates with a response clip.
5. Record one full performance to Arrangement.
6. Listen back and mark:
- Where did energy drop unintentionally?
- Where did it feel repetitive?
- Where could a 1-bar fill help?
Deliverable: a rough VIP arrangement that feels like a DJ-ready tune, even if mixdown isn’t final.
---
7) Recap
If you want, tell me your sub key (e.g., F minor) and your core drum vibe (rollers vs. jump-up vs. jungle), and I’ll suggest a concrete 8-scene VIP plan with exact bar counts and bass clip patterns.
```

