Main tutorial
```markdown
Vocal Cadence as Composition Guide Masterclass (Modern Control + Vintage Tone) 🎙️⚙️
Advanced Composition | Drum & Bass in Ableton Live
---
1) Lesson overview
In drum & bass, cadence is the hidden grid behind the groove: the way syllables land, how phrases breathe, where emphasis sits, and how tension resolves. In this masterclass you’ll use vocal cadence (from a recorded vocal, an acapella, a spoken phrase, or even your own quick phone recording) as a composition blueprint—not just a top-line.
You’ll learn how to:
- Extract rhythmic “meaning” from speech (stress, timing, phrasing)
- Use it to drive drum programming, bass rhythm, and arrangement
- Keep modern mix control (clean low end, predictable transients) while injecting vintage tone (tape/room/early sampler grit)
- A vocal cadence grid that controls:
- A modern tight low end (sub discipline + sidechain clarity)
- A vintage-toned vocal (tape-ish saturation, early sampler vibe, mono-ish placement)
- a spoken line (“don’t let it go / keep it moving”)
- a ragga snippet
- your own voice memo
- Keep some syllables slightly ahead/behind.
- If the vocal is rushed, use Warp Marker drift to make phrase endpoints land cleanly at bar boundaries.
- Stressed: 100–127
- Unstressed: 35–70
- Ghost: 1–25
- Kick: 1.1
- Snare: 1.2
- Kick: 1.3
- Snare: 1.4
- Random: 10–18
- Out Hi/Low: keep controlled
- Extract groove from the vocal clip:
- Apply it to:
- Timing: 20–40%
- Velocity: 10–25%
- Random: 0–5%
- tom hits on stresses
- snare drag on a run of quick syllables
- a single reverse cymbal into the next phrase
- Instrument: Operator
- Envelope:
- Instrument: Wavetable or Operator
- Filter (Auto Filter):
- Stressed syllables = main bass notes (longer notes, stronger)
- Unstressed syllables = short stabs or note repeats
- Phrase endings = dropouts (space is power)
- Compressor sidechain from Kick (or a ghost kick track)
- Use Shaper (if you have Live 12 Suite) or Auto Pan as a volume shaper workaround:
- Utility → Width 0–60% (often mono-ish works best in DnB)
- Drop locators at:
- Bars 1–8: Full groove + vocal phrase A (establish motif)
- Bars 9–16: Variation of phrase A (drum edit + bass response)
- Bars 17–24: Phrase B or chopped A (increase density)
- Bars 25–32: Remove something (sub dropout / halftime tease) then reload
- last syllable = tape stop (very short)
- stressed word = snare flam layer
- breath = 1/8 kick mute
- end of phrase = bass filter opens 10–15%
- Auto Filter cutoff on MID BASS
- Saturator drive on vocal
- Reverb send for word throws
- Beat Repeat on vocal bus for stutters (very short, synced)
- Make cadence “threatening” with downward inflections
- Use formant-ish movement without external plugins
- Layer a “shadow cadence” in percussion
- Sub discipline for heaviness
- Distortion parallel, not serial
- Does the groove feel like it’s talking?
- Do phrase endings feel like events?
- Vocal cadence is a composition ruler: stress, spacing, and phrasing guide the whole track.
- Build a Cadence MIDI grid and let it drive drums, bass rhythm, and arrangement decisions.
- Keep modern control by stabilizing sub timing and using clean sidechain discipline.
- Add vintage tone with subtle saturation, light downsampling, and mono-ish placement—while filtering sends hard.
- Arrange by phrase arcs to escape loops and create narrative momentum.
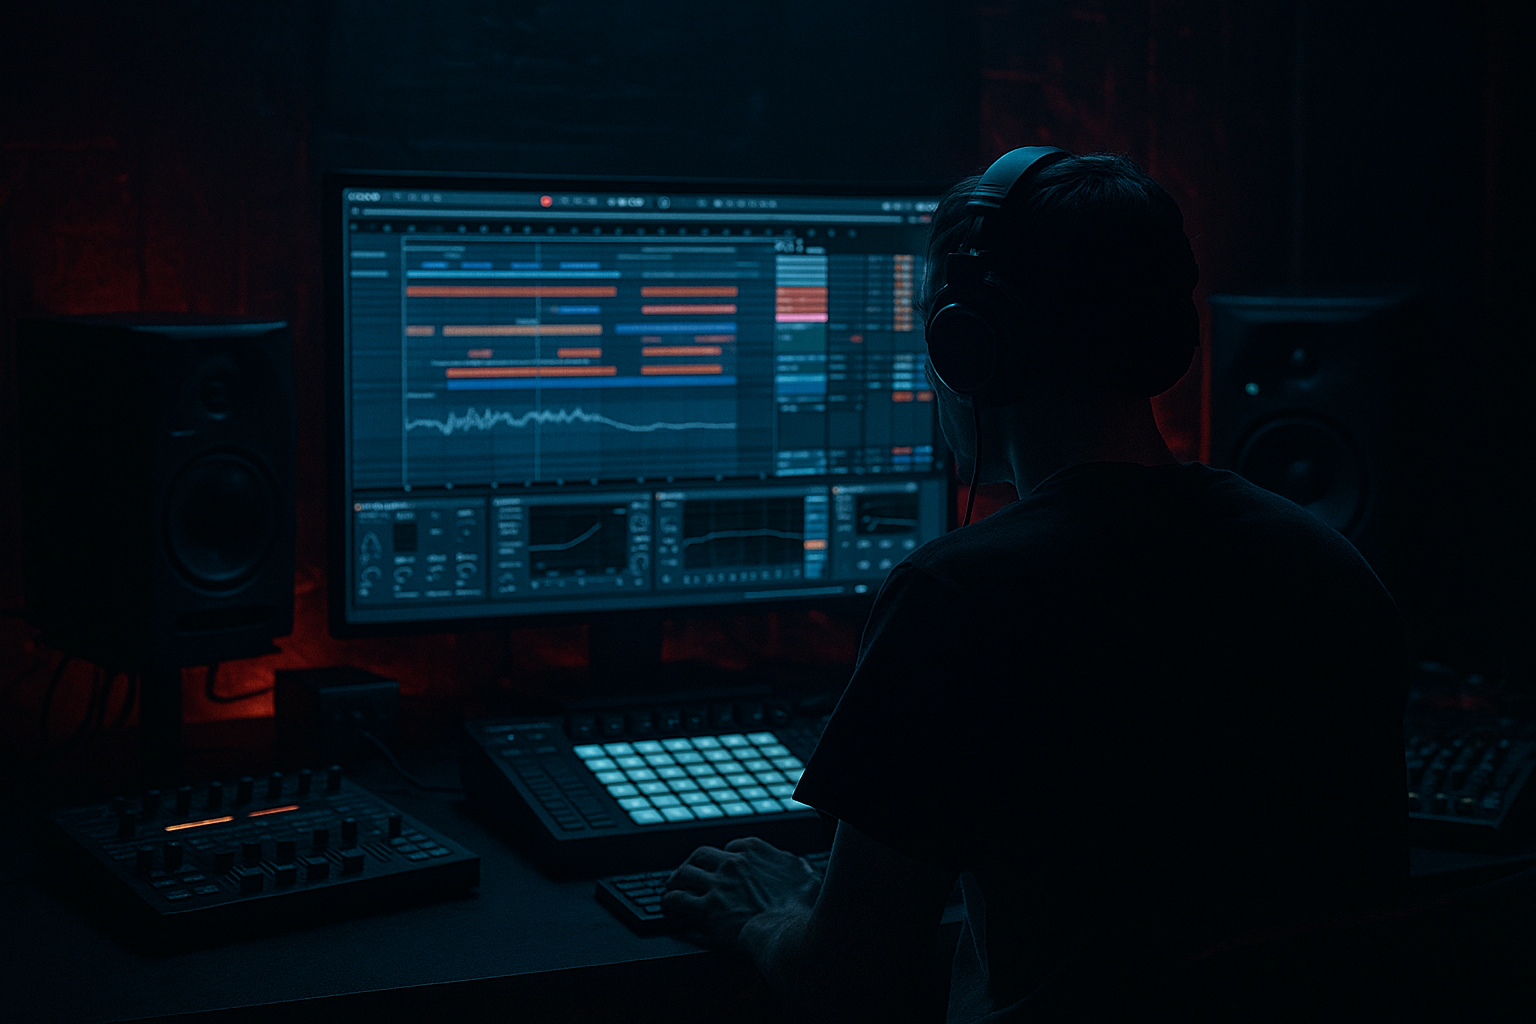
We’ll do all of this inside Ableton Live using mostly stock devices.
---
2) What you will build
A 16–32 bar rolling DnB idea (170–174 BPM) with:
- drum fills and ghost placement
- bass note rhythm and call/response
- arrangement markers (drops, edits, turnarounds)
Result: a track that feels written, not looped—because the cadence gives it narrative.
---
3) Step-by-step walkthrough
Step 0 — Session setup (fast + correct)
1. Set tempo to 172 BPM (classic rolling sweet spot).
2. Warp mode defaults:
- For vocals: Complex Pro
- For drums: Beats
3. Create groups:
- DRUMS
- BASS
- VOCAL CADENCE
- MUSIC / FX
Ableton tip: Turn on Arrangement View and commit early. Cadence composition is about timeline decisions.
---
Step 1 — Get a vocal phrase with usable cadence 🎤
You need something with clear rhythm—could be:
Import into a track named `VOCAL SOURCE`.
#### Clean & prep
Device chain (stock):
1. EQ Eight
- HP at 90–140 Hz (24 dB/oct)
- Gentle dip 250–400 Hz if boxy (2–4 dB)
2. Gate (optional)
- Threshold: set so noise closes between words
3. Compressor (light)
- Ratio 2:1
- Attack 10–30 ms
- Release 60–120 ms
- Aim for 2–4 dB GR peaks
---
Step 2 — Warp the vocal for groove extraction (not perfection)
Cadence is microtiming. Don’t grid-everything.
1. Turn Warp ON.
2. Find the phrase start, set 1.1.1 to the first meaningful syllable hit (not the breath).
3. Place warp markers only on:
- stressed syllables
- phrase endings
- intentional pauses
#### Groove strategy
Goal: The vocal feels natural but aligns enough to become a rhythm authority.
---
Step 3 — Convert vocal cadence into a MIDI “Cadence Grid”
This is your composition control layer.
#### Method A: Transient-to-MIDI (fast)
1. Duplicate the vocal clip.
2. On the duplicate: right-click clip → Slice to New MIDI Track.
3. Choose:
- Slice by: Transient
- Create one-slice Simpler
- Warp Slices: ON
4. Now you have a Drum Rack of slices.
Create a new MIDI clip and record yourself tapping the key slices on stressed syllables to form a clean cadence pattern.
#### Method B: Manual cadence lane (best control)
1. Create a MIDI track named `CADENCE MIDI`.
2. Load Operator (or a click sound in Simpler).
3. Make a MIDI clip and place notes exactly on:
- stressed syllables (strong notes)
- unstressed syllables (lighter notes)
- breath gaps (leave space!)
Velocity mapping:
This MIDI clip becomes your “score.”
---
Step 4 — Apply cadence to drums (rolling but story-driven) 🥁
Start from a clean DnB backbone:
Typical 2-step skeleton (one bar):
Now let the vocal cadence tell you where the extra movement goes.
#### A) Hi-hats and ghost snares follow syllable density
1. Program 16ths hats.
2. Remove hats where the vocal rests (give breath).
3. Add ghost snares on the unstressed syllables, often around:
- 1.1.3 / 1.1.4
- 1.3.3 / 1.3.4
(but let the cadence decide)
Ableton device tip:
Use Velocity MIDI effect on hats:
#### B) Use groove without wrecking the sub
- Clip → Groove Pool → Extract Groove
- hats
- percussion
- NOT your sub notes (keep sub timing stable)
Groove settings guideline:
#### C) Cadence-driven fills (1–2 beats only)
At the end of every vocal phrase, add a short fill that mirrors the cadence rhythm:
Keep fills under 1 bar unless it’s a breakdown.
---
Step 5 — Make the bass “speak” the cadence (call/response) 🧠🔊
The bass rhythm is where cadence composition becomes unfairly effective.
#### A) Split sub and mid for modern control
Create two tracks:
SUB
- Sine wave
- Add a tiny bit of 2nd harmonic: Level -24 to -18 dB
- Attack 0–5 ms
- Release 80–140 ms (depending on groove)
MID BASS
- Start with a saw/triangle blend
- LP 24
- Drive 3–6
- Envelope amount subtle
#### B) Write bass rhythm using cadence MIDI
Duplicate `CADENCE MIDI` to the MID BASS track.
Now translate it:
DnB rhythm trick:
Use negative space on the last syllable before a snare to make the snare feel bigger.
#### C) Sidechain that keeps roll but doesn’t pump ugly
On SUB and MID BASS:
- Ratio 4:1
- Attack 1–3 ms
- Release 60–110 ms
- GR: Sub 2–4 dB, Mid 3–6 dB
For more precise shaping:
- Auto Pan: Amount 100%, Phase 0°, Rate synced 1/4, Shape square-ish
(then adjust to taste)
---
Step 6 — Vintage tone on vocals without losing modern placement 📼✨
You want character, not mud.
Create a `VOCAL TONE` chain (post-cleaning):
1. Saturator
- Mode: Soft Clip
- Drive: 2–6 dB
- Output: compensate to unity
2. Redux (early sampler vibe, subtle!)
- Downsample: 2–6
- Bit Reduction: 0–2
- Keep it barely audible; automate for fills/throws
3. Echo
- Time: 1/8 dotted or 1/4
- Feedback: 15–30%
- Filter: HP around 300 Hz, LP around 5–8 kHz
- Mod: small
4. Reverb
- Use as send for control
- Decay: 0.8–1.6 s
- Pre-delay: 15–30 ms
- HP: 250–400 Hz
Placement tip:
Try collapsing the vocal to a more “old record” feel:
---
Step 7 — Arrangement: let phrases define sections (this is the master move)
DnB often dies in “8-bar loop syndrome.” Cadence solves it.
#### A) Mark your vocal phrase map
In Arrangement View:
- phrase start
- phrase end
- breaths / pauses
- any standout word
#### B) Use a 32-bar drop with cadence arcs
Example structure:
#### C) “Cadence edits” every 4 bars
Do one meaningful change aligned to a cadence moment:
Automation targets (stock):
---
4) Common mistakes
1. Over-warping the vocal
If you grid every syllable, it stops feeling like a human cadence and becomes a robotic trigger track.
2. Applying extracted groove to the sub
Groove on hats/percs = great. Groove on sub timing = often floppy.
3. Cadence everywhere, no anchor
Keep core DnB fundamentals stable (kick/snare commitment). Let cadence affect the “ornaments.”
4. Vintage tone = dull top + messy low mids
Vintage is texture + focus, not blanket muffling. High-pass reverbs/delays aggressively.
5. Chops that ignore phrasing
If you slice randomly, you lose the narrative. Always preserve the end of phrases—that’s where the brain expects resolution.
---
5) Pro tips for darker/heavier DnB 🕶️🔊
Pitch the last word/ syllable down -2 to -5 semitones (Clip Transpose), then saturate lightly.
Use Auto Filter with a band-pass peak on the vocal:
- BP, Q medium-high
- automate cutoff following syllable stress
Add a rim/foley hit that only plays on unstressed syllables at low velocity. It creates paranoia and forward pull.
Keep SUB mostly:
- mono (Utility width 0%)
- below ~120 Hz dominant
- simple rhythm that mirrors only the main stresses
For MID BASS heaviness:
- Create a return track with Overdrive → EQ Eight → Compressor
- Blend return in (10–30%) so you keep transient clarity.
---
6) Mini practice exercise (20 minutes) ⏱️
1. Record a 1-bar spoken phrase at 172 BPM (just talk naturally).
Example: “Hold that line, don’t let go.”
2. Warp it with only 4–6 warp markers.
3. Create a `CADENCE MIDI` clip with:
- 4 stressed hits
- 3–6 unstressed hits
- at least one intentional rest
4. Apply cadence to:
- ghost snares (unstressed)
- bass stabs (stressed)
5. Arrange 8 bars:
- Bars 1–4: phrase normal
- Bars 5–8: add one cadence edit + one reverb throw
Export a quick bounce and ask:
---
7) Recap ✅
If you want, paste a short vocal phrase (or describe its rhythm like “DA da DA / da-da / DAA”) and I’ll suggest an exact 16-bar cadence map + drum/bass pattern in Ableton note positions.
```

