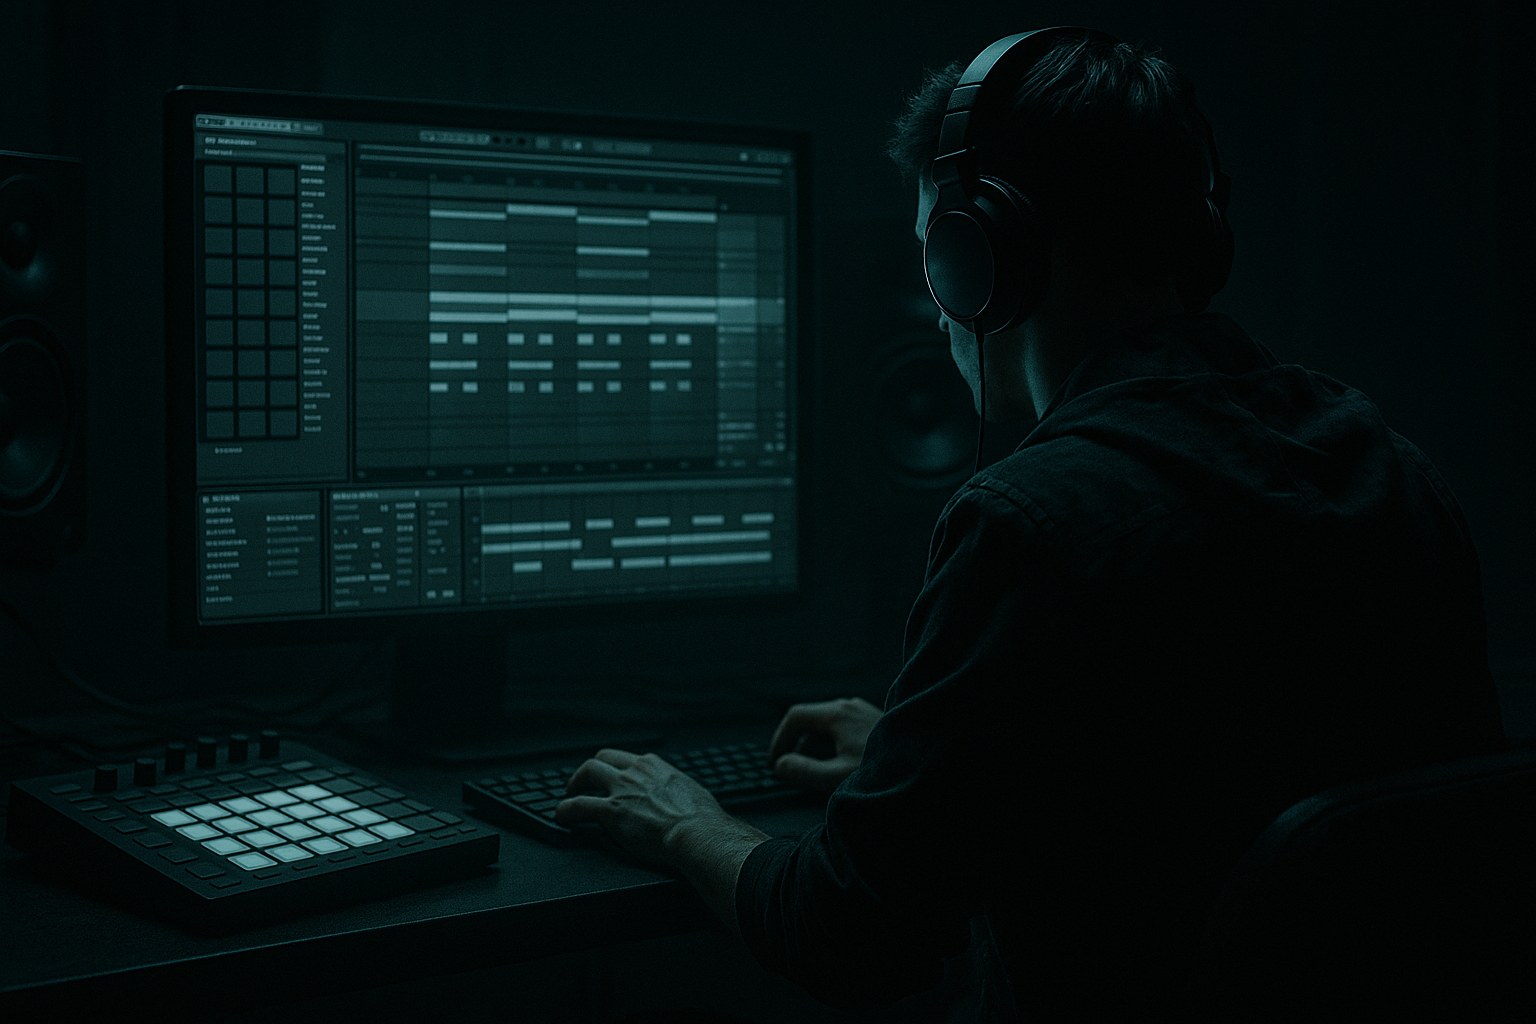
Main tutorial
```markdown
Vocal Sample Sit & Blend for DJ‑Friendly DnB Sets (Ableton Live) 🎛️🎤
1) Lesson overview
In drum & bass, vocals are often hooks, stabs, and phrases that need to cut through dense breaks, subs, and reese layers—without wrecking DJ transitions.
This lesson shows you how to place vocal samples so they feel “inside the record”, stay intelligible on loud systems, and remain DJ‑friendly (clean intros/outros, minimal clashing frequencies, predictable energy).
You’ll learn:
- How to choose where vocals live in the arrangement (so DJs can mix them)
- A reliable Ableton stock device chain for vocal samples
- Frequency & dynamics strategies that work in rolling / jungle / neuro‑leaning mixes
- Practical automation ideas for movement without chaos
- A vocal hook (1–2 bars) that hits hard but doesn’t mask snare/crack
- A DJ‑safe structure: 16 bars intro, 32–64 bar drop, 16–32 bar outro (vocals placed deliberately)
- A vocal processing rack using stock Ableton devices:
- Optional: a “vocal throw” return for transition moments 🎯
- Intro (16): drums/bass hints, DJ-friendly
- Build (8–16): tension risers, FX, maybe a teased vocal
- Drop (32–64): vocal hook appears, but not every bar
- Outro (16–32): reduce vocals again to keep blendable
- HPF (High-pass): 100–160 Hz (24 dB/oct)
- Mud cut: -2 to -5 dB around 250–450 Hz (Q ~1.2)
- Harsh control (if needed): -2 to -4 dB around 2.5–4.5 kHz
- Air shelf (optional): +1 to +3 dB at 10–14 kHz (gentle)
- Ratio: 3:1
- Attack: 10–30 ms (lets consonants punch)
- Release: 60–120 ms (musical recovery)
- Threshold: aim for 3–6 dB gain reduction on peaks
- Knee: soft-ish (around 6 dB if using Glue)
- Mode: Soft Sine or Analog Clip
- Drive: 2–6 dB
- Output: reduce to match level (don’t get fooled by loudness)
- Turn on Soft Clip if it’s spiky
- Bass Mono: not needed for vocals, but…
- Keep vocal mostly mono or controlled:
- Use Utility for automation: widen in breakdown, narrow in drop.
- Hook appears every 4 or 8 bars, not every bar.
- Keep bar 1–8 of the drop either instrumental or lightly vocalized so it can mix with another drop.
- Put the “full vocal statement” in bar 9 or 17 of the phrase.
- Bars 1–8: instrumental groove + occasional one-shot vocal hit
- Bars 9–16: vocal hook (1–2 bars) repeated once
- Bars 17–24: instrumental variation / bass fill
- Bars 25–32: vocal hook returns + transition FX
- Reverb (stock)
- Optional after Reverb: EQ Eight
- Echo (stock)
- Add Compressor after Echo (sidechain from vocal) if needed to keep it tidy.
- Add Compressor
- Enable Sidechain
- Input: your Drum Bus or a “Kick+Snare” group
- Ratio: 2:1
- Attack: 1–5 ms
- Release: 40–80 ms
- Aim for 1–3 dB reduction on snare hits
- Play drop loop with bass + drums + vocal.
- On bass group: use EQ Eight to carve a tiny slot:
- On vocal: avoid boosting too much in the same zone—small moves.
- Intro (first 16): avoid full vocal phrases
- Outro (last 16–32): reduce vocal complexity so another track can layer
- In intro/outro, use Auto Filter on the vocal:
- Keep the vocal as “atmosphere,” not a headline.
- Make the vocal “grittier,” not “brighter”
- Parallel distortion for aggression
- Pitch/formant for menace
- Gate/Chop for rhythmic nastiness
- Keep sub space sacred
- Place vocals with DJ transitions in mind: tease, then deliver—don’t spam.
- Use a stock chain to make vocals stable: EQ → compress → saturate → de-ess → utility.
- Keep space tight with send reverb/delay, filtered dark, and automate throws for hype.
- Subtle sidechain helps vocals sit with snare/kick impact.
- In heavier DnB, aim for density + attitude, not glossy pop brightness.
---
2) What you will build
A DnB drop section with:
- EQ Eight → Compressor (or Glue) → Saturator → De‑esser (via Multiband Dynamics) → Reverb/Delay sends → Utility
---
3) Step-by-step walkthrough
Step 0 — Prep: pick the right vocal sample (and timing)
Goal: vocals that enhance groove rather than fight it.
1. Choose a vocal that matches the vibe
- Rolling DnB: short phrases, MC shouts, rhythmic chops (“selecta”, “run it”, “sound bwoy”).
- Jungle: ragga snippets, timestretched phrases, old school one‑shots.
2. Warp correctly
- Drag sample into Audio Track.
- Enable Warp.
- For most vocals: try Complex Pro.
- Formants: 0 to 20 (adjust to keep natural tone)
- Envelope: ~128–256 (higher = smoother)
- If it’s a short shout: try Beats mode (Preserve: Transients) for punchier consonants.
3. Set phrase placement
- Put vocal phrases on strong downbeats (bar 1, bar 5, bar 9…) for DJ predictability.
- Keep the first 16 bars (intro) either:
- No vocal (DJ‑clean), or
- Very minimal, filtered vocal texture that won’t clash with incoming track.
DnB arrangement anchor:
---
Step 1 — Gain staging & clip hygiene (before any plugins)
1. Trim vocal clip gain
- Aim for vocal peaks around -12 to -6 dBFS before processing.
2. If you hear clicks:
- Add short Fades in the clip view (1–5 ms is often enough).
3. Consolidate and rename clips (you’ll thank yourself later).
---
Step 2 — Build a proven Ableton stock vocal chain ✅
Put these on the Vocal track in this order:
#### A) EQ Eight (cleaning + slotting)
Start with:
- DnB subs live 30–60 Hz—vocals don’t need that weight.
Workflow tip:
Solo the vocal briefly, set cuts, then mix in context with drums + bass. In DnB, context wins.
---
#### B) Compressor (control + forwardness)
Use Ableton Compressor (or Glue if you want a more “mix bus” feel).
Settings starting point:
If the vocal is very dynamic: use two stages:
1) Gentle compressor (2–3 dB GR)
2) Another compressor or Glue for an extra 1–3 dB
---
#### C) Saturator (density + audibility on small speakers)
Saturation is huge in DnB because it helps vocals read through heavy bass without needing extreme EQ boosts.
---
#### D) DIY De‑esser using Multiband Dynamics (stock!)
Ableton doesn’t have a dedicated de-esser, but Multiband does it well.
Quick method:
1. Insert Multiband Dynamics
2. Solo the High band and set crossover around 5–6 kHz
3. In the High band:
- Lower Threshold until sibilance triggers compression
- Ratio around 2:1 to 4:1
- Fast attack, medium release
4. Un-solo and adjust so it’s subtle.
Aim: “S” sounds stop spitting, but the vocal doesn’t go dull.
---
#### E) Utility (width + mono safety)
DnB gets played on big rigs and mono club systems.
- Width: 80–110% (don’t go crazy wide unless it’s a background layer)
---
Step 3 — Make it blendable: DJ-friendly vocal strategy 🎚️
A big mistake is letting the vocal hook run constantly. DJs need predictable space.
Practical approach:
Example (32-bar drop):
This keeps the tune exciting and mixable.
---
Step 4 — Space: use sends for reverb/delay (keep control)
Instead of slapping reverb directly on the vocal, use Return tracks.
#### Return A: Reverb (tight, dark)
- Predelay: 20–40 ms (keeps vocal forward)
- Decay: 0.8–1.6 s
- Low Cut: 200–400 Hz
- High Cut: 6–10 kHz (darker, less hiss)
- Notch out resonances if it rings
Send amount: start at -18 to -10 dB.
#### Return B: Delay (sync + movement)
- Sync: 1/4 or 1/8 dotted (DnB classic)
- Feedback: 15–35%
- Filter: HP around 200 Hz, LP around 6–8 kHz
- Width: moderate (not full stereo chaos)
---
Step 5 — Sidechain the vocal subtly around drums (clean impact) 🥁
DnB snares and kicks are loud and fast. A tiny bit of ducking can make everything feel “locked”.
On the Vocal track:
This makes the vocal sit without turning it down globally.
---
Step 6 — Vocal “throws” for hype moments (automation that screams DnB) 🚀
Instead of constant delay, automate a single word/phrase to echo into the gap.
Workflow:
1. Duplicate the vocal clip, isolate the last word (“now!”, “run!”, “selecta!”)
2. Send that clip hard to Echo Return
3. Automate send to spike only on that word
4. Optionally Freeze/Flatten the throw and reverse it for a pre-drop suction effect
This creates movement while keeping the main vocal clean for DJ blending.
---
Step 7 — Check against the bass (the real DnB test)
Your bass stack (reese/sub/neuro layer) often dominates 150 Hz – 2 kHz, where vocal body and clarity also live.
Do this:
- Dip 1–2 dB around 1–2.5 kHz (Q ~1) if vocal needs intelligibility.
Rule: choose whether the vocal is a feature or a texture. Don’t half‑do both.
---
Step 8 — Make the intro/outro DJ-safe 🧩
For DJ-friendly sets:
Easy trick:
- HP filter slowly opening (from ~300 Hz down to ~120 Hz)
- Or LP filter opening (from ~2 kHz up to ~8 kHz)
---
4) Common mistakes
1. Vocals too loud vs snare
- If your snare loses crack, the vocal is probably stepping on 2–5 kHz.
2. Over-widened vocals
- Sounds huge in headphones, messy in clubs/mono. Keep it controlled.
3. Too much reverb tail in fast DnB
- 174 BPM + long bright reverb = smeary chaos.
4. No plan for DJ transitions
- Full vocal hook in bar 1 of the drop makes it harder to double-drop cleanly.
5. Ignoring sibilance after saturation
- Saturation can bring out harsh “S” and “T”—de-ess after you add grit.
---
5) Pro tips for darker/heavier DnB 🖤
- Use Saturator + slight EQ Eight low-mid shaping instead of big 10k boosts.
- Duplicate vocal track → heavy Saturator/Overdrive → lowpass at ~6–8k → blend quietly.
- In clip: transpose -2 to -5 semitones; in Complex Pro, adjust formants to avoid chipmunking.
- Use Gate keyed by a ghost pattern (or sidechain gate from hats) for “talking” rhythmic vocals.
- High-pass vocal and returns; also HP the reverb/delay returns aggressively (200–400 Hz).
---
6) Mini practice exercise (15–25 minutes) 🧠
1. Pick a 1–2 bar vocal phrase and place it in a 32-bar drop:
- Only allow it in bars 9–16 and 25–32.
2. Build this chain on the vocal:
- EQ Eight → Compressor → Saturator → Multiband Dynamics (de-ess) → Utility
3. Create two returns:
- Return A: tight dark Reverb
- Return B: Echo (1/8 dotted)
4. Automate one throw at the end of bar 16 (last word only).
5. Test DJ-friendliness:
- Mute your vocal track during bars 1–8 and confirm the drop still works.
- Bring it back at bar 9 and confirm it feels like a lift.
Deliverable: bounce a 16-bar loop of the drop and listen on headphones + a small speaker.
---
7) Recap
If you want, tell me the style (liquid/rollers/jungle/neuro) and paste a screenshot of your vocal chain + levels, and I’ll suggest exact EQ points and send amounts for your specific mix.
```

