Main tutorial
```markdown
Vocal Sample Sit & Blend Using Session View (DnB / Jungle) 🎛️🎤
1) Lesson overview
In drum and bass, vocal chops and phrases are often textural elements—they need to punch through dense breaks, heavy subs, and bright tops without sounding pasted-on. In this lesson you’ll use Ableton Live Session View as a mixing playground to quickly audition vocal processing chains, build “vocal buses” for cohesion, and print your best results into Arrangement.
We’ll focus on:
- Fast, iterative vocal processing in Session View (clips + scenes + A/B racks)
- Making vocals sit: tone, dynamics, space, mono compatibility
- Blending vocals into DnB grooves: sidechain, timing, and glue
- A Vocal Source track with multiple clips (phrase, chop, shout, one-shot)
- A Vocal Processing Rack for A/B/C styles:
- A Vocal Bus for glue (compression, saturation, EQ)
- Two Send FX returns:
- A Sidechain system that ducks vocals against the snare and/or bass pockets (tight, musical)
- Macro 1: “Tone” → EQ tilt (low-mid cut + presence)
- Macro 2: “Drive” → Saturator Drive (and output trim)
- Macro 3: “DeEss” → Multiband high threshold
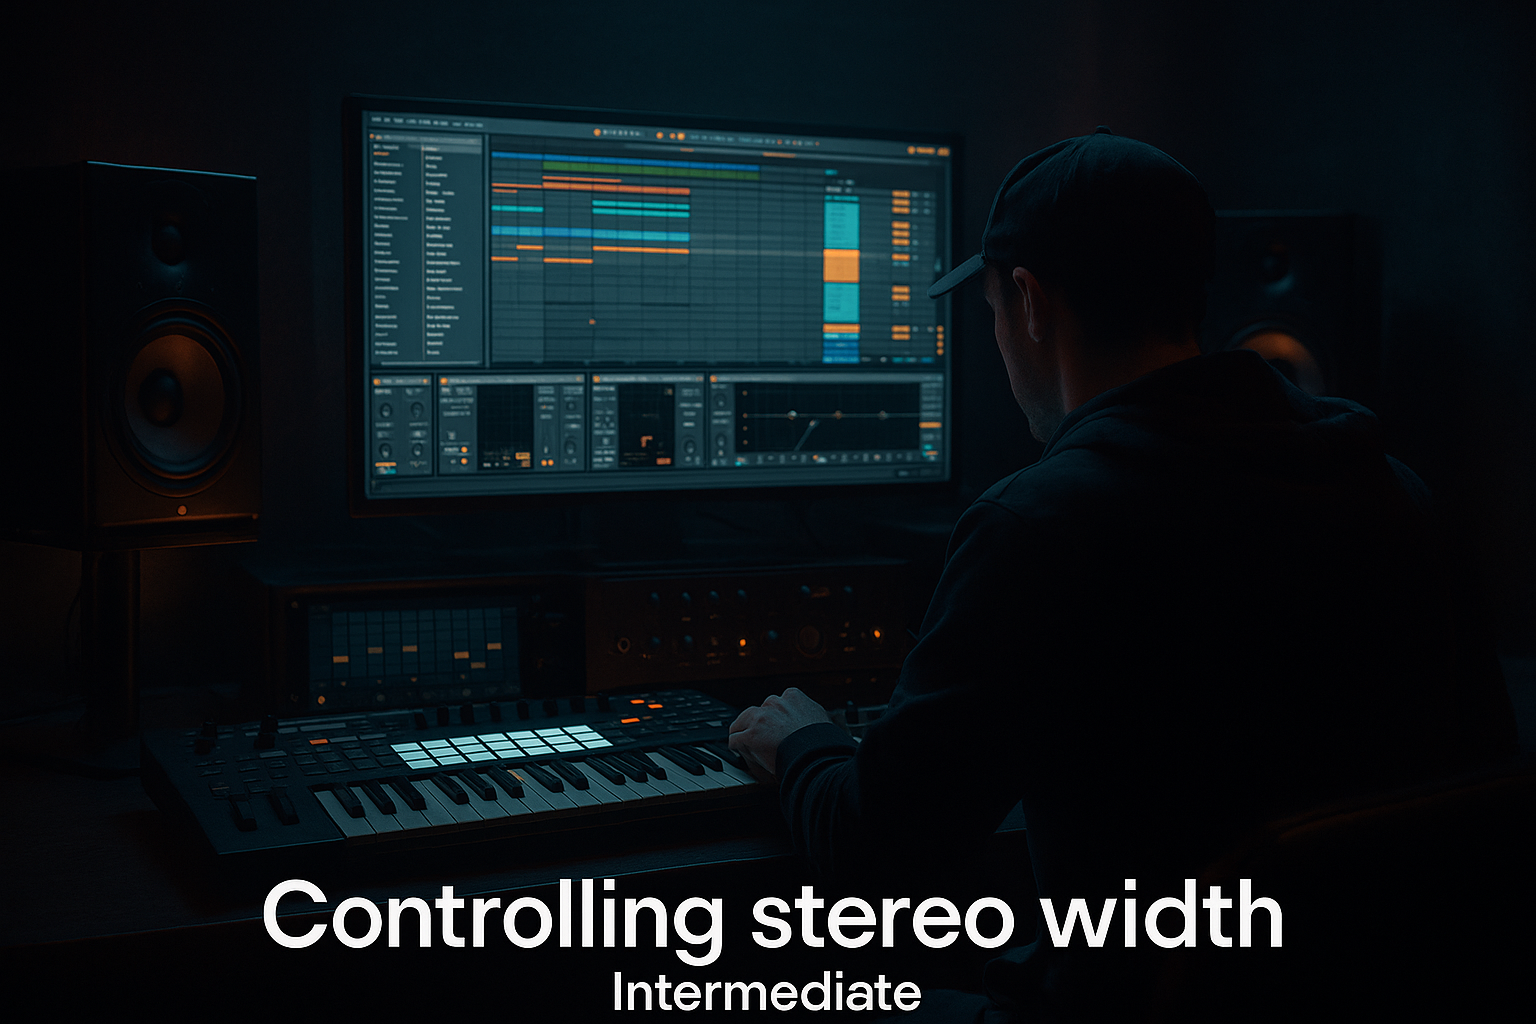
- Macro 4: “Width” → Utility Width
- Macro 5: “Air/LPF” → EQ Eight high shelf or lowpass freq
- Snare crack (around 180–250 Hz fundamental + 2–6 kHz smack)
- Bass growl/reese mids (200 Hz–2 kHz)
- Hi-hats (6–12 kHz)
- If the bass is eating the vocal mids, do targeted ducking:
- Scene 1: Roller Clean
- Scene 2: Jungle Tape
- Scene 3: Dark Minimal
- Record your Session performance into Arrangement (global record).
- Or resample the vocal group to a new audio track for commitment and CPU relief.
- Too much reverb: long tails smear the 170+ BPM groove. Keep reverb short; use delay throws for drama.
- Ignoring mono: wide vocals can vanish in clubs. Check with Utility → Width 0% occasionally.
- Over-de-essing: kills presence and makes vocals sound lispy. Do it lightly and after you’ve set brightness.
- EQ’ing solo: vocals must be EQ’d against drums + bass, not in isolation.
- Warp artifacts: Complex Pro can get phasey on noisy vocals—try Tones/Texture for chops.
- Midrange slotting: If you have a snarling reese at 300–1k, try making the vocal more band-limited (LP 6–10k) and push it with saturation. Dark doesn’t mean quiet—just controlled.
- Distortion in parallel: Duplicate the vocal, distort the copy (Saturator/Overdrive/Roar), HP at 200 Hz, LP at 6–8k, then blend low. Adds aggression without wrecking intelligibility.
- Rhythmic gating: Use Auto Pan (phase 0°, square wave) for rhythmic tremolo on a vocal texture layer—classic techy roller energy.
- Pre-delay as separation: 10–20 ms pre-delay on the ROOM keeps the vocal forward while still “in” the space.
- Clip-based automation: In Session View, automate send levels per clip (especially delay throws). This is gold for vocal chops.
- Use Session View to rapidly audition vocal mix states via scenes and racks.
- Get the timing + warp right first—DnB groove is unforgiving.
- Build a repeatable chain: EQ → Compression → Saturation → De-ess, then blend with short room + tempo delay.
- Use sidechain pockets (especially against snare) to make vocals sit without turning them down.
- Glue everything on a Vocal Bus so it sounds like one intentional element in your roller/jungle mix.
---
2) What you will build
You’ll create a Session View workflow that includes:
- “Clean Cut” (tight modern roller)
- “Radio/Old Tape” (jungle throwback)
- “Dark Room” (minimal/heavy neuro vibe)
- Short “Room” for width + placement
- Tempo-synced “Dub Delay” for DnB bounce
Result: vocals that feel like they belong inside the break and bass, not on top of them.
---
3) Step-by-step walkthrough
Step 0 — Session View setup (fast auditioning)
1. Create tracks:
- Audio Track: `VOCAL_SRC`
- Audio Track: `DRUMS` (or your Drum Bus)
- Audio Track: `BASS` (your main bass group)
- Group Track (optional): Group all vocal layers into `VOCALS_GRP`
2. Create returns:
- Return A: `ROOM`
- Return B: `DUB_DLY`
Workflow tip: Create Scenes by vibe:
Scene 1 = “Roller Clean”, Scene 2 = “Jungle Tape”, Scene 3 = “Dark Minimal”.
You’ll launch these to instantly audition vocal/mix states. 🚀
---
Step 1 — Prepare vocal clips for DnB timing + character
DnB exposes timing. Get the clip groove right before you EQ for 30 minutes.
1. Drop a vocal phrase into `VOCAL_SRC`.
2. In the Clip View:
- Set Warp = ON
- Warp Mode:
- Complex Pro for full phrases (best fidelity)
- Tones for vowel-y chops (often cleaner + punchy)
- Texture for airy/noisy atmos (great for jungle haze)
- Adjust Seg. BPM to lock to your project (172–175 typical)
3. Tighten timing:
- Use Warp Markers to align key syllables to the 2 and 4 (snare) or the offbeats (rolling feel).
4. For chopped vocals:
- Consolidate a section (Cmd/Ctrl+J), then Slice to New MIDI Track (if desired).
- Or keep it audio and make multiple clip variations: “tight”, “loose”, “late-by-10ms”.
DnB trick: try nudging the vocal clip late by 5–15 ms for laid-back glue against tight drums.
---
Step 2 — Gain staging + cleanup (so the chain behaves)
Before devices, set the input level.
1. On `VOCAL_SRC`:
- Add Utility first:
- Set Gain so peaks hit around -12 to -6 dBFS
- If the sample is stereo-wonky, try Width 80–100%
2. Add Gate (only if needed):
- Use it gently to reduce room/noise between phrases.
- Start point:
- Threshold: just below signal
- Return: medium-fast (avoid chattering)
- If it’s chopping too hard, don’t force it—use editing or fades instead.
---
Step 3 — Build a Vocal Processing Rack for fast A/B in Session View 🎚️
On `VOCAL_SRC`, load an Audio Effect Rack named `VOCAL_SIT_RACK`.
Create 3 chains inside the rack:
#### Chain A: “Clean Cut” (modern rolling DnB)
Device order:
1. EQ Eight
- HP filter: 90–140 Hz (24 dB/oct)
- Small cut: 200–400 Hz if boxy (2–4 dB)
- Gentle presence: 2–5 kHz if needed
2. Compressor
- Ratio: 3:1
- Attack: 15–30 ms (lets transients speak)
- Release: 60–120 ms (tempo-feel; adjust by ear)
- Aim: 3–6 dB gain reduction on peaks
3. Saturator
- Mode: Soft Clip ON
- Drive: 1–4 dB
- Output: trim to unity
4. De-esser (stock method)
- Use Multiband Dynamics as a de-esser:
- Solo high band (e.g., 5–12 kHz) to find sibilance
- Then unsolo; set high band to compress sibilant peaks (light reduction)
#### Chain B: “Radio / Old Tape” (jungle throwback 📼)
Device order:
1. Redux
- Bit Reduction: subtle (start around 10–14 bits)
- Downsample: tiny amounts; stop before it turns harsh
2. EQ Eight
- HP: 120–200 Hz
- LP: 8–12 kHz (band-limited radio vibe)
3. Saturator or Overdrive
- Keep it mid-focused; avoid fizzy top
4. Optional: Auto Filter
- Set to bandpass-ish movement for old-school motion (very subtle)
#### Chain C: “Dark Room” (heavy/minimal/neuro atmosphere 🌑)
Device order:
1. EQ Eight
- HP: 120–180 Hz
- Dip: 2–4 kHz if competing with snares/reattacks
2. Roar (if you have Live 12 Suite) or Saturator
- Aim for density, not fizz
3. Compressor (more controlled)
- Ratio: 4:1
- Attack: 5–15 ms
- Release: 40–90 ms
4. Utility
- Width: 0–60% (darker vocals often sit more mono)
Macro mapping (highly recommended):
Now in Session View you can duplicate the same vocal clip across scenes and instantly compare chain A/B/C by enabling/disabling chains. 🎯
---
Step 4 — Create cohesive space with Returns (Room + Dub Delay)
Space is where vocals blend into the drum room and bass atmosphere.
#### Return A: ROOM
1. Add Hybrid Reverb (or Reverb if older Live)
- Type: Room/Small Ambience
- Decay: 0.3–0.8s
- Pre-delay: 5–20 ms
- HP/LP in the reverb: HP 200–400 Hz, LP 7–10 kHz
2. Add EQ Eight after reverb
- High-pass again if needed
- Notch any ugly resonances
Send the vocal to ROOM lightly (often -18 to -10 dB send as a starting point).
This “micro-space” helps it sit in the drums.
#### Return B: DUB_DLY
1. Add Echo
- Sync: ON
- Time: try 1/8 dotted or 1/4
- Feedback: 15–35%
- Filter: HP 250–500 Hz, LP 4–8 kHz
2. Add Compressor (optional) to tame feedback peaks
3. Add Utility (optional): Width ~ 120% for wide delay trails
DnB move: automate the delay send per clip/scene so only end words throw into Echo.
---
Step 5 — Make it sit with sidechain (snare pockets + bass pockets)
In DnB, vocals usually fight:
#### Option A: Duck vocal to SNARE (cleanest)
1. Put a Compressor after your vocal rack (or on `VOCALS_GRP`).
2. Enable Sidechain.
3. Sidechain Input: `DRUMS` (or a dedicated “SNARE_SC” track).
4. Use the sidechain filter:
- Bandpass around 150–250 Hz (snare body) or 2–5 kHz (crack), whichever clashes.
5. Settings (starting point):
- Ratio: 2:1
- Attack: 1–5 ms
- Release: 60–120 ms
- Gain reduction: 1–3 dB on snare hits
This creates a pocket without obvious pumping.
#### Option B: Dynamic carve vs BASS (subtle and advanced)
- Put a Multiband Dynamics on the vocals
- Compress only the mid band keyed from bass (or do it on the bass keyed from vocal—choose the more musical result)
Practical rule: If the vocal is a “feature,” duck bass mids; if it’s a texture, duck the vocal.
---
Step 6 — Vocal Bus for glue (the “sounds like a record” step)
Route all vocal layers to `VOCALS_GRP` and put this chain on the group:
1. EQ Eight
- HP: 80–120 Hz
- Tiny wide dip: 250–400 Hz if muddy
2. Glue Compressor
- Attack: 10 ms
- Release: Auto or 0.3s
- Ratio: 2:1
- GR: 1–2 dB (just glue)
3. Saturator
- Drive: 0.5–2 dB
- Soft Clip ON if peaks poke
4. Limiter (safety, not loudness)
- Only catching stray peaks (1 dB max)
Now the vocal stack feels like one instrument.
---
Step 7 — Session View scene strategy (mix decisions at speed)
Set up 3 Scenes:
- Chain A active
- Low ROOM send, subtle DUB throws
- More mono, upfront
- Chain B active
- More ROOM and DUB delay
- Slightly narrower or slightly wider depending on break width
- Chain C active
- Less top end, more texture
- Snare-ducking slightly stronger
Launch scenes while drums/bass loop. Decide quickly which vibe matches the track identity.
Then print it:
---
4) Common mistakes
---
5) Pro tips for darker/heavier DnB 🌒
---
6) Mini practice exercise (15–25 minutes) 🧪
1. Load a 4-bar drum loop (think: rolling two-step with ghost notes).
2. Load a bass loop (reese or foghorn mid layer + clean sub).
3. Add one vocal phrase and make 3 clips:
- Clip 1: tight on-grid
- Clip 2: late by 10 ms
- Clip 3: chopped (mute slices or crop)
4. Build the `VOCAL_SIT_RACK` with the 3 chains above.
5. Create three scenes:
- Clean / Tape / Dark
6. Goal:
- Get the vocal audible at low volume
- No snare masking
- Delay throws only at phrase ends
7. Print to Arrangement and listen back on:
- Studio headphones
- Mono check (Utility width 0)
- Low volume phone speaker (does the hook still read?)
---
7) Recap ✅
If you want, tell me your subgenre (liquid, minimal, jump-up, jungle, neuro) and what kind of vocal (airy female, ragga shout, spoken phrase), and I’ll suggest exact rack macros and starting values tailored to it.
```

