Main tutorial
Lesson Overview
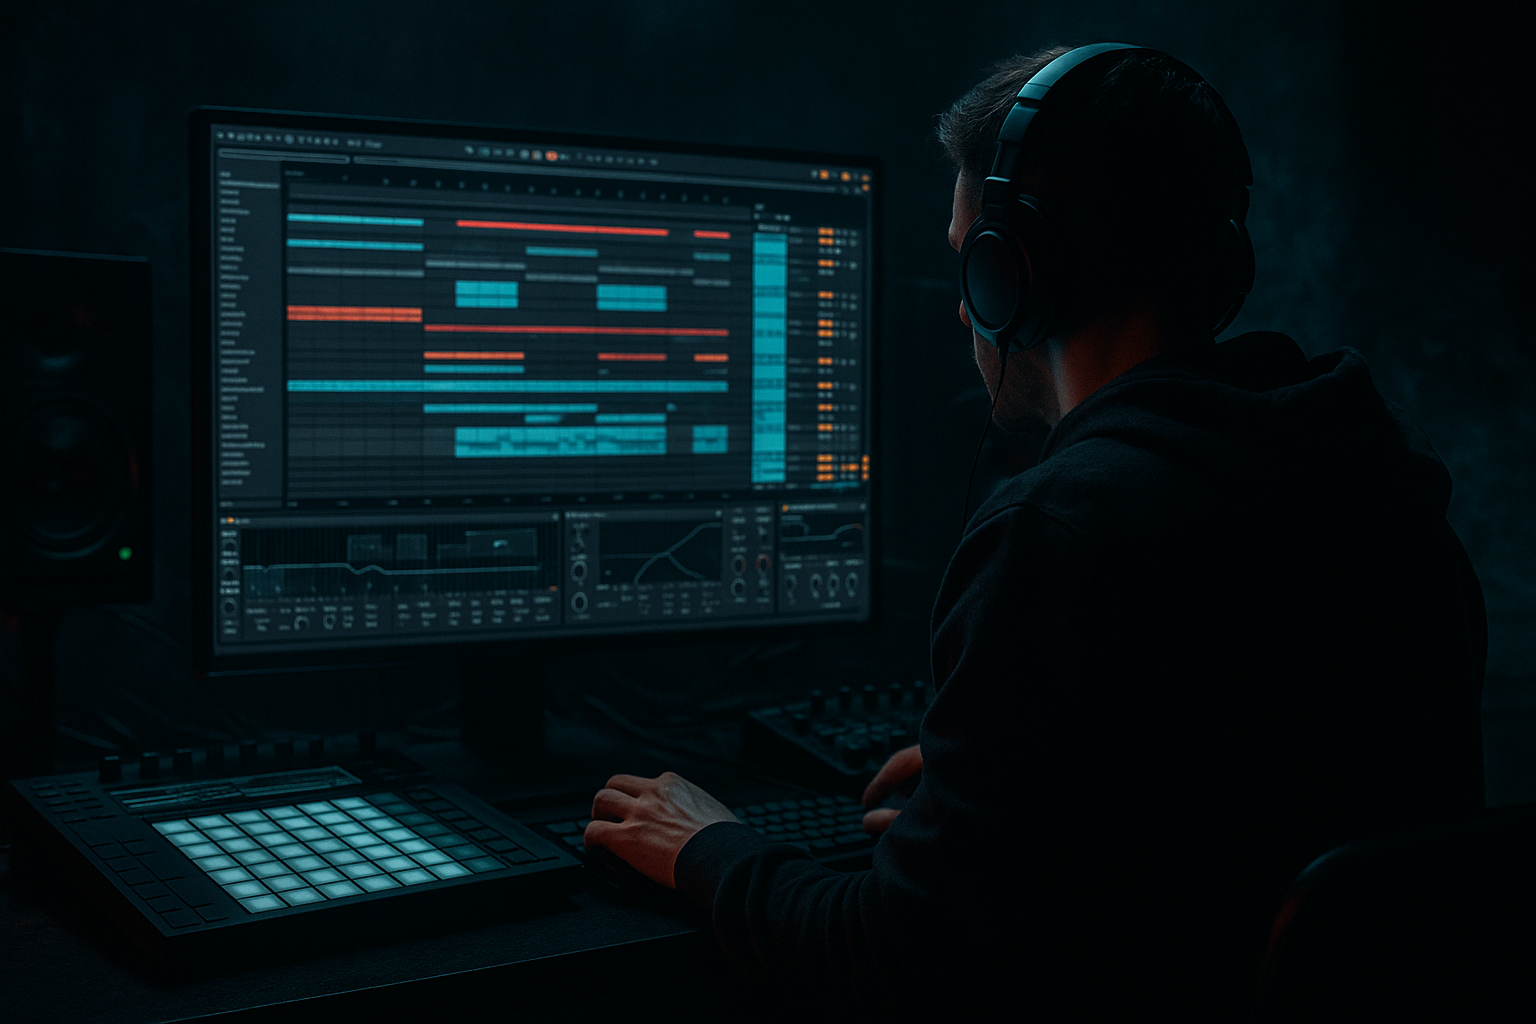
This lesson is about building a warehouse-grade breakbeat engine in Ableton Live 12: chopped jungle breaks, ragga vocal pressure, and hostile bass movement that feels like it’s bouncing off concrete walls. The goal isn’t just to make a break “busy” — it’s to make it behave like a live, evolving instrument inside a DnB arrangement.
In a real Drum & Bass track, this technique usually sits in the drop, second drop variation, or a high-energy switch-up section where you want the rhythm to feel raw, unstable, and full of attitude. Think: a dark roller that suddenly opens into ragga-infused chaos, or a neuro-leaning tune that uses jungle edits as a tension release before the next bass phrase.
Why it matters: warehouse-style DnB lives on contrast. You need precision in the low end, but the mids and tops can feel feral. By combining break slicing, controlled resampling, saturation, movement automation, and tightly managed stereo discipline, you get that classic “organized chaos” effect that makes the drums feel alive without destroying the mix. 🔥
This workflow is especially valuable because Ableton Live 12 makes it fast to slice, mutate, resample, and recontextualize breaks in a way that stays musical. You’re not just layering loops; you’re designing a system that can spit out variations, fills, and pressure points on demand.
What You Will Build
By the end, you’ll have a two-part breakbeat system built for warehouse DnB:
- A main chopped break rack that delivers the core groove with ghost notes, shuffled accents, and ragga-style syncopation.
- A parallel chaos layer made from resampled break fragments, filtered noise, tape-style grit, and short FX bursts that can be brought in during fills, pre-drop tension, or drop variations.
- A sub and mid-bass relationship that leaves room for the break while still punching through with weight.
- A drum bus and bass bus that can be driven hard without collapsing the low end.
- A drop arrangement where the break can mutate every 4 or 8 bars, keeping the energy dangerous and unpredictable.
- A rolling 174 BPM foundation
- A chopped amen or similar break pattern
- Ragga vocal shouts or phrases answering the drums
- A reese or distorted mid-bass movement underneath
- Short chaos edits that hit like a live selector switch-up
- DRUM MAIN
- DRUM CHAOS
- SUB
- MID BASS
- RAGGA FX / VOCAL
- ATMOS
- DRUM BUS
- BASS BUS
- MASTER REFERENCE
- Utility on drum and bass groups for gain staging
- EQ Eight for cleanup
- Drum Buss for drum weight
- Saturator for controlled aggression
- Glue Compressor on groups if needed, but don’t over-compress early
- Transient for maximum control
- Or 1/8 if you want a more deliberate grid-based feel first
- Keep key slices on separate pads: kick-heavy hits, snare hits, hat/noise hits, and tail fragments
- Rename pads immediately
- Group similar slices using pad colors if that helps speed
- Bar 1: establish the main break phrase
- Bar 2: answer with ghost notes, stutters, or snare skips
- Leave the main snare slice fairly dry at first
- Shorten overly long break tails in the Simpler/Sampler slice if they clutter the groove
- Use Velocity intentionally: main hits around 90–120, ghost notes around 25–70
- Main snare stays locked on the grid
- Ghost hats sit 5–15 ms late
- Occasional snare flams can be offset by 10–20 ms
- Fill hits can be nudged slightly ahead for urgency
- Start with a light swing or extracted groove from your own break
- Keep timing influence around 10–25%
- Leave velocity influence moderate if the break already has character
- Tight stabs for kick-like hits
- Slightly longer notes for snare tails and noise fragments
- Very short notes for glitch rolls and ghost artifacts
- Drum Buss
- Saturator
- EQ Eight
- Redux for downsampled edge
- Auto Filter with envelope motion
- Saturator pushed harder than the main layer
- Optional Corpus for metallic resonance on selected fragments
- On off-beats
- At the end of 2-bar phrases
- As answers to snare accents
- Right before a fill or drop switch
- Simpler for quick slicing
- Auto Filter for movement
- Delay with short time values for dub echoes
- Reverb with short decay to place it in the warehouse space
- Compressor sidechained lightly to the kick or main drum transient if it needs ducking
- Delay time: 1/8, 1/8 dotted, or 1/16 depending on rhythm
- Reverb decay: 0.8–1.8 s
- Auto Filter cutoff: automate between 300 Hz and 4 kHz for phrase movement
- Snare fill → vocal shout
- Vocal shout → break chop
- Break roll → bass stab
- Use Operator or Wavetable for a pure sine or near-sine foundation
- Keep it mono with Utility
- Follow the kick/break low-end rhythm carefully
- Sidechain lightly if needed, but don’t over-pump the entire bottom
- Low-pass around 80–120 Hz on the sub if necessary
- Keep sub modulation minimal
- Use note lengths that support the break, often shorter than you think
- Use Wavetable, Operator, or a resampled bass patch
- Create movement with subtle unison, phase, or filter automation
- Add Saturator, Amp, or Overdrive for character
- Keep stereo width controlled; if you widen, do it above the low fundamental only
- Phrase A supports the first 2 bars of the drop
- Phrase B answers bars 3–4 with a different rhythmic shape or filter tone
- Transient slice the resample
- Reverse selected hits
- Pitch one-off fragments down -3 to -7 semitones
- Duplicate short sections for rolls and stutters
- Beat Repeat for controlled glitch bursts
- Auto Filter with narrow resonance
- Erosion for high-frequency grit
- Frequency Shifter at very small amounts for unsettling motion
- Keep resampled layer low in the mix most of the time
- Bring it up during every 8th or 16th bar
- Use it as a transition into the second drop or a breakdown re-entry
- Filter cutoff on the chaos layer opening over 4 or 8 bars
- Reverb send on vocal hits only at phrase ends
- Saturator drive to intensify a build
- Drum Buss transient for the final bar before a drop
- Bass filter opening into the drop, then closing slightly for the main groove
- Intro: filtered break fragments, vocal atmospheres, no full sub
- Drop 1: main chopped break + sub + restrained mid-bass
- Bar 9: first switch-up with a drum fill and a vocal shout
- Bar 17: chaos layer enters with resampled hits and a harsher bass phrase
- Breakdown: strip to vocal echo, one break ghost, and filtered room tone
- Drop 2: same groove, but with mutated drum edits and a more aggressive bass texture
- Over-chopping the break until it loses identity
- Too much low-end in the break layer
- Making the chaos layer too loud
- Ignoring mono compatibility
- Over-compressing the drum bus
- Vocal chops landing like random samples
- Layer a very low-volume distortion copy of the break with heavy EQ band-limiting to the mids. This adds menace without muddying the kick zone.
- Use short automation ramps on Auto Filter instead of dramatic sweeps. Small moves around 200 Hz to 2 kHz can create tension that feels more underground.
- Print a distorted bass phrase to audio, then cut out the cleanest notes and leave the ugly edges. Imperfection sells the attitude.
- Add silence before the drop. A one-beat gap or stripped-down vocal echo can make the first drum hit feel way bigger.
- Use the rack chain on individual break slices rather than the whole loop when you want a single hit to explode.
- Keep reese width out of the sub region. Let the stereo energy live above the fundamental so the drop stays club-safe.
- Use ghost snares and tiny rim fragments to imply faster motion without overcrowding the pattern.
- Check the groove at low monitoring volume. If the break still feels vicious quietly, it’s probably balanced well enough for club playback.
- Build the track around a main break layer, a chaos layer, and separated sub/mid bass.
- Use slicing, micro-timing, and ghost notes to make the break feel alive.
- Add ragga vocal responses as rhythmic punctuation, not decoration.
- Use Drum Buss, Saturator, EQ Eight, Auto Filter, and resampling to create grit and movement.
- Automate tension across phrases so the drop evolves instead of looping flat.
- Keep the sub mono, the drums punchy, and the chaos controlled.
Musically, the result should feel like:
Step-by-Step Walkthrough
1. Build the project around a strict DnB foundation
Set the project to 174 BPM and start with a clean, organized session or arrangement template. In DnB, especially warehouse material, the break can get messy fast, so the session needs to support speed and decisions.
Create these tracks:
On the master, leave headroom: aim for peaks around -6 dB while building. That gives you room to push saturation and bus glue later without clipping the mix too early.
Use stock devices from the start:
Why this works in DnB: the genre depends on impact and low-end separation. If the project is cluttered from the start, the break loses punch and the sub starts fighting the kick region immediately.
2. Choose a break with attitude, then slice it for control
Drop a strong break into DRUM MAIN — an amen-style loop, a think break, or a raw jungle break with obvious ghost-note detail. Advanced tip: choose a break with a clear transient profile and enough midrange texture to survive heavy processing.
Right-click the clip and choose Slice to New MIDI Track. In Ableton Live 12, use the slicing workflow to turn the break into a playable drum rack. Slice by:
For this style, transient slicing is usually better because it lets the groove stay organic while you rearrange the hits.
Inside the Drum Rack:
Now create a 2-bar MIDI pattern with a call-and-response structure:
Useful settings:
Advanced move: duplicate the rack to a second track and process it differently. One rack stays the core groove, the other becomes the chaos mutant.
3. Shape the groove with micro-timing, not just volume
The difference between a stiff loop and a living DnB break is often micro-timing. In the MIDI editor, nudge a few hats or ghost snares slightly late, and pull certain accents slightly early to create push-pull energy.
Try this:
Use Groove Pool with subtlety:
Important: in aggressive DnB, too much swing can make the drop feel lazy. You want elasticity, not laid-back funk.
Add Note Length variation to some slices:
This creates a more convincing “performed” feel, especially when the break is heavily chopped.
4. Build the warehouse tone with Drum Buss, saturation, and filtering
Now process DRUM MAIN with a chain that gives it mass without flattening it.
Start with:
- Drive: 5–15%
- Crunch: 0–20% depending on how filthy you want the mids
- Boom: use carefully; if your break already has low-end, keep it low or off
- Transients: push slightly positive if you need more snap
- Drive: 2–6 dB
- Soft Clip: on
- Output trimmed back to compensate
- High-pass only if the break is fighting the sub
- Small cuts around 250–500 Hz if the boxiness builds up
- Tame harsh top end around 7–10 kHz if the hats get brittle
On the break bus, avoid making everything huge at once. A warehouse break should feel like it’s slamming the room, but the sub and kick region need room to breathe.
If the break feels too polite, send a duplicate to DRUM CHAOS and process it harder:
Blend it quietly under the main groove. You’re not building a second drum kit — you’re building a pressure layer.
5. Add ragga-infused chaos with vocal chops and response hits
Create a RAGGA FX / VOCAL track with short shouts, chants, or spoken fragments. Keep it rhythmic and selective. This style works best when the vocal acts like a percussion layer, not a full lead.
Place vocal hits:
Process with stock Ableton devices:
Good parameters:
A classic ragga approach is to let a vocal phrase answer the drum edit:
That call-and-response is a huge part of why this style feels authentic in DnB.
6. Design the bass around the break, not over it
Build a bass system with SUB and MID BASS separated cleanly.
For SUB:
Useful settings:
For MID BASS:
A strong advanced move: write the bass as two phrases:
This keeps the low-end from becoming one static wall and allows the break to breathe around it.
Why this works in DnB: the break supplies the urgency and texture, while the bass supplies the scale and impact. If both occupy the same rhythmic role, the mix turns to mush. If they answer each other, the drop feels intentional and powerful.
7. Use resampling to create the “warehouse mutation” layer
This is the key advanced sound design move. Route your break and chaos layers to an audio track called RESAMPLE PRINT. Record 4 or 8 bars of the most interesting drum movement, including any vocal hits, filter sweeps, or fills.
Then chop that audio into new fragments:
Process the resampled layer with:
Suggested use:
This gives you the “someone is smashing racks in the next room” energy that fits warehouse DnB without losing arrangement clarity.
8. Automate tension, not just loudness
Advanced DnB arrangement is about movement across phrases. Don’t wait for fills to create energy — automate the sound design.
Automate:
A strong arrangement example:
In DnB, the arrangement has to be DJ-friendly but still feel like it’s evolving. Repetition is fine — stagnation is not.
Common Mistakes
Fix: keep at least one recognizable snare anchor and one recurring hat pattern.
Fix: high-pass or trim the break bus so the sub owns the lowest octave.
Fix: if you can hear every detail clearly, it’s probably too exposed. It should feel like energy, not a second lead.
Fix: keep sub fully mono and check the whole low end in Utility’s mono mode.
Fix: use compression for glue, not as a volume fix. If the transients disappear, back off.
Fix: place ragga hits like percussion phrases. They should answer the drums, not float above them.
Pro Tips for Darker / Heavier DnB
Mini Practice Exercise
Spend 15 minutes building a 4-bar drop sketch.
1. Pick one break and slice it to a Drum Rack.
2. Program a 2-bar main groove with one clear snare anchor and at least four ghost-note variations.
3. Duplicate the break onto a chaos track and process it harder with Drum Buss, Saturator, and Auto Filter.
4. Add a ragga vocal chop that responds to the snare every second bar.
5. Design a sub sine and a simple mid-bass phrase that leaves space for the break.
6. Resample 4 bars of the whole drop and create one fill using reversed or pitched fragments.
7. Automate a filter opening and a reverb send into bar 4.
Goal: make it feel like a live warehouse selector moment, not a loop.
Recap
If you nail that balance, you get the real warehouse DnB effect: raw, heavy, and just unstable enough to feel dangerous.

