Main tutorial
Lesson Overview
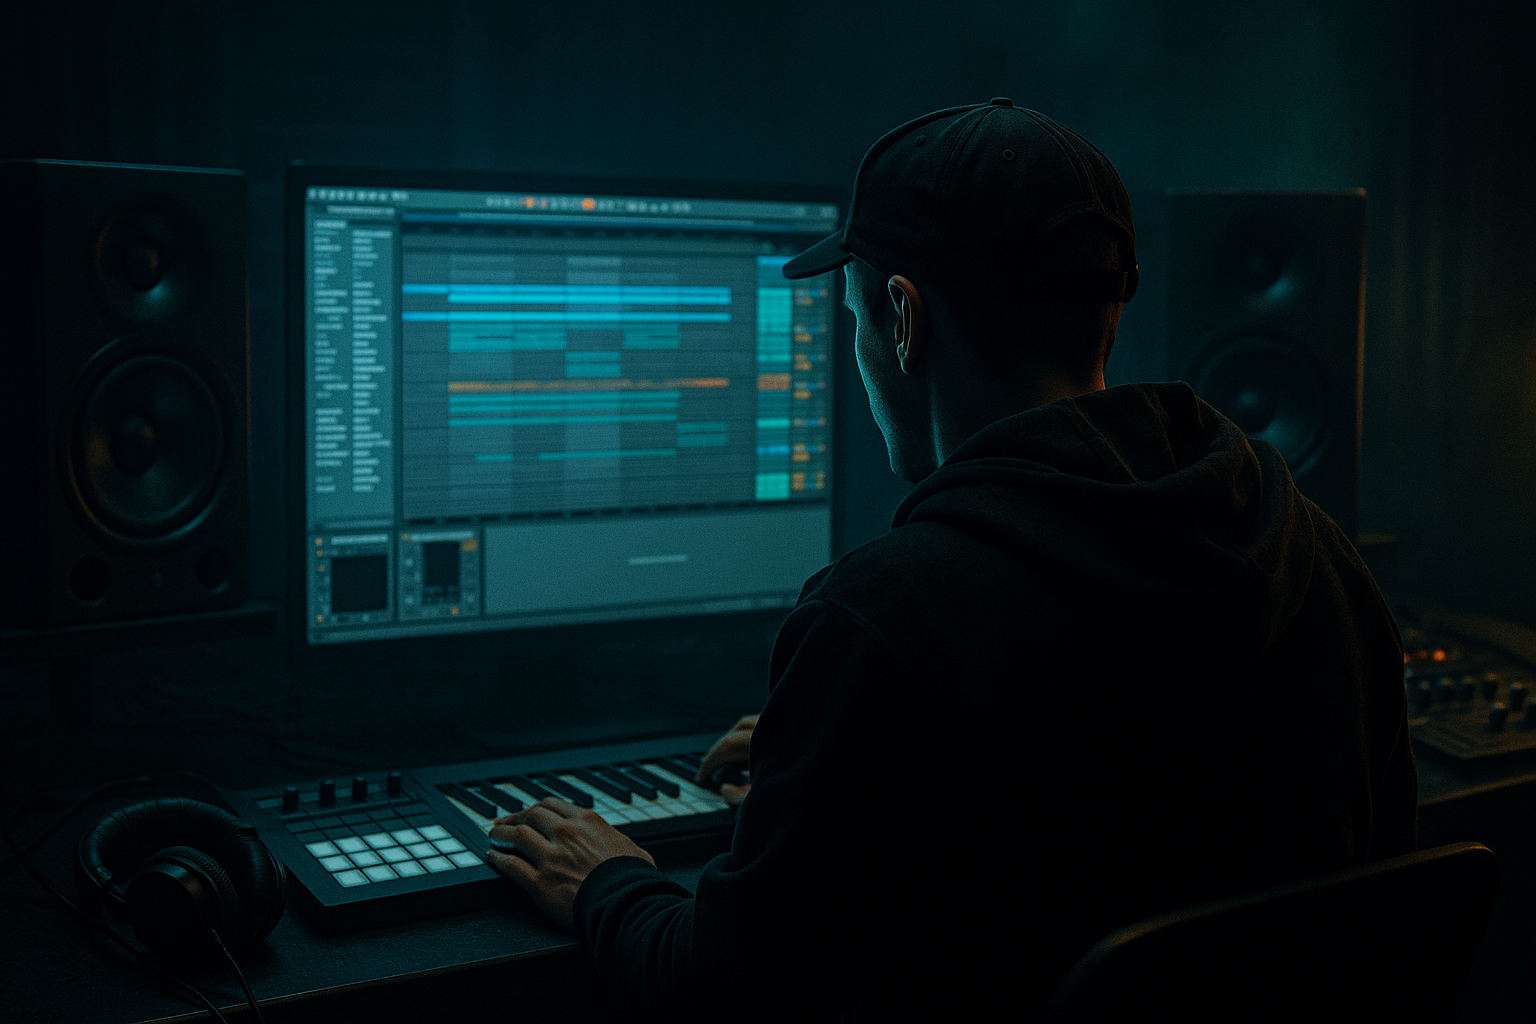
This lesson is about building a Warehouse-style sampler rack in Ableton Live 12 that gives you crunchy, oldskool jungle texture while still working in a modern DnB arrangement. The goal is not just to make a loop sound gritty — it’s to create a performance-ready bass/drum rack that can evolve across a full track: intro, drop, switch-up, breakdown, and outro.
In real DnB production, this technique is gold because it solves three problems at once:
1. Texture — you get that dusty, hardware-ish sampler feel without leaving Ableton.
2. Movement — the rack can swap between clean, crushed, filtered, and chopped states.
3. Arrangement speed — once the rack is built, you can write a whole tune by automating a few macro moves instead of endlessly redesigning sounds.
This sits right in the lane of warehouse rollers, jungle edits, darker jump-up textures, and oldskool-inspired neuro-adjacent bass design. Think: chopped breaks, sub pressure, smeared sampler grit, and tension-building transitions that feel raw but controlled. 🔥
The key idea: use Simpler and Drum Rack like a mini hardware sampler system, then shape the output with stock Ableton effects so the sound can evolve in the arrangement. The “crunch” comes from how you sample, warp, filter, distort, and resample — not from random over-processing.
Why this works in DnB: the genre loves contrast. A clean sub under a dirty mid layer, tight drums against smeared ambience, and repeated phrases that mutate every 4 or 8 bars. A sampler rack gives you that contrast in one playable instrument.
What You Will Build
By the end, you’ll have a Warehouse Sampler Rack in Ableton Live 12 with:
- A sub layer that stays mono and focused
- A crunchy mid-bass sampler layer with oldskool texture
- A break layer for chopped jungle-style drum fragments
- Macro controls for:
- Arrangement-ready variations for:
- Bars 1–16: filtered break texture and atmosphere
- Bars 17–32: sub enters, bass hints only
- Bars 33–48: full drop with reese-like sampler grit and edited break fills
- Bars 49–64: call-and-response variation with filter automation and half-bar stabs
- Over-crunching the sampler layer
- Letting the sub share the same processing chain as the gritty bass
- Making the break too loud
- Using too much stereo width on bass
- Programming bass notes that are too long
- Ignoring arrangement automation
- No resampling pass
- Add a very subtle Frequency Shifter on the crunchy chain for unstable warehouse character, but keep the amount tiny.
- Use Drum Buss on the break layer with low Drive and careful Boom to thicken oldskool breaks without wrecking the kick.
- Put Auto Filter after distortion, not just before it, and automate the resonance slightly for tension peaks.
- Use parallel saturation inside an Audio Effect Rack so the original attack stays intact.
- Create a “drop tension” macro that closes the filter, increases crush, and slightly reduces width at the end of every 8 bars.
- For neuro-leaning darker sections, automate very small movements in Simpler Start, filter cutoff, and pitch envelope to make the sampler feel more alive.
- In switch-ups, strip the arrangement down to sub + break + one crunchy stab for 4 bars. That vacuum makes the next drop feel heavier.
- If the rack gets too clean, resample it through a second pass with Saturator + Erosion + EQ Eight, then bring that layer in quietly under the main sound.
- Build your sound from separate sub, crunch, and break layers.
- Use Simpler, Operator, Auto Filter, Saturator, Redux, Drum Buss, EQ Eight, and Utility to create controlled sampler grit.
- Keep the sub clean and mono, and let the crunch live in the midrange.
- Shape the track with macro automation so the rack evolves across intro, drop, switch-up, and outro.
- Resample your rack to get extra oldskool texture and faster arrangement decisions.
- In DnB, the best sampler racks feel tight, dirty, and musical — not overworked.
- grit amount
- filter sweep
- attack/decay shape
- width
- sample start movement
- send to reverb/delay
- 16-bar intro
- 8-bar breakdown lift
- 16-bar drop
- 4-bar switch-up
- DJ-friendly outro
Musically, this rack will let you build something like:
This is a practical template for making warehouse tension with jungle DNA — dark, functional, and mixable.
Step-by-Step Walkthrough
1. Choose a source sample with character, not perfection
Start by dragging in one of these into a new audio track or directly into Simpler:
- a dusty drum break
- a short reese-ish bass note
- a field recording texture
- a small vocal or metal hit for atmosphere
For this lesson, the best source is usually a short drum break plus a bass hit. You want something that already has transient texture and some harmonic dirt. If the sample is too clean, the rack will sound sterile.
In Simpler, set:
- Mode: Classic
- Warp: Off for one-shots, On only if needed for looped breaks
- Start: around 0.0–5.0 ms if you want the transient
- Loop: Off for bass hits, On for break textures
If you’re working with a break, trim it so the groove lands naturally on the grid. For oldskool jungle energy, don’t over-quantize everything. Let the break keep a slight human push/pull.
Arrangement note: save the raw sample as a rack chain now. You’ll want a clean version for intro sections and a processed version for the drop.
2. Build the rack structure: sub, crunch, and break movement
Create a Drum Rack or Instrument Rack depending on whether you’re using MIDI pads or a single bass instrument. For this lesson, use Instrument Rack if you’re building bass layers, then put Simpler on each chain. If you want to combine drums and bass edits in one performance rack, use Drum Rack with pad chains.
Build three chains:
- Sub Chain: Simpler or Operator for a clean sine/sub
- Crunch Chain: Simpler with the sampled bass/break texture
- Break Chop Chain: Simpler with sliced break fragments
On the Sub Chain, use Operator:
- Oscillator A: sine
- Octave: -1 or -2
- Volume: keep low and steady
- Add Saturator after it with Drive around 1–3 dB if needed, but keep the sub mostly clean
On the Crunch Chain, use Simpler:
- Filter: On
- Mode: Classic
- Voices: 8–16 if you need more overlap
- Pitch envelope: slight movement only
On the Break Chop Chain, use Simpler or Slice mode:
- Slice by: Transient
- Use individual slices for kick/snare/tail hits
- Keep this chain quieter than the main bass so it supports the groove rather than cluttering it
Why this works in DnB: the sub, crunch, and break layers each occupy a different job. DnB falls apart fast if one layer tries to do everything. Clean separation gives you punch, grit, and rhythm without low-end chaos.
3. Shape the crunch layer with sampler-style abuse, but keep it controlled
On the Crunch Chain, add the following stock devices in this order:
- Auto Filter
- Saturator
- Redux or Erosion
- Compressor or Glue Compressor
Suggested starting settings:
- Auto Filter: Low-pass, cutoff around 180–450 Hz for intro states, open to 1.2–4 kHz on drops
- Saturator: Drive 3–8 dB, Soft Clip On
- Redux: Downsample lightly, around 2–6 reduction amount, not full destruction
- Erosion: Type = Noise or Sine, Amount 1–4, Frequency around 1–3 kHz
- Compressor: fast attack, medium release, just 2–4 dB gain reduction to tighten the bite
Now map the important parameters to macros:
- Macro 1: Crush
- Macro 2: Tone
- Macro 3: Width
- Macro 4: Sample Start
- Macro 5: Break Send
- Macro 6: Sub Level
For Sample Start, automate Simpler’s Start position slightly so the tone changes across repeated notes. This creates that sampler movement oldskool jungle loves. Small changes matter — even shifting a few milliseconds can make the phrase feel alive.
Keep the crunch layer mostly midrange-focused. If it starts stepping on the sub, use EQ Eight and high-pass around 80–120 Hz. That leaves room for the bass foundation.
4. Add a break layer for jungle urgency and arrangement glue
Load a break into Simpler and slice it. If you’re using a classic break, do not over-edit it into lifeless perfection. The groove should feel like a looped machine with human edges.
In Simpler Slice mode:
- Slice by: Transient
- Trigger: One-Shot
- Envelopes: short release if needed
- Add a bit of Transient shaping with Drum Buss or Glue Compressor
Good chain for the break layer:
- EQ Eight: cut sub below 100–140 Hz
- Drum Buss: Drive 5–15%, Crunch low to moderate, Boom very careful
- Auto Pan: slow movement only if the break is atmospheric
- Reverb on a return, not inserted too heavily
For a warehouse vibe, use the break layer as a ghost groove underneath the bassline. You can also chop one-bar fragments and place them at the end of every 4 or 8 bars. This creates the classic “something is about to happen” feeling.
Arrangement idea: mute the break layer in the first 8 bars of the drop, then bring it in on bar 9 or bar 17 to make the second phrase feel bigger. That contrast is very DnB.
5. Program a bass phrase that behaves like a sampler, not a static synth line
Write a MIDI bassline that uses short notes, rests, and repeated shapes. Think in phrases, not endless motion. A good starting point is a 2-bar motif with:
- one low anchor note
- a syncopated mid note
- a pickup or answer note
- deliberate gaps for drums
Example phrasing concept:
- Bar 1: low hit on beat 1, syncopated response on the “and” of 2
- Bar 2: variation with a higher note or a short pickup leading back to bar 1
Keep notes around 1/16 to 1/8 note lengths for the crunchy sampler layer. Let the sub sustain a little longer if needed. Use legato only if the phrase needs glide; otherwise keep it tight.
If the rack feels too static, use:
- tiny pitch automation
- velocity variation
- note length variation
- macro automation on filter and crush
For darker DnB, this call-and-response method is essential. The space between notes lets the drums punch through, and the sampler grit becomes rhythmic instead of just noisy.
6. Use rack macros to create arrangement movement across sections
Now turn your rack into an arrangement tool. This is where the lesson becomes more than sound design.
Map your macros so they can shape the whole track:
- Crush: Saturator drive + Redux amount
- Tone: Auto Filter cutoff
- Width: Utility width on crunchy layers only
- Start: Simpler sample start position
- Atmos: Reverb send amount
- Sub: sub chain volume
Suggested automation ranges:
- Intro: Tone closed at 10–25%, Crush low, Width narrow
- Pre-drop: Tone opening from 25% to 70%, Start shifting slightly
- Drop: Crush 60–90%, Width moderate, Sub full
- Switch-up: momentary Crush reduction and filter dip
- Outro: subtract layers one by one, leaving drums and tail textures
A strong warehouse arrangement usually follows this logic:
- 16-bar intro: establish atmosphere and break fragments
- 8-bar lift: filter opens, bass hints begin
- 16-bar drop: full rack performance
- 8-bar switch-up: half-time feeling or stripped drums
- 16-bar second drop: more open filter or extra break layer
- Outro: DJ-friendly subtraction
Automate at bar boundaries for larger movements, and use 1–2 bar ramps for tension. DnB often feels better when your automation is decisive instead of constantly shifting.
7. Resample the rack for extra crunch and faster arrangement decisions
Once the rack is sounding good, route the output to a new audio track and resample 4 or 8 bars of performance. This is one of the fastest ways to get that hardware-sampler feel in Ableton.
After resampling:
- chop the audio into phrases
- reverse small hits
- create stutter edits at phrase ends
- use Warp carefully to keep groove intact
Then layer the resampled audio back under the MIDI rack very quietly. This gives you “glue crunch” — the sound of the instrument already living in the room.
Useful stock devices for the resampled track:
- EQ Eight to carve low-end
- Utility to mono the bass-heavy parts
- Glue Compressor for 1–2 dB of bus firmness
- Auto Filter for intro filtering
This is especially effective in warehouse-style tracks because the ear hears a single coherent source, not a pile of separate layers. It feels more like a performance and less like a loop assembly.
8. Lock the low end and keep the mix dark without losing clarity
Now treat the rack like a serious DnB bass system.
Rules to follow:
- Keep the sub mono
- High-pass non-sub layers aggressively enough to avoid mud
- Check your bass in Utility mono
- Use EQ Eight to tame harsh zones around 2.5–5 kHz if the crunch gets sharp
- Leave headroom on the master; don’t chase loudness yet
A good balancing approach:
- Sub chain: prominent but controlled
- Crunch chain: louder in solo, quieter in the full mix
- Break chain: felt more than heard during dense sections
If the bass gets wide and ugly, reduce stereo width on the rack and let the drums handle the width through hats, reverbs, and atmospheres. DnB low end should hit like a beam, not a cloud.
Common Mistakes
- Fix: back off Redux/Erosion and restore midrange clarity with EQ Eight.
- Fix: split sub into its own chain and keep it mostly clean.
- Fix: use the break as groove glue, not a second drum kit competing with the main drums.
- Fix: mono the low end and keep width on higher textures only.
- Fix: shorten note lengths and create space for kick/snare interplay.
- Fix: automate filter, crush, and start position across phrases so the rack evolves.
- Fix: resample the rack and use the audio to make edits feel more “alive” and less copy-paste.
Pro Tips for Darker / Heavier DnB
Mini Practice Exercise
Set a timer for 15 minutes and do this:
1. Pick one dusty break and one bass hit sample.
2. Build a 3-chain rack: sub, crunch, break chop.
3. Map 4 macros only: Crush, Tone, Start, Sub.
4. Write a 2-bar bass phrase with rests.
5. Automate the macros across 8 bars:
- bars 1–4: filtered and restrained
- bars 5–8: more open and aggressive
6. Resample the 8 bars to audio.
7. Cut the audio into 2 or 4 pieces and place one edit at the end of the phrase.
Goal: make the rack feel like it’s changing personality over the arrangement, not just repeating a loop.

