Main tutorial
Lesson Overview
A jungle air horn hit can do more than scream “drop coming.” In a serious Drum & Bass arrangement, it can become a rhythmic hook, a tension cue, a call-and-response motif, or a DJ-friendly transition tool that locks into the break. In this lesson, you’ll learn how to warp an air horn so it sits in a jungle swing feel inside Ableton Live 12, then shape it into something that feels like it belongs in a proper DnB system test: gritty, syncopated, and dangerous.
This matters because DnB is all about motion. A static horn sample dropped on the grid will usually sound pasted on. But when you warp it correctly, trim the tail, control the transient, and place it against a swung break pattern, the horn becomes part of the groove instead of sitting on top of it. That’s a huge composition advantage in jungle, rollers, darker bass music, and neuro-adjacent arrangements where every element should feel like it’s pushing the tune forward.
We’re not just making a “horn sound.” We’re designing a composition device: a hit that can open up a 16-bar phrase, answer the bassline, punctuate a drum fill, or signal a switch-up before the second drop. 🎯
What You Will Build
You’ll build a warped jungle air horn hit that:
- Lands with a tight, aggressive front end
- Bends and ducks slightly into the pocket of a swung break
- Has a controlled tail that doesn’t smear the low mids
- Can be sequenced as a one-shot, a syncopated motif, or a call-and-response phrase
- Sits cleanly in a DnB mix without fighting the kick, snare, or sub
- Feels period-correct for jungle while still sounding modern and heavy
- 8-bar intro: horn stab appears filtered and sparse, teasing the drop
- First drop: horn answers the snare every 4 bars
- Breakdown: horn is stretched and automated to create a rising tension phrase
- Switch-up: horn slices into the break and becomes part of the rhythm, almost like a percussive synth hit
- Warping too loosely
- Making the horn too long
- Over-widening the hit
- Ignoring the groove relationship
- Letting the horn fight the bassline
- Using too much reverb
- Layer a second horn one octave down, very quietly
- Use a tiny pitch fall on the tail
- Drive into Saturator before EQ
- Use a ghost horn
- Pair the horn with a drum fill
- Automate the horn into the bass entry
- Keep the sub untouched
- Warp the source tightly and choose the right warp mode
- Lock the horn into the break’s swing
- Shape the transient so it punches without clutter
- Write it as a phrase, not a random hit
- Automate filter, volume, and pitch for movement
- Resample for control and arrangement speed
- Keep the core hit mono-safe and rhythmically connected to the drums and bass
Musically, the result will work in a context like this:
Step-by-Step Walkthrough
1. Choose or create a horn source that already has attitude
Start with a short air horn sample, brass stab, or rave horn one-shot. In jungle and DnB, the character of the source matters more than pristine fidelity. You want something with a sharp attack and some harmonic midrange so it cuts through breaks and bass.
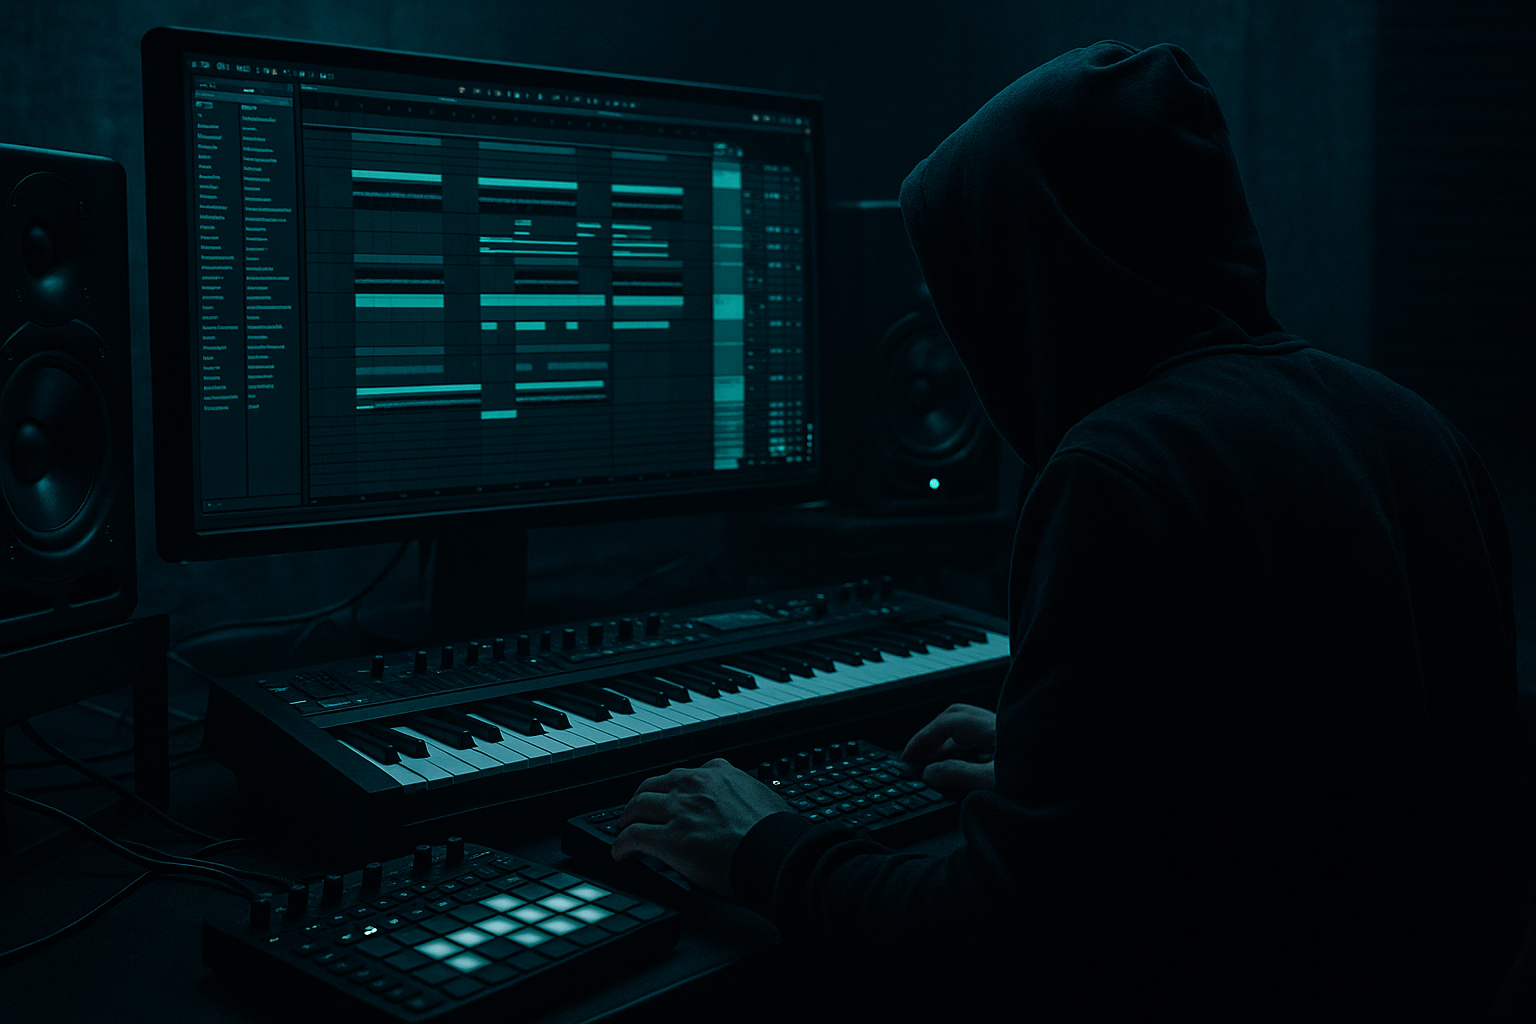
Drag the sample into an audio track and open it in Simpler if you want quick control, or keep it as audio for deeper warping control. For this lesson, use the audio clip view so you can shape the warp behavior directly.
Good source traits:
- Short transient, ideally under 1 second
- Some upper-mid bite around 1–4 kHz
- Not too much low-end rumble
- Slightly noisy or rough is fine; that helps it feel authentic
If the sample is too clean, you can dirty it later with Saturator or Drum Buss. If it’s too long, we’ll trim it down with Clip Envelopes and warp markers.
2. Set the clip up for precise warping
Double-click the horn sample and enable Warp. In Live 12, you’ll usually get the best results with Complex Pro for tonal material like horn hits, especially if you want to pitch-shift or time-stretch it without ugly artifacts.
Suggested starting settings:
- Warp mode: Complex Pro
- Formants: 0 to +15 if you want a more urgent, brassy edge
- Envelope: around 60–90 for punchier transients
- Preserve: leave near the default, then adjust if the tail gets smeared
If the horn is more percussive and less tonal, try Beats mode with transient preservation, but for a classic air horn feel, Complex Pro is usually the better choice.
Set the start marker tightly on the transient. Then trim any dead air before the hit so the note feels immediate. In jungle, a horn that speaks late kills momentum.
3. Lock the horn into the jungle swing pocket
The key move here is to make the horn feel like it belongs to the break, not just the metronome. Load a classic break or your own drum loop on another track, then pull groove from the break into the horn track.
In Live, use Groove Pool to extract or apply swing from a break with a strong feel. If you already have a swung drum loop, drag its groove into the Groove Pool and apply it to the horn clip.
Practical approach:
- Apply groove amount around 55–75%
- Start with 16th-note swing material if the break is busy
- Use Start Quantize lightly or not at all; you want the horn to breathe, not sound robotic
Then nudge the horn placement manually:
- Push it slightly ahead of the beat for urgency
- Or place it just behind the snare for a heavier, more ominous pull
Why this works in DnB: jungle swing isn’t just drum programming. It’s a timing language. When the horn inherits the break’s push-pull, it instantly sounds like part of the same ecosystem.
4. Shape the transient so it punches without flattening the mix
Add Drum Buss or Saturator after the horn clip if you want more body and aggression. For a modern DnB horn, the front edge should be assertive, but the body must be controlled.
Suggested chain:
- Drum Buss: Drive 5–15%, Transients +10 to +25, Boom off or very low
- Saturator: Soft Clip on, Drive 2–6 dB, Output compensated
- Optional EQ Eight: high-pass around 120–180 Hz to remove unnecessary low end
If the attack is too spiky, use Glue Compressor with fast attack and medium release:
- Attack: 0.3–1 ms
- Release: Auto or 0.1–0.3 s
- Ratio: 2:1
- Aim for only 1–2 dB of gain reduction
You’re not trying to squash the horn into a flat sample. You’re trying to keep the transient pointed while the midrange stays thick enough to read on small systems.
5. Create the rhythmic phrase, not just a single hit
Advanced DnB composition is often about phrasing with small motifs. Don’t just place the horn once. Build a 2-bar or 4-bar pattern that interacts with the drums and bassline.
Try one of these musical contexts:
- Answer phrase: horn hits on the “and” after the snare every second bar
- Pickup phrase: a short horn cut before the drop, then a full hit on bar 1
- Call-and-response: horn on bar 1, bass response on bar 2
- Break accent: horn sliced into a break fill on the last half-bar before a drop
In the MIDI editor, if you’re triggering a sampled horn in Simpler, write the notes with intentional space:
- One hit on bar 1
- A shortened echo hit on bar 2 using a second instance or duplicate note
- A final clipped stab on bar 4 leading into the next phrase
This is where composition matters most. A horn is more effective when it reinforces phrase structure, not when it fires randomly.
6. Use Clip Envelopes and automation to make the horn “move”
For a premium jungle feel, automate the horn so it develops over time. Use clip envelopes or track automation to shape filter, volume, and pitch during the phrase.
High-impact automation ideas:
- Auto Filter: automate low-pass cutoff from 400 Hz to 12 kHz over 4 bars for a rising tension move
- Utility gain: automate a slight dip before the horn hits, then return to full level for impact
- Pitch: automate a very quick downward pitch drop of -1 to -3 semitones at the tail for a classic rave/jungle wobble
- Reverb return send: increase only on the final hit of a phrase, then hard cut it before the drop
Use Auto Filter in band-pass or low-pass mode if you want the horn to “open up” during the transition into the drop. Keep the movement musical and phrase-based, not constantly sweeping for the sake of motion.
7. Resample the processed horn for tighter control
This is an advanced but very useful Ableton workflow. Once you like the warping, processing, and automation, resample the horn to a new audio track. That lets you commit the sound and edit it like a drum hit.
Benefits:
- Easier micro-editing of the tail
- Cleaner arrangement decisions
- Better control over fades and cut points
- Less CPU and less “option paralysis”
After resampling:
- Consolidate the clip
- Trim the tail so it doesn’t overlap the snare or bass notes
- Add tiny fades to avoid clicks
- Duplicate the resampled clip to create answer phrases or ghost hits
In darker DnB, resampling is a major workflow advantage. You’re turning a source sample into a composition-ready object.
8. Place the horn against the drums and bass with deliberate spacing
Now test the horn in the full arrangement. The main question is: what is it interacting with?
Best placement options in a DnB context:
- Right after a snare to create a “snare → horn → bass” chain
- Before a snare for anticipation
- At the end of a 16-bar drum phrase to signal a switch-up
- On the last 1/8 note before the drop for tension release
If the bassline is a rolling reese or sub-led pattern, leave enough room in the midrange for the horn to speak. Use EQ Eight on the bass bus if needed:
- Cut a little around 1.5–3 kHz if the horn needs presence
- Keep the sub mono and clean
- Avoid overloading the same tonal pocket with bass harmonics and horn bite
A useful arrangement trick: mute the horn for the first 8 bars of a drop, then bring it in on bar 9 or 13. That delayed entry can make the whole tune feel bigger without adding more sound design.
9. Add spatial depth without washing out the impact
Jungle horns can easily become too wet and lose authority. Use space deliberately.
Good stock Ableton approach:
- Short Reverb on a send, not inserted heavily
- Pre-delay around 15–35 ms
- Decay around 0.8–1.8 s
- High-cut the reverb return so it doesn’t splash harsh highs everywhere
For a more underground feel, use Echo very subtly:
- Time: 1/8D or 1/16
- Feedback: 10–25%
- Filter the return so it sits behind the lead hit
Then automate send levels only on transition hits. A horn that’s dry in the drop and wet in the breakdown often feels bigger than one that’s constantly drenched.
10. Finalize with stereo discipline and mono checks
Horns can get wide and impressive, but in DnB the low-mid punch must survive in mono. Keep the core hit centered or nearly centered, especially if it’s functioning as a main hook.
Use Utility:
- Keep Bass Mono ideas for sub only; not relevant to the horn itself
- If widening with Chorus-Ensemble or very light Delay, check mono collapse
- Keep the key transient and fundamental strong in the center
If the horn has harsh stereo smear:
- Reduce wet return
- Narrow the track with Utility width to 80–100%
- EQ out clashing upper mids around 2.5–5 kHz if the break and hat layer are already busy
Final check: if the horn still feels exciting when the track is summed to mono, you’ve got a usable DnB composition element, not just a stereo trick.
Common Mistakes
- Fix: tighten the clip start, use Complex Pro, and avoid letting the transient drift off-grid.
- Fix: trim the tail aggressively. In DnB, long tails can clash with snare reverb and bass movement.
- Fix: keep the core mono-compatible. Use width on returns, not the main punch.
- Fix: extract or borrow swing from the break and apply it to the horn. That’s what makes it feel like jungle.
- Fix: carve the bass mids slightly, or move the horn to a different phrase point so they don’t occupy the same moment.
- Fix: make the horn feel large through arrangement and automation, not just wash.
Pro Tips for Darker / Heavier DnB
- High-pass the layer aggressively and blend just enough to add menace without muddying the mix.
- A quick drop of -1 to -3 semitones can give the horn a more vicious, old-school rave feel.
- Let the distortion create harmonics first, then clean the mud. This often sounds heavier than EQ alone.
- Put a quieter, filtered version of the hit before the main one by a 1/16 note. That pre-echo can make the main impact feel larger.
- A 2-step fill, break cut, or reverse snare into the horn often sells the drop harder than the horn itself.
- Let the horn decay as the bass re-enters. That overlapping handoff creates a proper DnB “machine” feeling.
- Heavy horn processing should live above the sub zone. If the low end gets cloudy, back off immediately.
Mini Practice Exercise
Spend 10–20 minutes building a horn phrase for a 16-bar DnB drop.
1. Pick one air horn sample and warp it in Complex Pro.
2. Apply a jungle-style groove from a break with groove amount around 60%.
3. Duplicate the clip and create a 2-bar call-and-response pattern.
4. Add Drum Buss or Saturator for bite, then EQ out anything below about 150 Hz.
5. Automate Auto Filter cutoff across 4 bars so the horn opens into a phrase change.
6. Place the horn against a kick/snare break and a simple reese or sub line.
7. Resample the result and trim it into a cleaner one-shot.
8. Check the phrase in mono and make one adjustment for clarity.
Goal: make the horn feel like an intentional part of the drop, not an effect thrown on top.
Recap
The key to a strong warped jungle air horn in Ableton Live 12 is timing, not just tone.
Do that, and the horn stops being a cliché and starts becoming a real DnB composition tool.

