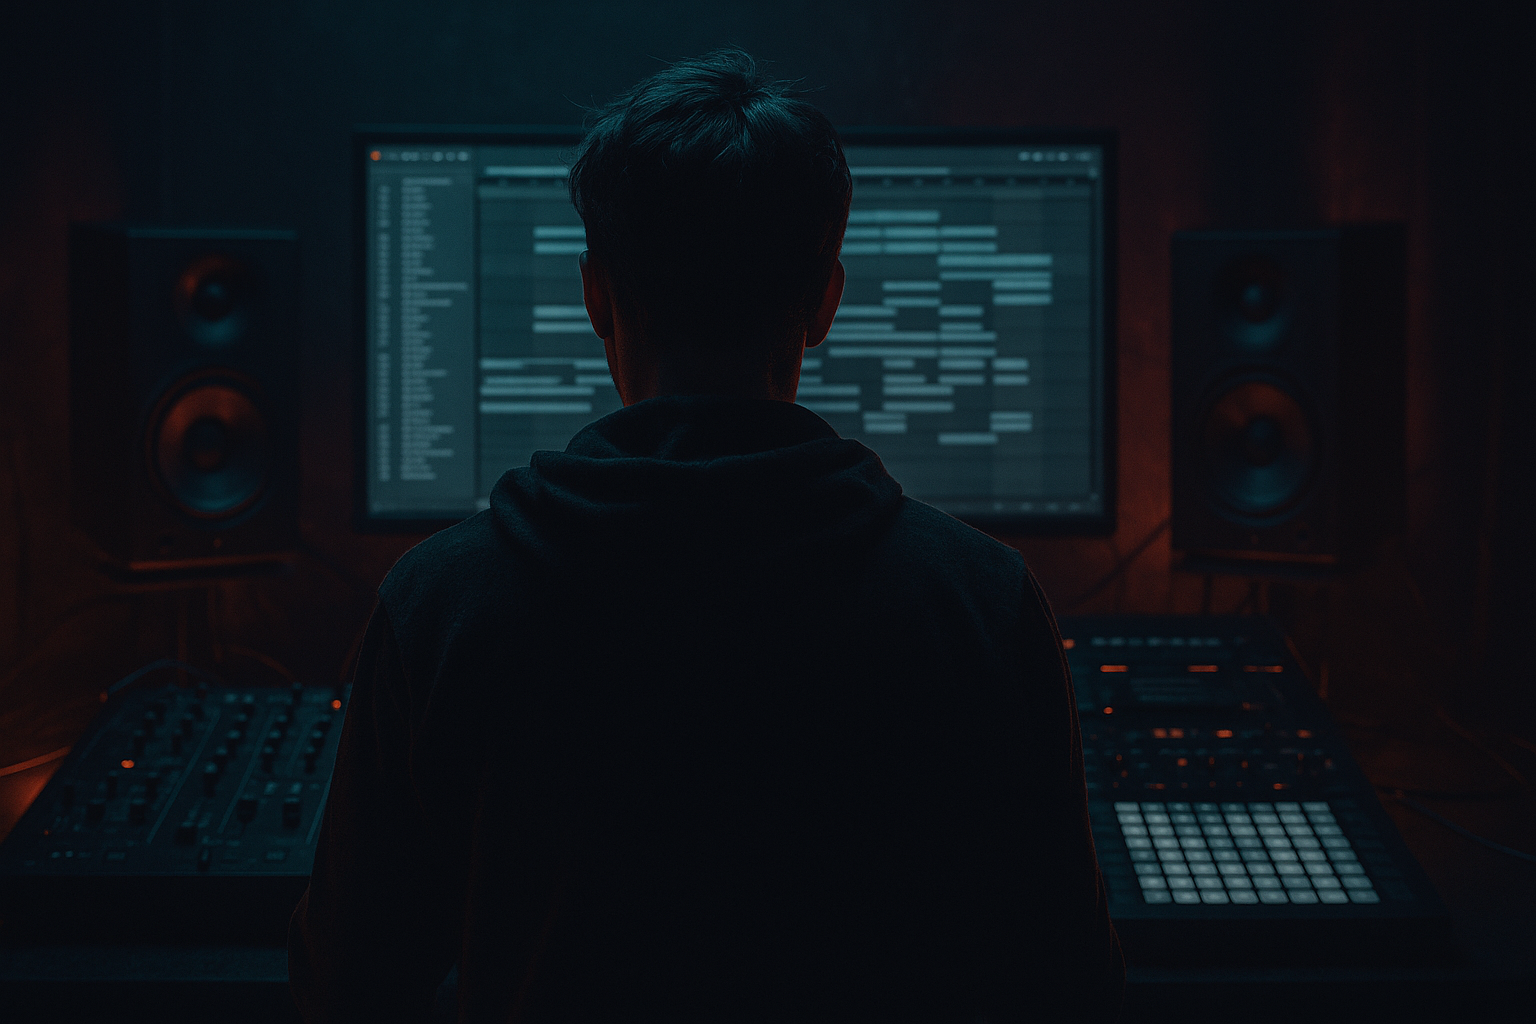
Main tutorial
Lesson Overview
In this lesson, you’ll build a warp-style jungle bass wobble in Ableton Live 12 that feels alive in a real Drum & Bass arrangement: clean, punchy transients on top, dusty mids in the body, and a controlled sub underneath. The goal is not just “making a bass sound cool” — it’s learning how to make a bassline that can sit under breakbeats, support a vocal chop or rap hook, and still move like classic jungle / rollers / darker neuro-adjacent DnB.
This technique matters because DnB bass has to do three jobs at once:
1. Anchor the low end so the kick and sub don’t fight.
2. Create motion in the midrange so the bass feels musical and not static.
3. Cut through busy drums and vocals with sharp transients or formant-like movement without becoming harsh.
We’ll use stock Ableton tools to shape the sound from a simple source into something that feels like it was designed for a modern underground drop. You’ll also learn how to make room for vocals — a crucial skill in 2025-style DnB, where the bass, drums, and vocal all need their own lane.
Why this works in DnB: the genre relies on contrast. Your bass can be wide in character but narrow in sub, dirty in the mids but clean in the transient, and aggressive in the drop but controlled in the arrangement. That contrast is what makes a roller breathe and what gives jungle bass its “wobble with attitude” without turning into mud.
What You Will Build
By the end, you’ll have:
- A three-layer bass rack:
- A warp-like wobble motion driven by LFO-style modulation, with controlled rhythmic movement
- A bass tone that works in a 16-bar drop with break edits and a vocal phrase
- A routing setup that lets you:
- A practical result suitable for:
- Making one layer do everything
- Too much stereo in the low end
- Wobble movement that is too uniform
- Harsh mids that mask the vocal
- Bass transients that are either absent or clicky
- Too much compression on the bass bus
- Sub notes changing too wildly
- Use note-length contrast
- Automate filter openness by section
- Distort the mids, not the sub
- Use ghost notes in the bass phrase
- Let the drums and bass “talk”
- Automate a tiny amount of band movement
- Use a vocal chop as a rhythmic reference
- Check the bass against the break
- Split the bass into sub, mid wobble, and transient layers.
- Keep the sub mono and stable.
- Use filter movement, saturation, and modulation to create dusty mids and wobble.
- Shape crisp transients so the bass reads on small speakers and through busy drums.
- Arrange the bass to leave space for vocals and answer the drum groove.
- Resample when the sound feels right, then edit it like part of the tune.
- a mono sub layer
- a midrange wobble layer with dusty, moving harmonics
- a transient/top layer that gives the bass note definition and bite
- EQ and saturate each layer independently
- automate bass intensity across sections
- keep the low end tight in mono while the mids can feel more animated
- jungle-influenced rollers
- dark halftime-to-DnB switch-ups
- vocal-led drop sections where the bass needs to leave space and then answer the vocal
Think of the final sound as: a weighty, wobbling bassline with crispy note edges and dirty, dusty midrange texture that still leaves room for drums and vocals.
Step-by-Step Walkthrough
1. Start with a clean MIDI bass idea and phrase it like DnB
Create a MIDI track and drop in a simple source like Wavetable, Operator, or even Analog. For this lesson, Wavetable is a great choice because it gives you easy harmonic movement.
Set up a phrase in 1–2 bar loops. Keep the notes sparse and intentional:
- Use one root note and occasional octave jumps
- Add off-beat stabs or short call-and-response notes
- Leave gaps for the kick/snare and for a vocal chop if you plan to layer one later
A strong starting rhythm for DnB is:
- note on beat 1
- answer on the “and” of 2 or 3
- a short pickup into beat 4 or the next bar
Keep velocities varied if the part is MIDI-based. Even small changes help the wobble feel played rather than copied and pasted.
Why this works in DnB: basslines in jungle and rollers are often about phrasing more than complexity. A simple motif with smart rhythm gives the drums and vocal more room, which makes the bass hit harder when it returns.
2. Build the bass as three separate layers for control
Instead of one sound doing everything, create a Instrument Rack and split the job into three chains:
- Sub Chain
- Mid Wobble Chain
- Transient Chain
This is where Ableton shines. Put each chain on its own path so you can process them differently.
Sub Chain
- Use Operator with a sine wave, or Wavetable with a very clean oscillator.
- Keep it mono.
- Low-pass aggressively if needed, but usually a sine is enough.
- Add Saturator very lightly if the sub feels too pure and disappears on smaller systems.
Suggested settings:
- Oscillator: sine
- Release: 80–150 ms for slightly rounded note ends
- Saturator Drive: 1–3 dB
- Utility: Mono on, Width 0%
Mid Wobble Chain
- Use Wavetable with a richer waveform, such as a saw-leaning or pulse-leaning table.
- This is the “dusty mids” body.
- Keep the low end out of this layer with EQ Eight high-passing around 90–140 Hz.
Transient Chain
- Duplicate the mid chain or create a simplified version with a sharper attack.
- Shorten amp envelope attack to 0–5 ms.
- Use Simpler with a short sample if you want a more physical note edge, or stay in Wavetable and shape the attack with a filter/envelope.
This separation lets you treat sub, body, and attack like a real mix rather than hoping one plugin setting will do all the work.
3. Create the wobble movement with modulation you can actually control
In the mid wobble chain, assign movement to the filter and optionally to wavetable position. In Ableton Live 12, you can use LFO-style modulation through device modulation if available in your setup, or simulate it with clip automation and envelopes.
Practical workflow:
- Put Auto Filter after the synth
- Use a low-pass filter with resonance around 10–20%
- Automate cutoff in rhythmic cycles: 1/4 notes for steady movement, 1/8 notes for more nervous jungle energy
- If your synth has a modulation matrix, assign an LFO to the filter cutoff
Good parameter ranges:
- Filter cutoff movement: roughly 150 Hz to 1.5 kHz depending on note register
- Resonance: keep it moderate; too much resonance makes the bass whistle instead of wobble
- LFO rate: try 1/8 or 1/8 dotted for that rolling DnB pulse
For a more “warp” style feel, automate the wobble to open slightly on note accents and close on passing notes. That creates a sense of call-and-response inside the bassline itself.
If you want extra grit, add Overdrive or Saturator after the filter. Keep drive moderate:
- Overdrive Frequency: around 700 Hz–1.8 kHz
- Dry/Wet: 10–30%
- Saturator Drive: 2–6 dB
Don’t overdo it — the goal is dusty mids, not blown-out fuzz.
4. Shape crisp transients so the bass reads on small speakers
Your bass needs note definition in the upper mids. That’s especially important in DnB because the drums are already busy, and bass notes can blur into the break if they don’t have a clear front edge.
On the transient chain:
- Use Transients by shaping the envelope with Amp Attack at 0 ms
- Add Erosion very lightly to create edge and digital grain
- Use EQ Eight to focus the body around 700 Hz–2.5 kHz if needed
Good settings:
- Erosion Amount: subtle, around 0.5–2.0
- Frequency: somewhere in the midrange, not too high
- Transient shaping via envelope: fast attack, short decay if using a sampler
If you want a more percussive note front, layer a very short clicky sample in Simpler:
- Use a tiny noise click, a muted kick click, or a bass pick transient
- Set Warp off if it’s one-shot and timing is tight
- Decay: short enough that it disappears before the mid wobble blooms
This gives your bass the same kind of “spoken” articulation that great DnB basslines have — the note lands clearly before the movement takes over.
5. Add dusty mids with saturation, filtering, and controlled degradation
Now make the mid layer feel worn, atmospheric, and slightly broken-in — like old vinyl energy meeting modern pressure.
A great stock chain here is:
- Auto Filter
- Saturator
- Redux or Erosion
- EQ Eight
Suggested settings:
- Auto Filter: high-pass around 100–140 Hz
- Saturator Drive: 3–8 dB
- Soft Clip: on if needed
- Redux: very restrained, use it to add grain rather than obvious bitcrush
- EQ Eight: tame harshness around 2.5–5 kHz if the tone gets aggressive
The dusty midrange should feel like texture, not static noise. You want movement in the harmonics, especially when the filter opens. Try automating:
- filter cutoff on every 2 or 4 bars
- saturation drive slightly higher in the drop than in the intro
- EQ tilt to brighten the bass in the second half of a phrase
If your bass has a vocal chop in the same section, carve a little extra around 1–3 kHz during the vocal phrase so the lyric or chop remains intelligible.
6. Lock the low end and control stereo properly
DnB bass lives or dies on low-end discipline. Your sub should be mono, and the wobble’s width should be mostly in the mids and highs.
On the sub chain:
- Use Utility with Width at 0%
- Check phase if you layer an extra low sine or a slightly distorted sub
- Keep the sub centered
On the mid and transient chains:
- Use Utility to manage width
- Add subtle stereo only above the low end
- Avoid widening the bass below about 120 Hz
If your bass feels huge but disappears in mono, the problem is usually the mid layer or stereo effects interfering with the fundamental. Fix it by:
- reducing stereo widening
- high-passing the mid chain a bit higher
- making sure the sub chain is clean and independent
For mix balance:
- Leave enough headroom on the bass bus
- Don’t let the bass peak compete with the snare transient
- Use Spectrum to check that the sub fundamental is stable and not wandering too much between notes
7. Glue the layers together on a bass bus
Route all three chains to a group and process the group like a bass bus.
Good stock Ableton chain:
- Glue Compressor for gentle cohesion
- EQ Eight to tidy low-mid buildup
- Saturator for final density
Suggested settings:
- Glue Compressor: 1–2 dB gain reduction max
- Attack: 10–30 ms so you don’t crush the transient
- Release: Auto or around 0.1–0.3 s
- EQ Eight: cut a little around 200–400 Hz if the bass gets boxy
- Saturator: tiny amount, just enough to thicken
Avoid over-compressing. The transients need to stay crisp, and the wobble needs movement. If you squash it too hard, the bass will lose the tension between note attack and midrange bloom.
This bus is also where you can automate overall energy:
- More drive in the drop
- Slightly less saturation in the breakdown
- Filter the whole bass down for intro tension, then open it on the drop
8. Make it work with drums and vocals in an actual arrangement
Here’s a practical arrangement context: imagine a 16-bar drop with a vocal line or chopped vocal hook entering on bars 5–8. The bass should not compete with the vocal every bar.
Use a structure like this:
- Bars 1–4: bass statement, drums establish groove
- Bars 5–8: vocal enters; bass becomes more rhythmic and slightly less dense
- Bars 9–12: bass opens up or gets dirtier, adding response phrases
- Bars 13–16: drum fill or bass variation before the switch
In Ableton, automate:
- filter cutoff opening on bars 9–12
- bass bus saturation up slightly for bars 13–16
- transient chain level down a touch when the vocal is busiest
- send a little delay or reverb only on selected bass notes if you want a ghostly tail
For vocals, use EQ Eight on the vocal channel to keep it away from the bass body. If the vocal and bass share a section, make sure the bass is not fighting the vocal’s core intelligibility range. In practice, that often means the bass stays more focused below and around the lower mids during the vocal phrase, then blooms after it.
This is the DnB sweet spot: the vocal becomes the hook, and the bass becomes the answer.
9. Resample your best version and do a quick edit pass
Once the sound feels right, resample the bass to audio. This is a classic DnB workflow because it lets you edit the performance like part of the arrangement.
Record 4–8 bars of the bass into a new audio track, then:
- cut out dead space
- keep the best note attacks
- reverse tiny sections for tension
- add a single pre-drop bass swell or fill
- warp if necessary, but keep the timing tight and musical
Then process the resampled audio lightly:
- EQ Eight for cleanup
- Saturator if the resample lost edge
- Auto Filter for arrangement automation
Resampling helps you commit to a sound and makes it easier to arrange around drum edits and vocal moments. It’s also how a lot of heavyweight DnB parts get their character: part synthesis, part editing, part performance.
Common Mistakes
- Fix: split sub, mids, and transient into separate chains so each can be controlled properly.
- Fix: keep the sub mono with Utility and narrow the low frequencies on the mid layer.
- Fix: vary cutoff depth, note length, and automation between phrases. DnB movement should breathe with the drums.
- Fix: reduce saturation drive, soften the filter resonance, and carve space around the vocal’s key presence range.
- Fix: shorten attack for clarity, but don’t over-EQ the attack into a brittle spike.
- Fix: use gentle glue, not heavy squashing. Keep the dynamic contrast between attack and wobble.
- Fix: simplify the sub to follow the root and octave choices cleanly. Let the mids provide the variation.
Pro Tips for Darker / Heavier DnB
- Short notes for pressure, longer notes for menace. In rollers and darker jungle, note length is a huge part of groove.
- Keep the intro darker, then open the mids gradually into the drop. This makes the payoff feel bigger.
- Heavier DnB often sounds huge because the sub stays disciplined while the upper bass gets nastier.
- Low-velocity off-beat notes can make the line feel more human and keep momentum under breakbeats.
- If the snare hits hard on 2 and 4, use bass notes that answer after the snare instead of crowding it.
- A small cutoff rise, a touch more saturation, or a slight resonance push can make the second half of an 8-bar phrase feel alive.
- If there’s a vocal phrase, align a bass accent to the end of the word or phrase. That call-and-response energy is a huge part of modern DnB arrangement.
- Soloing bass is misleading. Always listen with the break and vocal together. The sound only matters if it survives the full drop.
Mini Practice Exercise
Spend 10–20 minutes making a mini drop loop using this lesson.
1. Create a 2-bar MIDI bass phrase with 3–5 notes.
2. Build the bass with three layers: sub, mid wobble, transient.
3. Add Auto Filter movement to the mid layer and automate the cutoff over the 2 bars.
4. Add Saturator or Overdrive to the mid layer for dusty texture.
5. Keep the sub mono and clean.
6. Add a simple breakbeat loop and a short vocal chop or vocal sample.
7. Adjust the bass so it answers the vocal instead of masking it.
8. Resample 4 bars of the result and make one edit:
- mute a note
- reverse a tiny slice
- or add a fill before the loop repeats
Goal: by the end, you should have a loop that feels like the beginning of a real DnB drop, not just a sound design exercise.
Recap
If you can make this bass feel strong under drums and vocal elements, you’re not just designing a sound — you’re building a real DnB drop tool.

