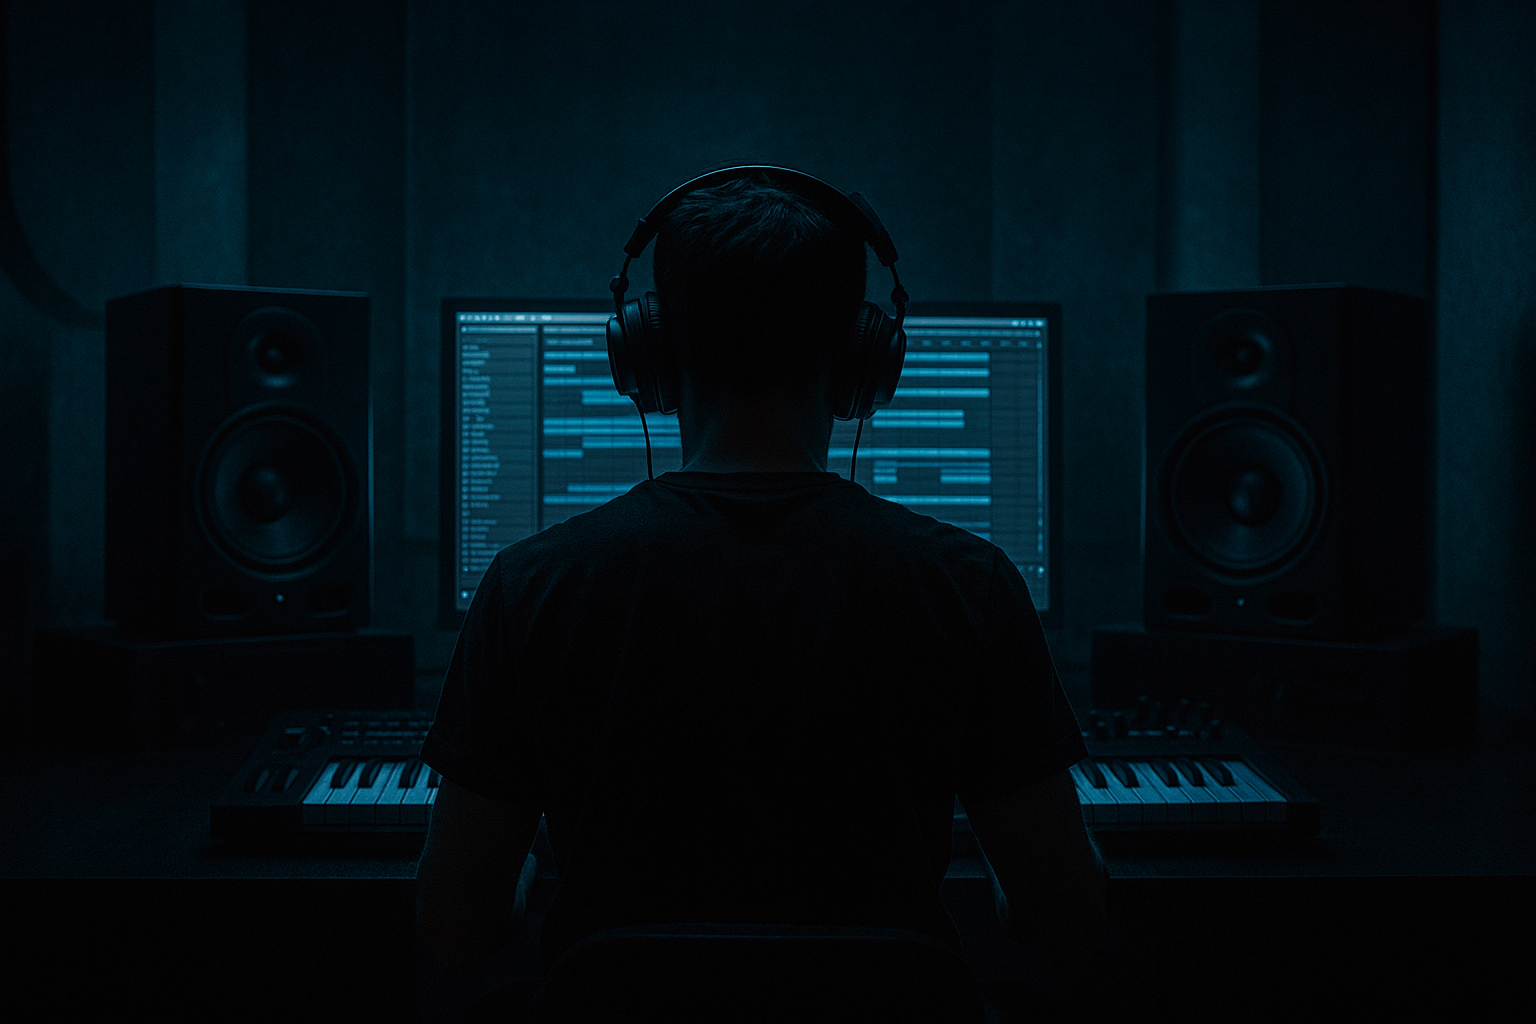
Main tutorial
Lesson Overview
Warping a jungle ride groove with macros is one of those “small move, big result” techniques that can make a DnB loop feel alive instead of looped. In this lesson, you’ll build a break-driven ride pattern that evolves across 8 or 16 bars using Ableton Live 12’s stock devices, then control the whole motion with a few macro knobs. The goal is not just to make the ride rhythm change — it’s to make it perform like part of the arrangement.
This matters in Drum & Bass because rides, hats, and top-end percussion are often the glue between the break, the bass, and the energy of the drop. In jungle, rollers, and darker neuro-leaning DnB, the ride groove can imply forward motion even when the bass is holding a more minimal phrase. A smartly warped ride can push a section from “loop” into “journey.”
We’ll use automation and macro mappings to shape timing, tone, stereo width, distortion, and filter movement in one place. That gives you fast arrangement control, easy live-style mutes and builds, and better mix discipline because you’re not drawing a hundred tiny automation lanes. It’s a pro workflow for making variation fast without losing cohesion.
What You Will Build
You’ll create a warped jungle ride groove built from a short ride sample or a synthesized metallic top layer, then map it into an Instrument Rack or Audio Effect Rack so you can control:
- Ride timing drift and groove intensity
- Brightness and bite
- Decay/tail length
- Saturation / crunch
- Stereo spread vs mono focus
- Send level into reverb or delay for transitions
- Over-automating everything at once
- Using too much stereo width on high-frequency material
- Ignoring the break’s existing top-end rhythm
- Letting reverb wash out the transient
- Not resampling key automation moves
- Drive saturation before widening
- Use very small macro ranges for heavy sections
- Automate in opposition to the bass phrase
- Try Drum Buss for extra glue
- Use filtered delay throws at phrase endings
- Keep the ride high-pass disciplined
- Use macros to control ride groove, tone, tail, width, dirt, and space from one rack.
- Keep automation phrase-based so the ride supports DnB arrangement flow.
- Use stock Ableton devices like EQ Eight, Saturator, Auto Filter, Echo, Glue Compressor, Utility, and Drum Buss.
- Resample the best motion for switch-ups and finishing speed.
- Always check mono, keep the low-end clear, and let the ride enhance the break rather than compete with it.
By the end, you’ll have a ride pattern that can start dry and tight in the intro, open up in the build, and become wider, harsher, or more swung in the drop — all from a few macro controls.
Musically, think of it as the high-frequency engine for a halftime or straight DnB drop: the break is doing the human rhythm, the bass is doing the weight, and the warped ride is doing the motion. In a darker roller, it can stay subtle and hypnotic. In jungle, it can get more animated and chopped. In neuro-influenced DnB, it can tighten up and add mechanical pressure.
Step-by-Step Walkthrough
1. Start with a focused ride source and a clean rack structure
Drag in a short ride sample, ideally a dry one with a clear bell and a controllable tail. In DnB, you want something that reads at 174 BPM without smearing the low mids. If you don’t have a sample, use Operator or Wavetable with a metallic noise-based hit, but a sample is usually quicker for this technique.
Create an Audio Effect Rack on the ride channel and keep the chain simple:
- Utility first
- EQ Eight
- Saturator
- Auto Filter
- Echo or Reverb on a send, not necessarily inline
Set a working level so the ride sits around -12 to -9 dB peak before processing. That leaves room for automation moves later without clipping the hat bus.
Why this matters in DnB: ride automation should feel like movement, not like constant loudness. If the source is too hot, your macro sweeps will only make harshness and pump problems.
2. Warp the sample intentionally for groove, not just timing correction
If you’re using a sample clip, enable Warp and experiment with modes:
- Beats for crisp transient preservation on a tight ride
- Complex Pro if the sample has more tail and you want smoother morphing
- Texture if you want a slightly grainy, animated top end
For jungle or rollers, try setting the start marker just before the transient and use Warp to lock it to the grid, then create slight offsets by nudging clip start or using Groove Pool swing later. If the ride feels too robotic, don’t fully quantize everything; leave the micro-feel alive.
Two practical starting points:
- Warp mode: Beats, transients set to 1/8 or 1/16 depending on tail
- Groove amount: 54–58% if you want subtle swing, 60–63% if the section needs a looser jungle feel
The point is to make the ride breathe with the break, not sit on top of it like a metronome.
3. Build the macro rack around movement, tone, and space
Group the ride track into an Audio Effect Rack and map the most useful controls to 4–8 macros. For this lesson, aim for these core macros:
- Macro 1: Groove
- Macro 2: Bite
- Macro 3: Tail
- Macro 4: Width
- Macro 5: Dirt
- Macro 6: Space
Suggested mapping ranges:
- Groove: Clip offset or time-related changes if you’re using a simpler processed chain; if not, map to subtle delay timing and filter envelope amount. Keep changes small, about 0–20% effect depth.
- Bite: EQ Eight high shelf around 6–10 kHz, boost/cut range about ±3 to ±6 dB
- Tail: Reverb decay or dry/wet, or Simpler/Drum Rack sample envelope decay; aim for 0.2–1.8 s equivalent tail control
- Width: Utility width from 0% to 140% if you want to explore stereo spread, but keep the effective range narrow in the drop
- Dirt: Saturator drive from 0 to 6 dB, or a softer curve if the sample is already bright
- Space: Send amount to Echo/Reverb, or direct wet amount if kept inline
Keep the rack organized. Rename the macros right away. In advanced sessions, speed comes from clarity.
4. Shape the core groove with automation inside the clip and the arrangement
Now that the ride tone is controllable, create the actual groove by combining clip-level and arrangement automation. If the ride is a repeating 1-bar or 2-bar pattern, draw automation on the macro controls in the Arrangement View over 8 bars.
A strong first pass:
- Bars 1–4: Groove low, Bite moderate, Tail short, Width narrow
- Bars 5–8: Gradually increase Bite and Space
- Bars 9–12: Raise Groove slightly and add Dirt
- Bars 13–16: Pull Tail down briefly before the drop hit, then open it hard on the downbeat
Concrete automation ideas:
- Macro 2 Bite: from 35% to 65% over 8 bars
- Macro 4 Width: from 20% to 55% in the build, then back to 25% on the drop if the bass gets busy
- Macro 6 Space: automate from 0% to 30–40% for transitions only
This is where Ableton’s automation shines: you’re not just making the ride louder. You’re teaching it to behave like arrangement glue, especially around phrase changes and break fills.
5. Add rhythmic variation with delay, gating, and controlled modulation
To make the ride feel warped rather than simply filtered, introduce subtle rhythmic motion. Use Echo with a very short feedback setting or a Gate for chopped tails. Keep it tight; you want texture, not a wash.
Try these settings:
- Echo: delay time synced to 1/16 or 1/8 dotted, feedback 10–25%, filter engaged to keep low junk out
- Gate: sidechain or envelope shaping with a fast attack and release around 50–120 ms
- Auto Filter: map cutoff to a macro with a slow 8-bar sweep; resonance around 0.7–1.4 depending on aggression
For jungle-style animation, automate the Space macro to hit on fills and phrase endings only. For neuro or darker rollers, use smaller movements but more frequent changes — tiny modulations make the groove feel sophisticated.
Why this works in DnB: top-end rhythmic variation creates perceived complexity without overcrowding the kick/snare/bass relationship. The listener feels motion, but the low-end stays disciplined.
6. Make the ride interact with the break and bass, not fight them
The ride should sit in a lane that supports the break pattern. If your break already has heavy top-end hat work, carve the ride to avoid masking. Use EQ Eight on the ride rack:
- High-pass around 250–500 Hz depending on source
- Gentle notch if needed around 3–5 kHz where harsh stick attack can poke
- Shelf boost only if the mix needs air
For a more musical response, route the ride to a separate drum bus and use light compression there with Glue Compressor:
- Ratio 2:1
- Attack 10–30 ms
- Release Auto or around 0.1–0.3 s
- Aim for just 1–2 dB gain reduction
This keeps the ride from spiking independently while letting your macro sweeps still translate. In a proper DnB arrangement, the ride is part of the drum conversation, not a disconnected layer.
7. Use resampling for advanced movement and switch-ups
Once the macro movement feels good, resample a 4- or 8-bar section of the processed ride. Put that into a new audio track and chop it into performance-ready pieces. This is especially strong for jungle edits, intro fills, and drop switch-ups.
Workflow:
- Record the ride automation pass into audio
- Slice the resampled audio to a Drum Rack or keep it as clips
- Reverse or truncate a few hits for tension
- Automate clip gain or transposition very subtly if needed
You can then layer the original live rack under the resampled version for the drop, or switch to the resample in the breakdown for a more degraded, memory-like texture. This creates that “arrangement evolved” feeling that works so well in darker DnB and break-heavy jungle.
8. Automate macro scenes by section for arrangement clarity
Think in 8- or 16-bar phrases. In a DnB track, especially at 174 BPM, clarity comes from controlled repetition and meaningful change points.
Suggested arrangement example:
- Intro: Narrow Width, low Bite, short Tail, minimal Space
- Pre-drop: Increase Space and Dirt, automate a small cutoff rise
- Drop 1: Tight Width, higher Bite, controlled Tail, more Groove variation
- Midsection switch-up: Cut Bite for 2 bars, then slam it back in with a fill
- Outro: Reduce Dirt and Space, return to a DJ-friendly, cleaner version
If you’re using Session View, you can also map macro states to clips or scene launches, but the key idea is the same: make the ride evolve in phrases, not random fragments. That’s what keeps a club-ready DnB arrangement readable.
9. Check the mix in mono and against the kick/bass relationship
Turn on Utility and check mono periodically. The ride can sound huge in stereo and still become brittle or phasey in mono. If your Width macro is too aggressive, you may lose the center energy or get a smeared top.
Practical checks:
- Collapse to mono and confirm the ride still reads
- Make sure it doesn’t mask snare snap around 2–4 kHz
- Keep sub and low bass totally separate from the ride chain
- If the ride feels harsh, cut a small band around 7–9 kHz or reduce Saturator drive
Advanced DnB mixing is often about restraint. A ride that is 10% too wide or 2 dB too bright can make the whole drop feel cheap. Keep the macro motion intentional and mix-tested.
Common Mistakes
If every macro is moving constantly, the groove loses identity. Fix: choose one primary motion per section, such as Bite or Tail, and keep the rest subtle.
Wide rides can sound exciting soloed and messy in context. Fix: keep Width conservative in the drop and only widen more in transitions.
A ride that fights ghost hats or break shuffles makes the groove cluttered. Fix: listen to the break loop first, then fit the ride around it.
Too much space turns a tight jungle ride into a blurry wash. Fix: automate Space only in fills or tension moments, and keep decay short in the drop.
If you rely only on live automation, it can become hard to build a finished arrangement. Fix: resample the best 4- or 8-bar passes and use them as arrangement assets.
Pro Tips for Darker / Heavier DnB
A little Saturator or Drum Buss before stereo enhancement adds perceived density. For darker DnB, this gives the ride a more industrial edge without needing more volume.
In neuro or dark rollers, macro movement should be precise. A 5–15% change in cutoff or drive can be enough if the mix is already full.
If the reese opens up, tighten the ride. If the bass drops out for a bar, let the ride bloom. That call-and-response keeps the arrangement breathing.
A touch of Drive and a small amount of Transient shaping can make the ride feel more integrated with the drums. Keep Boom off unless you want a special effect.
A short Echo throw on the last hit of every 8 bars can create tension without washing the full loop. Filter the delay so it stays above the mids.
Even metallic samples can carry low-mid junk. High-pass around 300–500 Hz so the bass and kick remain dominant.
Mini Practice Exercise
Spend 10–20 minutes building a 16-bar ride performance rack:
1. Load a short ride sample onto an audio track.
2. Build an Audio Effect Rack with Utility, EQ Eight, Saturator, Auto Filter, and optional Echo.
3. Map six macros: Groove, Bite, Tail, Width, Dirt, Space.
4. Program a simple 1-bar or 2-bar ride pattern and loop it for 16 bars.
5. Automate:
- Bite rising gradually over the first 8 bars
- Tail shortening before bar 9
- Space throwing up only on bars 8 and 16
- Width narrowing in the drop section if the bass is busy
6. Duplicate the section and make one variant more jungle-like by increasing Groove and Dirt slightly.
7. Export or resample your favorite 8-bar pass and listen in mono.
Goal: end with two usable ride variations — one cleaner, one darker — that could slot into an intro, build, or drop without rebuilding the patch.

