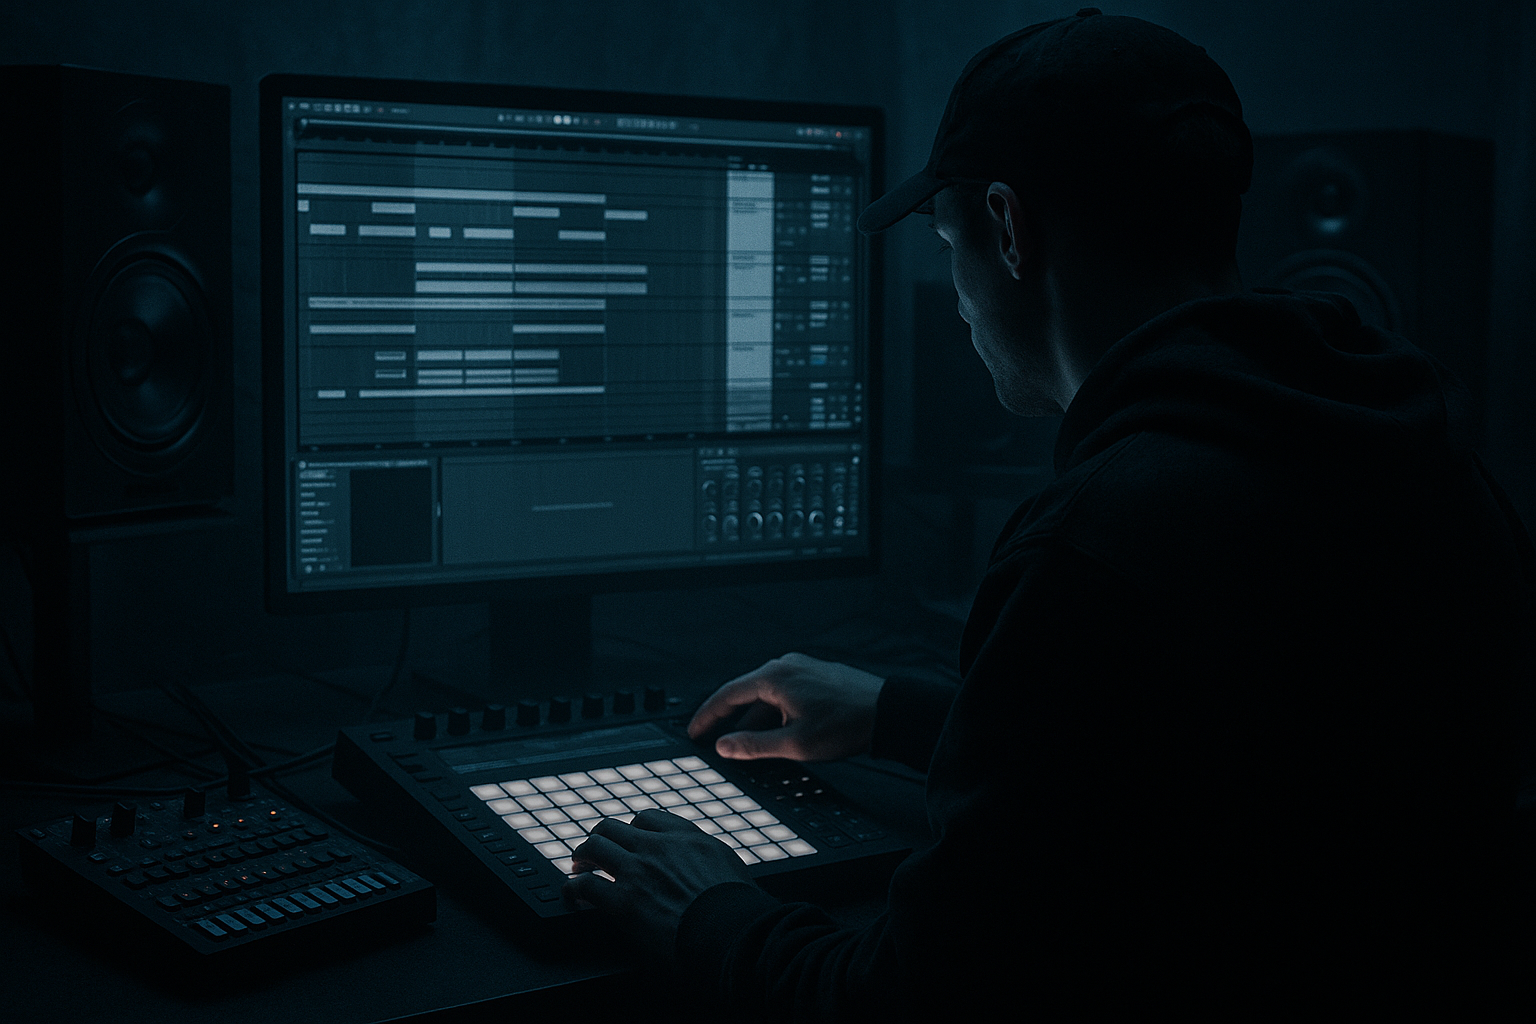
Main tutorial
Warp Oldskool DnB Chop for Ragga-Infused Chaos in Ableton Live 12
1. Lesson overview
This lesson is about taking a classic oldskool drum & bass / jungle break chop and turning it into a ragga-infused, frantic, skanking groove inside Ableton Live 12. We’re not just slicing a break and looping it — we’re building a flexible, performance-ready drum groove that can breathe, swing, glitch, and evolve like a proper DnB tune. 🔥
The core idea:
- Start with a breakbeat that already has attitude
- Warp it so it stays tight at 170–174 BPM
- Chop it into playable pieces
- Re-sequence it with syncopation, swing, and ghost notes
- Add ragga-style vocal tension, fills, and movement
- Shape the groove so it works in a full rolling bass music arrangement
- Jungle-style edits
- Oldskool-inspired DnB
- Ragga DnB intros and drops
- High-energy breakdowns with chopped drums
- Hybrid rolling tunes with dusty character and modern punch
- A warped break loop locked tightly to tempo
- A drum rack chop instrument with mapped slices
- A groove that swings and lurches like vintage jungle
- A few ragga vocal stabs / chops layered for flavour
- A reusable device chain for crunchy, heavy DnB drums
- A short 8- or 16-bar arrangement with intro, drop, and variation
- old VHS jungle energy
- ragga chat cut-ups
- modern Ableton precision
- a filthy dancefloor backbone 💥
- Tempo: `172 BPM` to start
- Time signature: `4/4`
- Global quantization: `1 Bar` for arrangement work, `1/16` for performance
- Warp mode default: leave as is, but use Complex Pro only when necessary
- strong transient hits
- some room tone / ambience
- a slightly uneven human feel
- enough character to survive slicing
- classic amen-style breaks
- dusty funk breaks
- live drum loops with ghost notes
- percussion-heavy ragga or dancehall loops
- old sampled drum phrases with tape wobble
- Transient Loop Mode: `Repitch` or `Beats`
- Seg. BPM: match the original break if possible
- Loop length: 1 or 2 bars
- Preserve: keep transients tight
- Set the loop to 1 bar
- Listen to whether the snare lands solidly on 2 and 4
- If the break drifts, manually move the warp markers rather than brute-forcing the whole clip
- Slice to New MIDI Track
- Transient as the slicing preset if the break has clear hits
- 1/8 or 1/16 if you want tighter pre-designed chops
- Warp Marker slicing if you’ve already done detailed warp edits
- rearrange hits
- duplicate ghost notes
- stutter snares
- mute and re-trigger slices
- build fills that sound hand-played
- kick on the downbeat
- snare on 2 and 4 or a chopped variation of that
- ghost snare before the backbeat
- extra hat ticks and shuffled break fragments
- the break is arguing with the grid
- the snare is slightly delayed or anticipated
- the hats are skittering in the gaps
- the vocal chops answer the drum phrases
- Keep the main snare slice on beat 2
- Add a quieter snare ghost just before beat 2
- Place a kick or tom slice on the “and” of 3
- Use a small rapid burst of 1/16 or 1/32 slices at the end of bar 2 or 4 as a fill
- Leave a few gaps so the bassline can breathe
- `MPC 16 Swing`
- `SP-1200` style swing if available
- any subtle 16th shuffle with around 54–58% swing
- the Drum Rack MIDI clip
- ghost percussion notes
- optionally the bassline for cohesion
- Keep main kick/snare fairly solid
- Swing the hats, fills, and chop fragments more heavily
- Don’t over-swing the main backbeat unless you want a looser jungle feel
- vocal shouts
- “come again” style phrases
- answer vocal one-shots
- chopped DJ phrases
- short dubwise vocal throws
- Auto Filter: high-pass around `120–180 Hz`
- Saturator: drive lightly, `2–6 dB`
- Echo: short feedback, dotted or straight 1/8 delay
- Reverb: short decay, dark tone, low mix
- one at the start of a phrase
- one before a drop
- one in a fill
- one after a snare stop
- Transients shaping with clip gain or envelope edits
- Auto Filter for motion
- Redux very lightly for grime
- Utility for mono control if needed
- duplicate the Drum Rack chain
- crush one copy with Saturator + Drum Buss + Redux
- blend it under the clean layer
- Bars 1–4: stripped break + vocal stab
- Bars 5–8: introduce extra chop fills
- Bars 9–12: remove kick on one bar for tension
- Bars 13–16: add more syncopation and double-time fills
- mute certain slices
- duplicate a snare fill into the last beat
- reverse a few chop hits using Reverse
- automate Auto Filter cutoff on the break bus
- use Beat Repeat on the last bar of a phrase
- automate Echo send throws on vocal chops
- Interval: `1 Bar` or `1/2`
- Grid: `1/16` or `1/32`
- Chance: `20–40%`
- Variation: small amount
- Gate: adjust to taste
- Pitch: off unless you want obvious glitching
- vocal tracks
- a drum return
- the break bus during fills only
- a rolling Reese
- a sub with midrange growl
- a dubwise pluck
- call-and-response bass phrasing
- hits under the kick, not on every kick
- leaves gaps for snare accents
- answers the vocal chops
- rides the groove rather than bulldozing it
- Does the break still feel alive at low volume?
- Are the ghost notes audible enough?
- Is the vocal chop working rhythmically?
- Does the bass leave enough air?
- Is there a clear difference between main sections and fills?
- Compare against a reference DnB tune
- Check mono compatibility
- Reduce harsh top-end if the chop gets brittle
- Make sure the kick/snare still hit hard after saturation
- Leave some headroom on the master
- resample the groove to audio
- chop it again
- process the bounced version with more character
- one clean break
- one distorted copy
- one filtered top loop
- one low-passed ghost layer
- remove bass on the snare hit
- shorten a fill before the drop
- let the break lead the phrase
- dirtier
- more syncopated
- slightly more dangerous
- but still danceable
- Pick a characterful oldskool break
- Warp it carefully in Ableton Live 12
- Slice it into a Drum Rack
- Rebuild it with ghost notes, fills, and syncopation
- Add swing through the Groove Pool
- Layer ragga vocal chops for attitude
- Process the drums with stock Ableton tools
- Shape arrangement with variation and space
- Keep the bassline supportive, not overcrowding the chop
- a session template for Ableton Live 12
- a rack preset chain
- or a bar-by-bar example MIDI pattern for the chop and bass interplay.
This approach is perfect for:
---
2. What you will build
By the end, you’ll have:
Think of the result as a cross between:
---
3. Step-by-step walkthrough
Step 1: Set up the project properly
Open Ableton Live 12 and set:
For oldskool DnB, the tempo matters because the break’s feel changes depending on how hard you warp it. 172 BPM is a sweet spot: fast enough for jungle pressure, slow enough for the chop to breathe.
---
Step 2: Choose the right source material
You want a break or loop that has:
Good source types:
If the loop is too clean, it will sound sterile. If it’s too messy, it may fight your edit. You want character, not chaos for its own sake.
---
Step 3: Warp the break correctly
Drag the break into an Audio Track.
#### Recommended warp workflow:
1. Double-click the clip to open Clip View
2. Turn Warp on
3. Set the first strong downbeat as the start
4. Use Complex or Complex Pro if it’s a full drum loop with tone and room
5. Use Beats if it’s more transient-heavy and you want a sharper, punchier warp
#### Suggested warp settings:
For jungle chops, the important thing is not perfection — it’s controlled imperfection. If the loop is a little gritty, that’s good. If the warp markers are too aggressive, you’ll kill the break’s movement.
#### Practical move:
---
Step 4: Slice the break into a Drum Rack
Once the loop is behaving, it’s time to chop it up.
Right-click the clip and choose:
Use:
Ableton creates a Drum Rack with sliced samples mapped across pads.
#### Why this matters
Now you can:
---
Step 5: Build the ragga-chaos pattern
Open the MIDI clip generated by the slice process and begin reprogramming.
#### Core rhythm idea
Start with:
For ragga-infused DnB, the groove often works best when it feels like:
#### Example approach:
You’re aiming for a rolling, syncopated pocket, not a full machine-gun pattern all the time.
---
Step 6: Add swing and groove
This is where the whole thing starts to bounce.
#### Use Groove Pool
Try dragging in grooves like:
Apply groove to:
#### Good groove strategy
A great trick is to groove the percussion harder than the kick/snare. That keeps the beat stable while the top layer moves and writhes.
---
Step 7: Layer ragga vocal chops
Now bring in the ragga energy. 💣
Use:
#### Processing chain for vocal chops:
1. Simpler or Drum Rack
2. Auto Filter
3. Saturator
4. Echo
5. Reverb or Hybrid Reverb
#### Suggested settings:
Use vocal chops sparingly:
The goal is to make them feel like part of the rhythm section, not just decoration.
---
Step 8: Design the drum processing chain
Your chopped break needs punch, dirt, and glue. Here’s a strong stock Ableton chain:
#### Drum bus chain
1. EQ Eight
- high-pass sub-rumble below `25–35 Hz`
- carve harsh mids if needed around `2–5 kHz`
2. Drum Buss
- Drive: moderate
- Crunch: subtle to medium
- Boom: only if the break needs low end, and keep it controlled
3. Saturator
- Soft Clip on
- Drive to taste
4. Glue Compressor
- 2:1 ratio
- slow-ish attack to preserve transients
- medium release or auto
5. Limiter if you need safety
- don’t smash the life out of it
#### On individual slices
Use:
A good jungle break often benefits from parallel dirt:
---
Step 9: Make the groove evolve over 8 or 16 bars
A DnB chop loop gets boring fast if it repeats unchanged. Build variation.
#### Arrangement ideas:
#### Variation tools:
Keep the drop alive by changing density, not just volume.
---
Step 10: Use Beat Repeat carefully for controlled chaos
Beat Repeat is perfect for ragga-dub jungle flickers.
#### Suggested Beat Repeat settings:
Use it on:
Automate Beat Repeat in short bursts so it acts like a live MC-style cut, not a permanent effect.
---
Step 11: Lock the bassline against the chop
The drum chop only works if the bassline leaves space.
For oldskool/ragga DnB, try:
#### Workflow tip
Program the bass so it:
A strong technique is to let the bass avoid the exact slice points of the break and instead hit between them. That creates forward motion and keeps the chop readable.
---
Step 12: Final polish and bounce testing
Before exporting, test the groove in context.
Ask:
#### Final checks:
If it sounds exciting even at moderate volume, you’re in the zone.
---
4. Common mistakes
1. Warping too aggressively
If you force every transient to the grid, the break loses its human bounce. Jungle depends on slight instability.
2. Over-slicing everything
Too many slices can make the groove sound like random clicking instead of a musical break. Keep some longer fragments intact.
3. No pocket between drums and bass
If the bass fills every gap, the chop loses impact. Let the rhythm breathe.
4. Too much swing on the snare
Heavy swing on the backbeat can ruin the oldskool drive. Swing the top layer more than the core hits.
5. Dirty without punch
A crunchy break still needs transients. If you destroy the attack, the groove will feel flat.
6. Vocal chops everywhere
Ragga vocal energy is strongest when used like punctuation, not constant chatter.
---
5. Pro tips for darker/heavier DnB
Make it darker with contrast
Use a bright, lively chop against a dark bassline, or vice versa. Darkness often comes from contrast, not just distortion.
Use resampling for grit
Once your drum chop is working:
This gives you that layered jungle mutation feel.
Add sub movement under the break
Use Operator or Wavetable for a sub that subtly follows or responds to the break accents. Keep it simple and weighty.
Use dub delays in the gaps
A short Echo throw on ragga chops or percussion can create huge space without clutter.
Stack different break textures
Blend:
That’s how you get depth without losing punch.
Try sidechain-style drum phrasing
Instead of hard sidechain compression, sometimes the better move is arrangement sidechain:
That’s often heavier than compression alone.
---
6. Mini practice exercise
Exercise: build a 4-bar ragga jungle chop
#### Step-by-step
1. Load a 1-bar break into Ableton
2. Warp it at 172 BPM
3. Slice it to a Drum Rack
4. Program a 4-bar pattern with:
- main snare on 2 and 4
- 2 ghost notes
- 1 fill at the end of bar 4
5. Add 2 vocal chops:
- one call
- one response
6. Apply a groove with about 55% swing
7. Process the drum bus with:
- EQ Eight
- Drum Buss
- Saturator
- Glue Compressor
8. Resample the result and make a second variation
#### Goal
Make the second pass:
If it feels like it could ride under a rolling bassline and still smack in a rave system, you’ve nailed it. 😈
---
7. Recap
Here’s the core workflow:
The secret to ragga-infused chaos in DnB is controlled instability. You want the beat to feel like it’s skidding forward with intention — raw, urgent, and alive.
If you want, I can also turn this into:

