Main tutorial
Lesson Overview
In this lesson, you’ll learn how to widen an Amen-style vocal texture in Ableton Live 12 using Macro controls in a way that feels intentional, musical, and very DnB-friendly. The goal is not to just make a vocal “wide” for the sake of width — it’s to create a moving, slightly unstable, atmospheric vocal layer that can sit over breakbeats, reinforce tension in a drop, or add ghostly energy in an intro or breakdown.
This matters in Drum & Bass because vocals in this genre often work best as texture, hook fragments, or tension devices rather than full pop-style leads. In jungle, rollers, darkstep, and neuro-influenced DnB, a vocal chop can become part of the rhythm section: it can answer the break, float above the bass, or create a call-and-response with drums and bass movement. A controlled widening chain helps you make that texture feel huge in stereo while still staying tight and mix-safe in mono.
We’ll build a rack around a vocal slice inspired by the Amen break era aesthetic: dusty, chopped, rhythmic, slightly haunted, and capable of evolving across sections using a few smart Macros. The focus is on creative macro mapping in Ableton Live 12 so you can perform the sound, automate it quickly, and keep your workflow fast enough for real DnB writing sessions.
What You Will Build
You’ll build a Macro-driven vocal texture rack that turns a short Amen-style vocal hit, chant, or chopped phrase into a wide, animated layer with:
- a dry center for definition
- stereo widening that grows in breakdowns and fills
- filtered movement synced to the groove
- a touch of grit and saturation for darker character
- optional delay/reverb throws for transition moments
- mono-safe low end and controlled phase behavior so it still works over heavy breakbeats and sub-bass
- Making the vocal too wide too early
- Letting reverb cloud the drums
- Over-saturating the vocal so it fights the snare crack
- Ignoring mono compatibility
- Using the same width setting in every section
- Leaving low mids muddy
- Use width as contrast, not constant size
- Pair the vocal with break edits
- Add controlled degradation
- Automate filter movement into bass switch-ups
- Keep sub and vocal completely separated
- Use short throws on fills, not everywhere
- Resample the rack if it finds a sweet spot
- Use a vocal chop as a rhythmic texture, not just a lead.
- Split the sound into dry center + wide processed chain for control.
- Map Macros to width, movement, grit, throw, and modulation.
- Keep the sound mono-safe, filtered, and arrangement-aware.
- Use automation to make the vocal evolve with the breakbeat and bassline.
- In DnB, the best widening is dynamic: it opens space, creates tension, and supports the drum/bass interplay.
Musically, the result will sound like a half-remembered vocal shard sitting over a rolling break, with movement that can rise for a pre-drop, open in a first-drop switch, or duck back into the center during dense drum edits. Think: a chopped “hey / ah / run / no / leave” style texture that becomes part of the arrangement, not just a sample stuck on top.
Step-by-Step Walkthrough
1. Choose the right vocal source and chop it like a DnB percussion element
Start with a short vocal phrase, one-shot, or chopped phrase that already has attitude. Best results come from something with a clear transient or tonal shape: a shout, a breathy phrase, a gritty syllable, or a recorded vocal snippet with some natural room tone.
In Ableton Live 12, place the audio on a track and trim it down to a tight phrase or single hit. For Amen-style energy, try chops that are:
- 1/8 to 1/2 bar long
- rhythmically placed against the break
- short enough to feel percussive
If you’re working with a longer phrase, use Warp and keep it tight. For jungle or rollers, the vocal should feel like another rhythmic layer, not a full vocal lead. A good place to start is one chop on beat 2 or the “and” of 3, then duplicate it to make a call-and-response with your break pattern.
Why this works in DnB: breakbeat music relies on interplay between transient-heavy elements. A short vocal chop can behave like a snare ghost or ride accent, adding groove without stealing space from kick, snare, and bass.
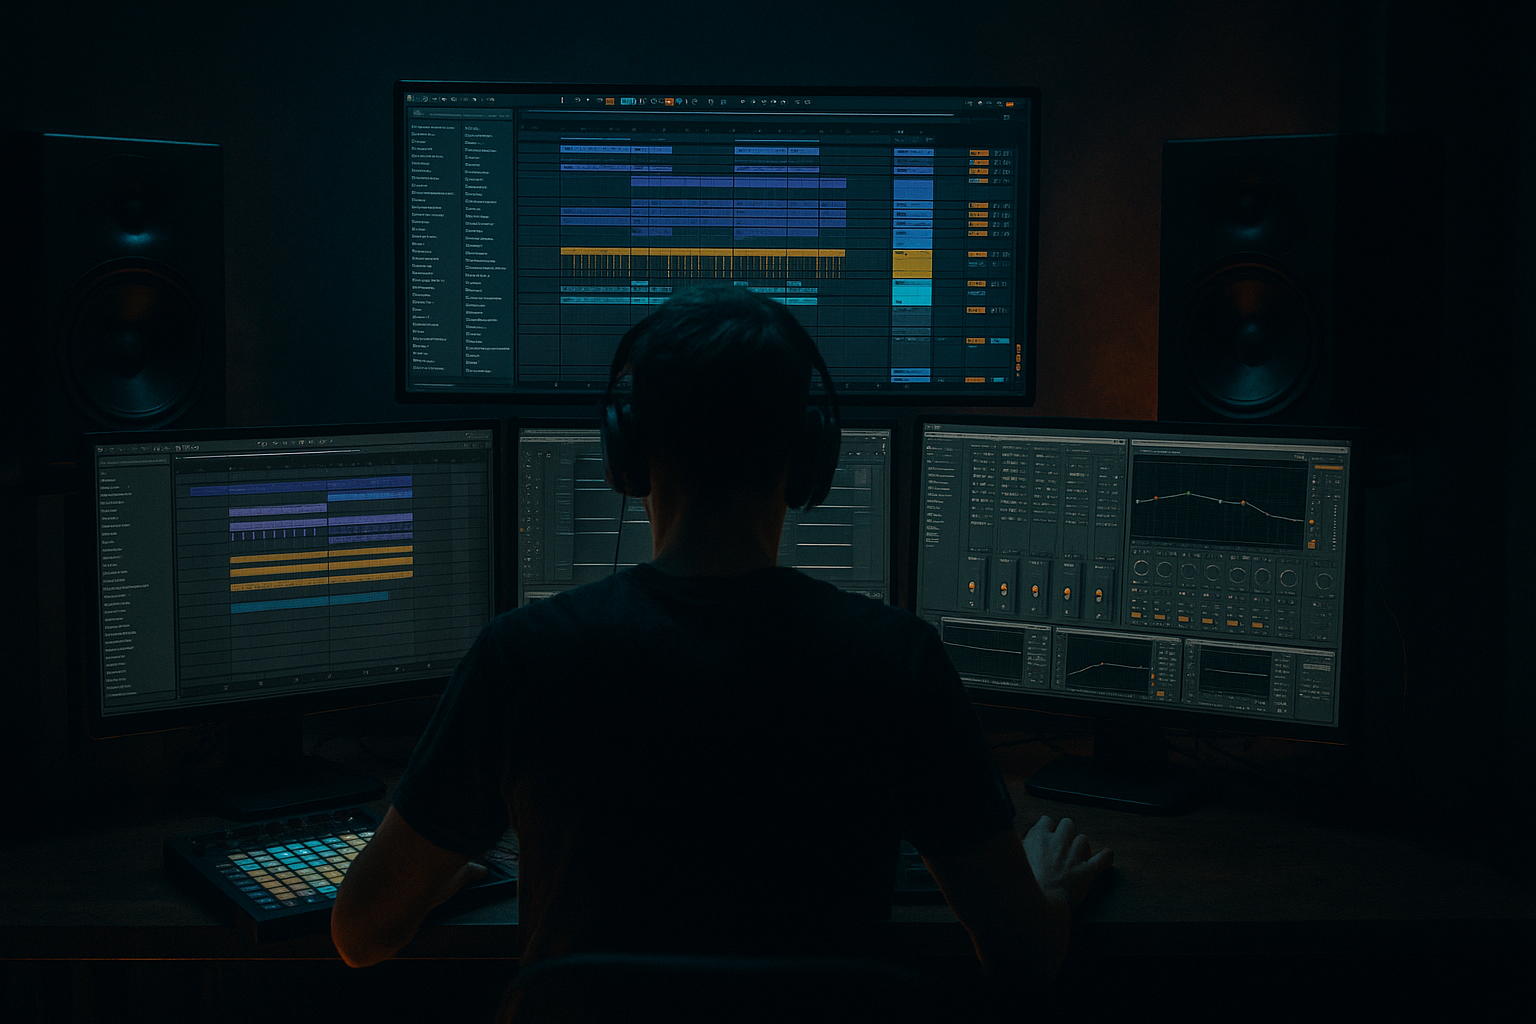
2. Build an Audio Effect Rack and split the vocal into center and width lanes
Select the vocal track and add an Audio Effect Rack. Inside the rack, create two chains:
- Chain 1: Dry Center
- Chain 2: Wide Texture
On the Dry Center chain, keep processing minimal:
- EQ Eight: high-pass around 120–180 Hz to remove unnecessary low rumble
- Optional gentle cut around 250–400 Hz if the vocal is boxy
On the Wide Texture chain, add:
- Utility
- Chorus-Ensemble or Stereo Delay
- EQ Eight
- Hybrid Reverb or Reverb
Set the Dry Center chain to sit lower in level than you expect at first. The wide chain should provide the movement and air, while the dry chain keeps the phrase readable. For a darker DnB blend, aim for something like:
- Dry chain at -6 to -10 dB relative balance
- Wide chain at 0 dB relative balance, adjusted by ear
A useful trick: duplicate the same clip onto both chains by keeping one chain dry and one chain processed, rather than trying to widen one sound with only stereo FX. This gives you a much more controllable result.
3. Use Macro 1 to control width without destroying mono compatibility
Map a Macro called Width to the key stereo parameters on the Wide Texture chain:
- Utility Width: 100% to 160%
- Stereo Delay: small left/right offset, e.g. 6–18 ms
- Chorus-Ensemble Amount: low to moderate, around 10–35%
- Optional Reverb Width if using Reverb/Hybrid Reverb
Keep the Width Macro subtle in the lower range and dramatic at the top. A practical mapping approach:
- Macro 1 at 0–30% = barely wider than mono
- Macro 1 at 30–70% = noticeable spatial spread
- Macro 1 at 70–100% = cinematic width for fills, breakdowns, and transition points
In DnB, avoid going fully extreme on width unless it’s a special moment. You want the vocal to open up around the drums, not smear over the mix. Check the rack in mono using Utility on the master or by toggling Utility’s mono switch on the vocal bus chain if needed.
4. Use Macro 2 for movement with filtering and tone shaping
Map a second Macro called Movement to:
- Auto Filter cutoff
- Auto Filter resonance
- optional EQ Eight high shelf or high-pass point
- optionally a small amount of Frequency Shifter if you want a more unstable neuro/darker flavor
Recommended starting points:
- Auto Filter cutoff range: 300 Hz to 8 kHz
- Resonance: 0.30 to 1.10
- If using a shelf, keep the adjustment mild, around ±2 to 4 dB
Use a Band-Pass or Low-Pass mode on the wide chain for intro/build tension, then open it up into the drop. This is especially effective in Amen-led sections because the vocal can act like an evolving atmospheric percussion layer. You can automate the Macro on a clip or arrangement lane to make the vocal “breathe” with the break.
Practical move: in a 16-bar intro, start Movement low so the vocal is dark and filtered. Increase it in bars 9–16 to create lift before the drop. That opening effect gives you an easy tension arc without needing extra sound design.
5. Use Macro 3 for grit and density, but keep the low end clean
Add a third Macro called Grit and map it to:
- Saturator Drive: 0 to 6 dB
- Saturator Soft Clip: On
- Optional Roar if you want more aggressive harmonic movement, but keep it subtle
- Optional EQ Eight midrange push if the vocal needs more bite
A smart DnB range:
- Drive around 1–3 dB for subtle dirt
- Drive around 4–6 dB for aggressive, distorted breakdown moments
If you’re using Roar, keep the tone focused and don’t let the output get messy. The point is to add harmonic complexity so the vocal feels like it belongs over a gritty break and bassline, not a clean pop stack. This is especially effective in darker rollers where the vocal chop needs to sound worn-in and slightly damaged.
Important: keep the vocal’s low end trimmed. Use EQ Eight before or after distortion with a high-pass around 120–200 Hz depending on the source. That keeps the width chain from clouding the sub and kick.
6. Add a performance-friendly delay/reverb throw Macro for arrangement moments
Create a fourth Macro called Throw and map it to:
- Echo dry/wet: 0 to 30%
- Echo feedback: 10 to 45%
- Hybrid Reverb dry/wet: 5 to 25%
- Optional Reverb decay: short to medium, roughly 1.2 to 3.5 s
For DnB, a throw should usually be short and musical. Long washes can work in intros or breakdowns, but on the drop they need to be managed carefully. Good starting settings:
- Echo time: 1/8 dotted or 1/4 synced
- Feedback: 20–35%
- Reverb decay: 1.5–2.8 s
- Pre-delay: around 10–25 ms if available
Use the Throw Macro on the last vocal hit of a 4- or 8-bar phrase. This is classic DnB arrangement language: the vocal leaves a trail right before the next drum phrase lands. It helps the transition feel bigger without adding clutter to the groove.
7. Assign Macro 5 to stereo motion or modulation for an alive, uneasy texture
Map a fifth Macro called Motion to one or more of these:
- Chorus-Ensemble Amount or depth
- Auto Pan Amount/Rate
- Frequency Shifter Fine for subtle detune movement
- Delay L/R offset in Stereo Delay
Keep the movement slow enough that it feels like drift, not wobble. Suggested ranges:
- Auto Pan Rate: around 0.10 to 0.35 Hz for atmosphere
- Chorus Amount: 5–20%
- Frequency Shifter fine offset: very small, around ±5 to ±20 cents equivalent feel, if used subtly
For neuro-inspired or darker bass music, slight asymmetry in stereo motion can make the vocal feel haunted and unstable. Just don’t overdo it — if the modulation is too obvious, the vocal starts sounding like a chorus effect from another genre. The goal is a sense of movement that supports the break, especially when the drums are doing their own syncopation.
8. Shape the rack with macro ranges so it performs like an instrument
Open Macro Mapping Mode and set sensible ranges so each control has a useful musical sweep. This is where the rack becomes performance-ready instead of just “a bunch of effects.”
Strong mapping ideas:
- Width: Utility Width from 100% to 155%
- Movement: Auto Filter cutoff from 350 Hz to 8 kHz
- Grit: Saturator Drive from 0 to 6 dB
- Throw: Echo dry/wet from 0 to 30%
- Motion: Auto Pan amount from 0 to 35%
Save the rack once it feels good. Then play the vocal against your breakbeat loop and test how the macros respond to sections:
- low width, low movement for intro
- rising movement into build
- high width + throw for transition
- medium width + grit for drop support
If the vocal is too busy, reduce the number of active Macro moves. In DnB, the best performance racks are often simple but highly expressive.
9. Place it inside an actual breakbeat arrangement context
Test the rack against a drum loop built from an Amen edit or a break-inspired pattern. For example:
- 16-bar intro: filtered vocal texture, low width, sparse hits
- 16-bar build: macro automation gradually opens movement and width
- first drop: vocal answers snare fills or sits on the offbeat between kick/snare accents
- 8-bar switch-up: a short vocal throw into a new drum variation
A strong arrangement move is to let the vocal texture hit only on select bars where the break opens up — for instance, after a snare fill or right before a bass call-and-response. That prevents the sound from becoming wallpaper. In rollers, this can feel hypnotic; in jungle, it can feel like a classic chopped sample motif; in heavier DnB, it can make the drop feel more cinematic without losing impact.
If your bassline is very busy, keep the vocal texture mostly in the upper-mid and high-mid stereo space, and let the center remain clear for kick, snare, and sub. If the bassline is sparse, the vocal can be wider and more animated.
Common Mistakes
Fix: keep the dry center present and bring width in gradually with automation or macro control.
Fix: shorten decay, reduce wet level, and high-pass the return or the effect chain around 200–300 Hz.
Fix: back off drive or place distortion after a corrective EQ cut in the harsh mids.
Fix: check the vocal in mono, especially if using chorus, stereo delay, or frequency shifting.
Fix: automate the rack. Wide breakdown, tighter drop, wider transition, then back to focus.
Fix: cut a bit around 250–500 Hz if the vocal gets cloudy over the break and bass.
Pro Tips for Darker / Heavier DnB
In dark rollers and neuro-leaning tracks, a narrow vocal in the drop can make the wide intro feel even bigger.
Trigger the vocal chop on the same bar as a snare drag, reverse cymbal, or break fill. That makes it feel embedded in the rhythm section.
Try subtle Saturator drive plus a small EQ dip around 8–10 kHz if you want a grimier, more warehouse feel.
Open the vocal right before a bass phrase change. This creates a call-and-response effect between vocal texture and reese movement.
If the vocal has any low-end body, trim it aggressively. In heavier DnB, the sub must stay locked and clean.
A single echo/reverb burst before a snare fill can sound more expensive than constant ambience.
Once the vocal macro movement feels right, resample 8 bars and chop the bounce. This can create new ghost textures for fills and transitions.
Mini Practice Exercise
Spend 10–20 minutes building a usable rack from one vocal chop.
1. Find one short vocal sample.
2. Build the two-chain rack: Dry Center and Wide Texture.
3. Map five Macros: Width, Movement, Grit, Throw, Motion.
4. Set up a simple 8-bar Amen or breakbeat loop.
5. Automate Width and Movement across the 8 bars:
- bars 1–4: narrow and filtered
- bars 5–8: wider and more open
6. Add one Throw at the end of bar 8.
7. Check in mono and make one adjustment to improve clarity.
8. Bounce or resample the result if it feels strong.
Goal: finish with a rack that can be reused in future rollers, jungle intros, or darker halftime/DnB hybrid sections.

