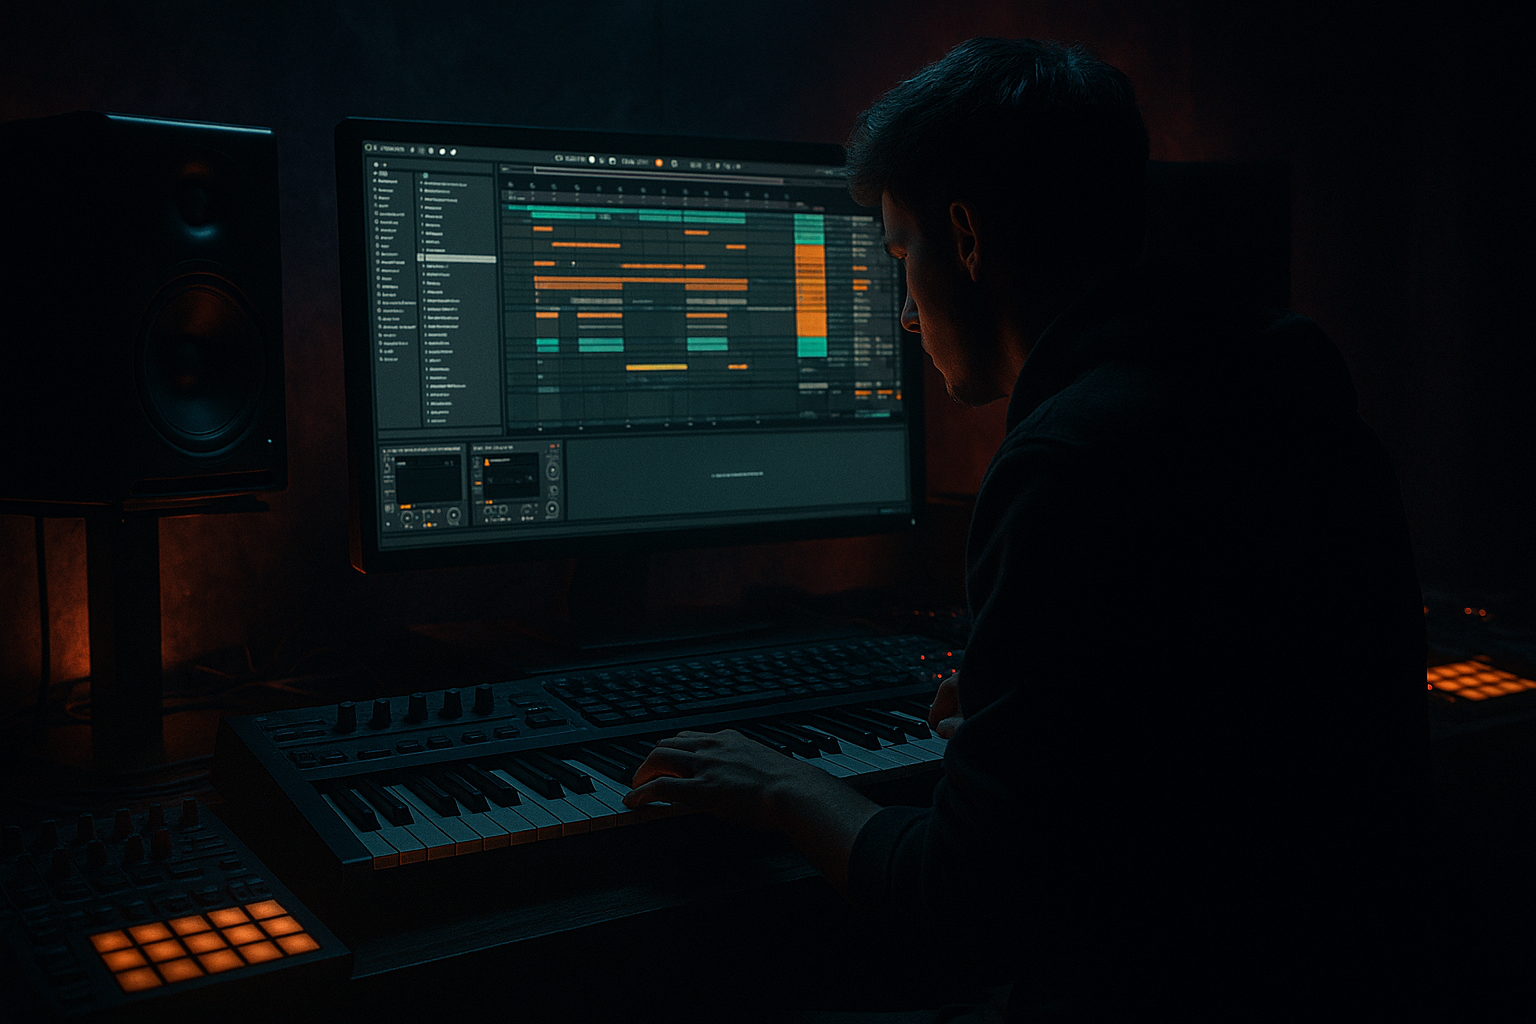
DNB COLLEGE

Drum & Bass Ableton Live 12 Tutorials

LESSON DETAIL

Wobble-free low end from scratch with clean routing (Intermediate)

An AI-generated intermediate Ableton lesson focused on Wobble-free low end from scratch with clean routing in the Basslines area of drum and bass production.

Back to lessons
Wobble-free low end from scratch with clean routing (Intermediate) cover image

Narrated lesson audio

The voice track includes the tutorial plus extra teacher commentary.

Open audio file

Main tutorial

```markdown

Wobble-free Low End from Scratch (Clean Routing) — Drum & Bass in Ableton Live 🎛️🔊

1) Lesson overview

In drum & bass, the low end has to be stable, mono, and consistent—even when the mid bass is doing wild movement. This lesson shows you a from-scratch Ableton Live workflow to build a wobble-free sub + a characterful mid layer, with clean routing, solid gain-staging, and mix-ready control.

By the end, you’ll have a bass system that:

  • Hits like a proper roller 🏎️
  • Stays clean under heavy drums
  • Doesn’t “wobble” in pitch/phase
  • Lets you automate the mid bass like crazy without ruining the sub
  • ---

    2) What you will build

    A 2–3 layer DnB bass rack:

    1. SUB (0–90 Hz)

    - Pure, stable sine (or very lightly saturated)

    - No chorus, no unison, no stereo

    - Tight envelope, consistent level

    2. MID (90–400 Hz)

    - Where the “talk” and “growl” lives

    - Movement via filter/LFO, distortion, resonance, FM, etc.

    - Controlled stereo (optional), but mono-safe

    3. (Optional) TOP / AIR (400 Hz+)

    - Texture, reese edge, noise, foley layer

    - Often heavily processed and widened, but carefully filtered

    All routed into a BASS BUS with light glue/compression and metering.

    ---

    3) Step-by-step walkthrough

    Step 0 — Session prep (so the low end is trustworthy) ✅

    1. Set tempo: 174 BPM (typical roller/jungle pace).

    2. Add a Utility on the Master temporarily:

    - `Utility > Mono = 100%` (toggle on/off to check mono compatibility)

    3. Monitoring note: Keep monitoring moderate. If you can’t hear the sub clearly, use a spectrum tool (we’ll use Ableton’s Spectrum).

    ---

    Step 1 — Create clean routing (the foundation) 🧱

    Goal: Separate sub from everything that moves.

    1. Create a MIDI track named: `BASS - SUB`

    2. Create a MIDI track named: `BASS - MID`

    3. Create an Audio track (or Group) named: `BASS BUS`

    Routing:

  • Set `BASS - SUB` Audio To → BASS BUS
  • Set `BASS - MID` Audio To → BASS BUS
  • Set `BASS BUS` Audio To → Master
  • Optional: Group the sub+mid tracks (Cmd/Ctrl+G) and name the group `BASS`. Then route the group to the Bus.

    Either way: the point is: SUB and MID are separate lanes.

    ---

    Step 2 — Build the SUB (stable and boring on purpose) 🧠

    On `BASS - SUB`:

    #### Device chain (stock devices)

    1. Instrument: Operator (or Analog/Wavetable, but Operator is perfect)

    - Osc A: `Sine`

    - Level: start around `-12 dB` (don’t slam yet)

    - Voices: `1` (no unison!)

    2. Envelope (Operator Amp Env):

    - Attack: `0–5 ms`

    - Decay: `~200–600 ms` (depends on note length)

    - Sustain: `-inf` if you want pure plucks, or keep sustain up for held notes

    - Release: `50–120 ms` (avoid clicks, keep it tight)

    3. Utility (critical):

    - `Width = 0%` (hard mono)

    - Gain: adjust so the sub is healthy but not clipping

    4. EQ Eight (clean-up / safety):

    - HP filter: OFF (don’t high-pass your sub unless you’re solving rumble)

    - Add a gentle low shelf only if needed. Most of the time: leave it.

    5. Saturator (optional but useful):

    - Mode: `Soft Sine` or `Analog Clip`

    - Drive: `1–3 dB`

    - Output: compensate so level stays similar (don’t “louder = better” yourself)

    #### Sub note choice

  • DnB subs often live around F (43.65 Hz), G (49 Hz), G# (51.9 Hz), A (55 Hz).
  • Pick a key that suits your kick and vibe.

    #### Meter check

    Add Spectrum at the end of the SUB chain:

  • Block size: `4096` (more stable low-frequency read)
  • You want a clean fundamental peak and not a bunch of messy low harmonics.
  • ---

    Step 3 — Build the MID (movement lives here) 🐍

    On `BASS - MID`:

    #### Instrument options (stock)

  • Wavetable for modern DnB movement
  • Operator for classic reese/FM aggression
  • Analog for thick, old-school weight
  • Let’s do Wavetable for a reliable modern roller mid.

    Wavetable settings (starting point):

  • Osc 1: a rich wavetable (e.g., Basic Shapes → square-ish, or a gnarly table)
  • Unison: `2–4` (keep it modest—this can cause phase wobble)
  • Warp: try `FM` or `Sync` lightly
  • Filter: `Lowpass 24` (for controlled movement)
  • Envelope: medium decay if you want stabs; sustain if you want held notes
  • #### MID device chain (stock)

    1. EQ Eight (pre):

    - High-pass at `~90–120 Hz` (24 dB/oct)

    - This is the “no-sub-in-the-mid” rule.

    2. Auto Filter (movement):

    - Filter type: `LP24`

    - Frequency: start ~`200–800 Hz`

    - Resonance: `5–20%` (don’t whistle)

    3. LFO for wobble (but not sub wobble):

    - If you have Live 11/12, use LFO (Max for Live) mapped to Auto Filter Frequency

    - Rate examples (DnB wobble/roll):

    - `1/8` for classic bounce

    - `1/16` for faster neuro-ish motion

    - Try Sync on, and Offset for groove

    - Keep it musical: don’t randomize the sub—randomize texture.

    4. Saturator / Overdrive (character):

    - Saturator Drive: `3–8 dB` depending on taste

    - Or Overdrive:

    - Freq: `500–2k`

    - Drive: `20–50%`

    - Tone: to taste

    5. Compressor (optional control):

    - Use gently if the mid is too jumpy:

    - Ratio `2:1`

    - Attack `10–30 ms` (let transient bite)

    - Release `60–120 ms`

    - Aim for `1–3 dB` GR

    #### Stereo control (important)

    Put a Utility at the end of the MID chain:

  • `Bass Mono` trick manually:
  • - Keep Width = 80–120% if you want width

    - But ensure the MID has no energy below ~120 Hz (we already HP’d it)

  • Always check your Master Mono toggle. If the bass disappears, fix the MID stereo/excess unison.
  • ---

    Step 4 — Glue them on the BASS BUS (clean, not crushed) 🧼

    On `BASS BUS`:

    #### Suggested BUS chain (stock)

    1. EQ Eight (optional tidy):

    - Very gentle notch if something is nasty

    - Avoid heavy low EQ here—solve problems in the layers

    2. Glue Compressor (light):

    - Attack: `10 ms`

    - Release: `Auto` or `0.1–0.3s`

    - Ratio: `2:1`

    - Soft Clip: `On` (nice safety)

    - Aim: `1–2 dB` gain reduction on peaks

    3. Limiter (safety, not loudness):

    - Ceiling: `-0.3 dB`

    - Only catching rare spikes (1 dB max)

    Add Spectrum on the bus too—quickly see if the crossover is clean.

    ---

    Step 5 — Make it DnB: Sidechain bass to kick (and optionally snare) 🥁

    Clean low end in rollers = kick has space.

    On the BASS BUS, add Compressor for sidechain:

  • Sidechain: On
  • Audio From: your KICK track (or a dedicated “SC Trigger” track)
  • Ratio: `4:1`
  • Attack: `0.5–3 ms`
  • Release: `50–120 ms` (set by groove)
  • Threshold: dial until you get 2–5 dB ducking on kick hits
  • Optional: also duck slightly to snare if your bass fights the snare body:

  • Use a second compressor or a single trigger track with kick+snare ghost pattern.
  • Pro workflow tip:

    Create a separate MIDI track called `SC TRIG` with a short click/sample, and route it as the sidechain source. That gives you consistent sidechain even if you swap kicks.

    ---

    Step 6 — Write a rolling DnB bassline that suits this system 🎼

    Key idea: The SUB plays simpler; the MID can be busier.

    1. SUB MIDI pattern (simple, locked):

    - Use mostly root notes, occasional 5th/octave

    - Keep notes clean and not overlapping (avoid legato unless intentional)

    - Good roller rhythm: 1-bar loop with offbeat pushes, e.g. notes landing around:

    - Beat 1 (short)

    - “and” of 2

    - Beat 3 (short)

    - “and” of 4

    2. MID MIDI pattern (same notes OR extra syncopation):

    - Copy the SUB MIDI to MID

    - Then add extra shorter notes or call-and-response hits

    3. Automation ideas (MID only):

    - Filter cutoff moves over 8–16 bars

    - Distortion drive increase into drops

    - LFO rate changes for fills (e.g., 1/8 → 1/16 for 1 bar)

    ---

    Step 7 — Phase & tuning checks (the “wobble-free” guarantee) 🧰

    1. Sub in mono: SUB Utility width 0% (always).

    2. No modulation on SUB pitch:

    - Avoid vibrato, unison, chorus, phaser, flanger on sub.

    3. Check fundamental alignment:

    - If the sub feels inconsistent, reduce saturation or change note length/release.

    4. Tuning:

    - Tune your kick (or choose one) so it doesn’t fight your sub’s fundamental.

    - Use Tuner on the kick if it’s tonal.

    ---

    4) Common mistakes 🚫

  • Letting the MID generate sub frequencies (no HP at ~100 Hz) → phase mess + “wobbly” low end.
  • Stereo/unison on the SUB → low-end vanishes in mono and feels unstable.
  • Over-saturating the SUB → adds uncontrolled harmonics that can mask kick and smear weight.
  • Sidechain too slow (long release) → bass feels like it’s “breathing” awkwardly instead of pumping musically.
  • Overlapping MIDI notes on SUB → clicks, level jumps, weird envelope behavior.
  • Trying to fix everything on the BASS BUS → do the clean split at the source.
  • ---

    5) Pro tips for darker/heavier DnB 🕳️⚙️

  • Use a parallel “Grime” return for MID only:
  • - Create Return `A: GRIME`

    - Put Saturator → Redux (light) → EQ Eight HP @ 200 Hz

    - Send MID to it (not SUB). This adds filth without wrecking low fundamentals.

  • Resample your MID layer once it’s moving:
  • - Freeze/Flatten or resample to audio

    - Then chop/arrange like jungle—little edits, reverses, and fills

  • Add controlled noise texture:
  • - On TOP layer, use Operator noise or a vinyl/room layer

    - HP at `400–800 Hz`, distort, widen

  • Use subtle pitch movement on MID only:
  • - A tiny chorus/detune can make it huge—just keep it out of the sub band.

  • Kick/Sub relationship:
  • - If your kick has heavy 50–60 Hz, consider writing the sub fundamental slightly above/below, or pick a kick with less sub.

    ---

    6) Mini practice exercise 📝

    Goal: Build a 16-bar rolling bass with rock-solid sub and animated mids.

    1. Create SUB and MID tracks + BASS BUS routing exactly as above.

    2. Write a 1-bar SUB pattern with 4–6 notes max.

    3. Copy MIDI to MID. Add Auto Filter + LFO wobble:

    - Start with `1/8`, then switch to `1/16` for bar 16 only (a fill).

    4. Sidechain BASS BUS to kick for 3–4 dB ducking.

    5. Export a quick bounce and test:

    - Toggle Master mono

    - Listen on headphones and small speakers

    - If sub disappears: it’s usually MID stereo or too much sub content in MID.

    ---

    7) Recap ✅

  • Build SUB and MID separately with clean routing into a BASS BUS.
  • Keep the SUB mono, stable, and minimally processed.
  • Put all movement, widening, and aggression in the MID/TOP (high-passed).
  • Use sidechain to carve space for the kick and keep the groove rolling.
  • Check mono compatibility and keep an eye on Spectrum for a tidy crossover.

If you want, tell me your target vibe (liquid roller, jump-up wobble, jungle-tech, dark minimal, neuro) and your track key, and I’ll suggest a specific SUB note range + MID wobble rates and an 8-bar arrangement blueprint.

```

Ask GPT about this lesson

Chat with the lesson tutor, get follow-up help, or use quick actions.

Bigup 👽 Ask me anything about this lesson and I’ll answer in context.

Narration script

Show spoken script
Title: Wobble-free low end from scratch with clean routing (Intermediate)

Alright, let’s build a drum and bass low end that feels expensive: solid, stable, and heavy, even when the mid bass is doing wild movement. The whole goal today is wobble-free sub. Not “boring bass overall” — just a sub layer that never gets knocked around by stereo, phase, or modulation.

Here’s the core idea. In DnB, your low end works best when it’s split into jobs:
One layer does pure weight, and it stays mono and consistent.
Another layer does the character, the growl, the talking movement, the stereo, the aggression.
And we glue them together on a clean bus so you can control them like a system, not like a mess.

By the end, you’ll have a simple routing setup where your sub is basically unbreakable, your mid can be automated like crazy, and your kick still has space to punch through.

Step zero: session prep, because if your monitoring lies to you, you’ll make bad decisions.

Set your tempo to 174 BPM. That’s a comfortable roller pace and it also matters for release times later.

Now, on your Master, temporarily drop a Utility and set Mono to 100%. Don’t leave it on forever, but keep it there as a one-click reality check. If your bass falls apart in mono, that’s not “maybe fine.” That’s a guaranteed problem in clubs and on a lot of playback systems.

And one more monitoring trick that’s insanely useful while building bass: after that Master Utility, add an EQ Eight and make a band-pass audition. High-pass around 30 Hz, low-pass around 160 Hz, and make the slopes steep. Now you can instantly listen to only the low-end truth. If something is pulsing or wobbling down there, you’ll hear it immediately, without getting distracted by highs and hype.

Cool. Step one: clean routing. This is the foundation.

Create a MIDI track called BASS - SUB.
Create another MIDI track called BASS - MID.
Then create an Audio track, or a group bus, called BASS BUS.

Now set the routing:
BASS - SUB should output Audio To the BASS BUS.
BASS - MID should also output Audio To the BASS BUS.
And the BASS BUS goes to the Master.

If you like, you can group the sub and mid tracks into a group called BASS. But whether you group or not, the point is non-negotiable: the sub and mid are separate lanes. Anything that moves belongs in the mid. The sub is the anchor.

Step two: build the sub. Stable and boring on purpose. This is where people mess up, because they try to make the sub exciting. You don’t need exciting down there. You need consistent.

On BASS - SUB, load Operator. Oscillator A: sine wave. Keep voices at 1. No unison. No “make it wide.” No chorus. Nothing that creates left-right differences.

Set the level so you’re not slamming the channel. A good starting point is around minus 12 dB on the oscillator level, and we’ll gain stage properly in a second.

Now shape the amp envelope. Attack: basically zero, but if you hear clicks, give it a tiny 2 to 5 milliseconds.
Decay depends on your note length, but think in the few hundred millisecond range if you’re doing stabs.
Sustain: if you want plucks, pull sustain down; if you want held notes, keep it up.
Release is super important for “wobble-free.” Start around 80 to 140 milliseconds for short notes at 174 BPM. Teacher note here: if your release is longer than the space between kick hits, your sub will smear into the next hit and it can feel like wobble even if it’s a perfect sine. So don’t just set release by vibe. Set it by rhythm.

After Operator, add Utility. Set Width to 0%. Hard mono. Always. This is the “sub insurance policy.”

Then add Spectrum at the end, just so you can see what’s going on. Increase the block size, like 4096, so the low frequency readout is stable. What you want to see is a clean fundamental peak, not a messy forest of low-end junk.

Optional, but useful: add a Saturator very lightly. Soft Sine or Analog Clip, drive maybe 1 to 3 dB, and then match the output so it’s not louder. The reason to do this is not “make it louder,” it’s to add a tiny bit of harmonic information so the sub translates better. But if your kick is already subby, go easy — you can easily blur the punch.

Even more controlled than saturator, if you want sub audibility on smaller speakers: in Operator, quietly blend in Osc B as a sine one octave up, but very low level, like minus 24 to minus 36 dB. That gives presence without fuzzing the true low end.

Before we move on, pick your sub note range. Common DnB fundamentals: F around 43.6 Hz, G around 49 Hz, G sharp around 51.9, A around 55. Choose based on the key and what your kick is doing.

Step three: build the mid layer. This is where the movement lives.

On BASS - MID, we’ll use Wavetable for a modern DnB mid. Choose a rich wavetable. Basic Shapes can work if you push it, or choose something gnarlier if you want more edge. Set unison modest, like 2 to 4 voices. Don’t go crazy, because unison is a common source of phase smear, and it can make the low mids feel unstable.

Now the most important rule for a wobble-free system:
The mid does not get to generate sub frequencies.

So first device in the MID chain: EQ Eight. High-pass it around your chosen crossover zone. And here’s a coach upgrade: pick the crossover on purpose, don’t just guess “around 100.”

Common handoff zones are 80 Hz, 90 Hz, or 110 Hz.
Pick one. Let’s say 90 Hz as a starting point.

On the MID EQ, high-pass at 90 Hz with a steep slope, 24 dB per octave, or even 48 if you need it.

Now, on the SUB track, you can optionally do the matching move: add EQ Eight and apply a gentle low-pass around that same handoff, like 90 Hz with a 12 dB slope. This is optional, but it reduces overlap. Less overlap means less “moving low end” when your mid changes. That’s one of the big secrets.

Back to the MID chain: after the high-pass, add Auto Filter. Low-pass 24 mode. Set the cutoff somewhere like 200 to 800 Hz to start, and keep resonance under control. A little resonance is great for bite; too much and it whistles.

Now add movement. If you have Ableton’s LFO device, map it to the Auto Filter cutoff. Use sync. Rate ideas: 1/8 for classic roller bounce, 1/16 for faster, more neuro motion. You can also offset the LFO so it grooves with your drum pattern.

Important mindset: keep it musical. We’re not randomizing the low end. We’re animating the texture above the crossover, while the sub stays calm.

Next, add character. Saturator or Overdrive works great. Drive on Saturator could be 3 to 8 dB depending on taste. Or use Overdrive with the frequency focused around 500 Hz to 2 kHz so it talks, then blend the tone to fit. If the distortion makes the MID spiky and unpredictable, catch that with light compression or even a limiter shaving 1 to 2 dB. That’s not “cheating,” that’s making it mix-ready.

At the end of the MID chain, add Utility for stereo control. You can keep width around 80 to 120 percent if you want it wide, but the real safety comes from the high-pass you already did. Then do the mono check on the Master: if the bass disappears or thins out dramatically in mono, it’s usually too much unison, too much stereo processing, or low-frequency bleed in the MID.

A more advanced clean-width trick: put EQ Eight on the MID in M/S mode after distortion. On the Side channel, high-pass around 150 to 250 Hz with a steep slope. That keeps the power band centered, while the width lives safely above it.

Step four: the BASS BUS. This is glue, not a trash compactor.

On the BASS BUS, you can start with an EQ Eight for tiny fixes only. Avoid trying to “solve” a messy low end on the bus. Fix it in the layers.

Then add Glue Compressor. Attack around 10 milliseconds, release Auto or around 0.1 to 0.3 seconds, ratio 2 to 1. Soft clip on is a nice safety. Aim for just 1 to 2 dB of gain reduction on peaks. If you’re getting 6 dB, you’re not gluing — you’re squashing.

Then a Limiter as safety, not loudness. Ceiling around minus 0.3 dB, and it should only catch rare spikes.

And throw Spectrum on the bus too. It helps you see if your crossover is clean. You’re looking for a smooth handoff, not a big pile-up where both layers are fighting in the same band.

Step five: sidechain the bass to the kick. This is where the groove locks.

On the BASS BUS, add a Compressor for sidechain. Turn sidechain on, choose the kick track as the input. Ratio around 4 to 1, attack fast, like 0.5 to 3 milliseconds. Release around 50 to 120 milliseconds, and this depends on your kick pattern and the vibe. Dial threshold until you get around 2 to 5 dB of ducking on kick hits.

Teacher note: if the release is too slow, the bass will “breathe” in a weird way, like it’s lagging behind the drums. If the release is too fast, it can chatter and feel nervous. Adjust it while listening to the groove, not while staring at the meter.

Pro workflow: instead of sidechaining from the actual kick sample, create a track called SC TRIG with a short click or a ghost sample. Use that as your sidechain source. Now you can change kicks without your sidechain behavior changing.

Step six: write the bassline in a way that matches this system.

The sub plays simpler. The mid can be busier.

Start with a one-bar loop. For the sub: mostly root notes, maybe an occasional fifth or octave for a pickup. Keep the notes clean and avoid overlaps unless you intentionally want glide behavior. A classic roller feel often has notes that hit around beat one, the “and” of two, beat three, and the “and” of four. You can adjust to your drum swing, but the concept is offbeat pushes that keep it rolling.

Then copy that MIDI to the mid. Now you can add extra syncopation in the mid: shorter notes, call-and-response hits, little fills. And automate only the mid layer: filter cutoff over 8 or 16 bars, distortion drive into the drop, and maybe a one-bar LFO rate change for a fill, like switching from 1/8 to 1/16 just for bar 16.

The key is this: the sub does not change when the mid does. That’s the whole wobble-free promise.

Step seven: phase and tuning checks. This is the final quality control.

First, sub stays mono. Width zero. Always.

Second, no modulation on sub pitch. No vibrato, no chorus, no unison. If you want “movement,” do it by changing notes intentionally, not by wobbling the oscillator.

Third, if the sub feels inconsistent, do two quick diagnostics.
One: bypass all processing on the BASS BUS, like Glue and Limiter. If the problem disappears, it’s downstream.
Two: solo only the kick and the sub and loop one bar. If that’s stable, your MID is the culprit, usually because it’s leaking low frequencies or doing stereo stuff that collapses in mono.

Also, check tuning. If the kick has a strong tone around the same frequency as your sub fundamental, they can fight. You don’t always need to tune the kick perfectly, but you do need to choose a kick that makes sense with your sub note, or choose a sub note that makes sense with your kick.

Now some common mistakes to avoid, because these are the ones that waste hours.
Letting the mid generate sub content because you didn’t high-pass it enough.
Using stereo or unison on the sub and then wondering why the low end disappears in mono.
Over-saturating the sub until the harmonics mask the kick and smear the weight.
Sidechain release that’s too slow so the bass feels like it’s gasping.
And overlapping sub MIDI notes, which can cause clicks and weird envelope jumps.

If you want to take this further, here are two intermediate-plus upgrades.

Upgrade one: split your MID into two tracks.
A low-mid layer, maybe 90 to 300 Hz, kept fairly steady and mostly mono.
And a high-mid layer above 300 Hz where you can go absolutely feral with LFO shapes, phasers, widening, and resampling.
That way, the movement reads as aggressive, but the weight zone stays consistent.

Upgrade two: resample the mid.
Create an audio track called MID RESAMPLE.
Set Audio From to BASS - MID, post effects.
Record 8 or 16 bars of movement.
Then chop it like jungle: reverses, gates, little edits. The sub remains MIDI-stable underneath, so the mix stays grounded.

Alright, quick practice assignment to lock this in.
Build the sub and mid tracks and route them to a bass bus exactly like we did.
Pick a crossover on purpose, 90 or 110 Hz is a great start.
Write a one-bar sub pattern with no more than 4 to 6 notes.
Copy it to the mid, add filter wobble with an LFO, start at 1/8, and do a one-bar switch to 1/16 at the end as a fill.
Sidechain the bass bus to the kick for 3 to 4 dB of ducking.
Then do the translation test: toggle Master mono, and do the band-pass listen from 30 to 160. You should hear stable weight and intentional pumping, not mysterious pulsing.

Recap the mindset: clean routing, separate jobs.
Sub is mono, stable, minimally processed.
Mid is where the sound design happens, but it’s high-passed so it can’t mess up the foundation.
Bus processing is light glue.
Sidechain creates space and groove.
And your mono and spectrum checks keep you honest.

If you tell me your track key and whether your kick is subby or more clicky, I can suggest a specific crossover point and a sidechain release time target that fits your exact setup.

mickeybeam

Go to drumbasscd.com for +100 drum and bass YouTube channels all in one place - tune in!

Generating PDF preview…