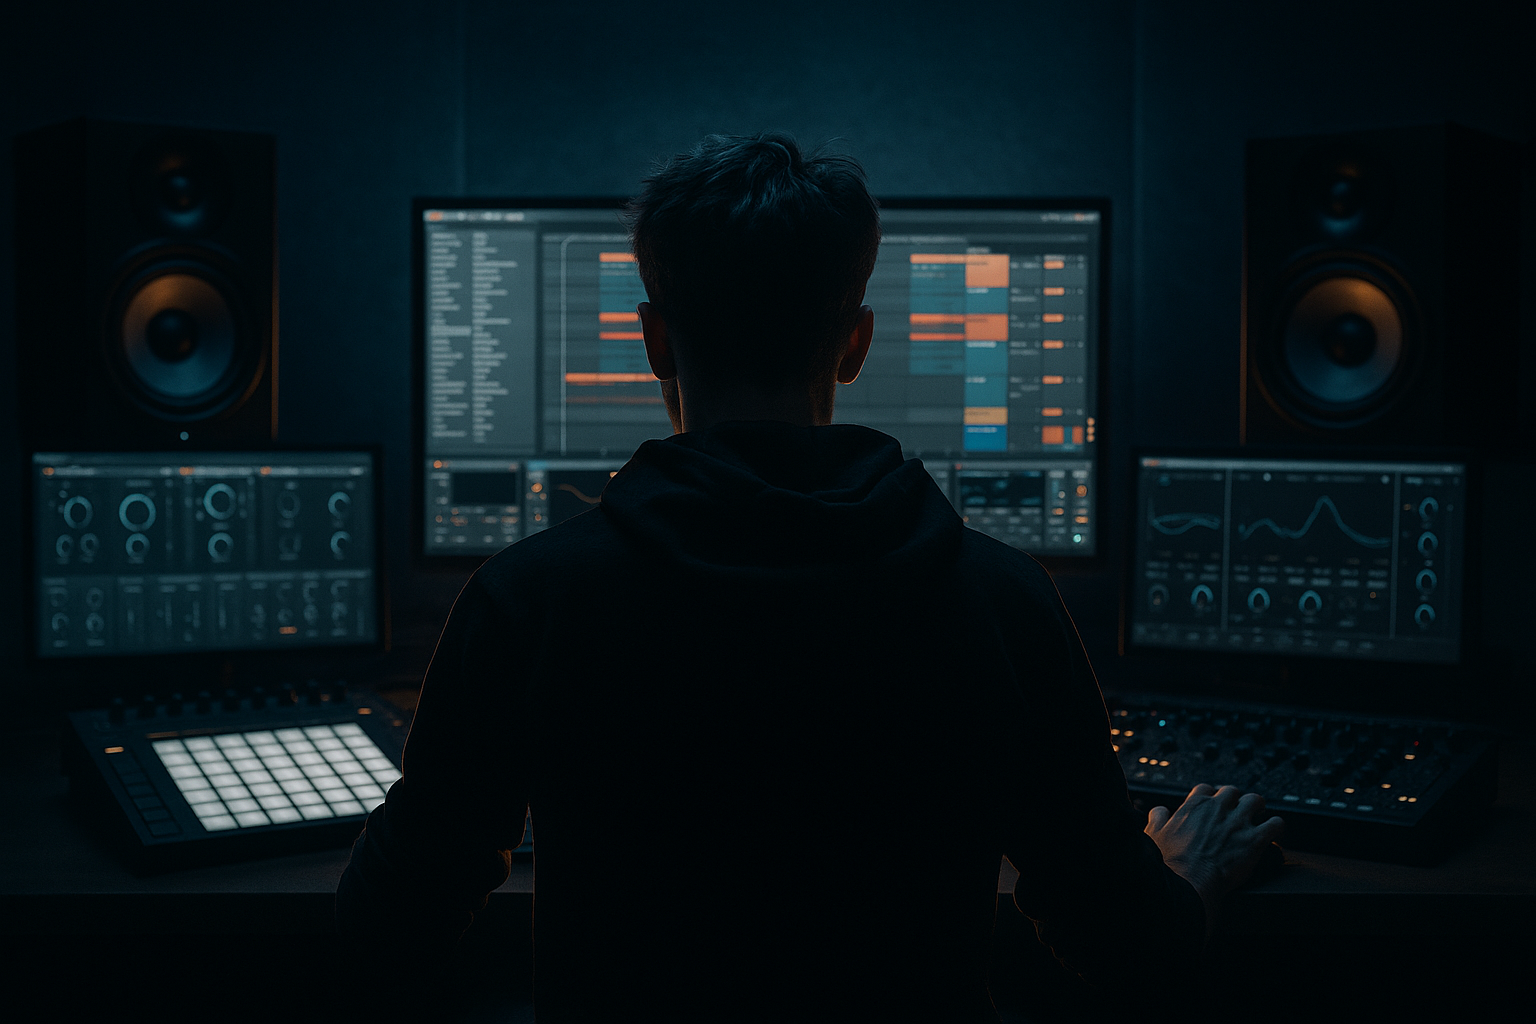
Main tutorial
```markdown
Wobble‑Free Low End from Scratch (Resampling Only) — DnB in Ableton Live 🎛️🔊
1) Lesson overview
In rolling drum & bass, the low end has one job: be stable, consistent, and powerful—no random wobble, no phasey movement, no “why does my sub disappear on bar 9?” moments.
This lesson shows you a beginner-friendly workflow to build a wobble‑free bass foundation using resampling only inside Ableton Live—meaning we’ll print (freeze/flatten/resample) the bass early, then shape audio, not a constantly-moving synth.
You’ll learn:
- How to create a clean sub + mid bass from scratch
- How to resample into audio and keep it steady
- How to use Ableton stock devices for tone + control
- How to arrange it like real DnB (rollers, jungle-style repeats, etc.) 🥁
- SUB (audio): pure sine, rock-solid, mono, consistent
- MID (audio): gritty/reese-ish layer with movement printed, then controlled
- An 8-bar rolling bassline that sits under a DnB drum loop cleanly
- Audio clips you can chop, re-arrange, and process without instability
- Algorithm: A only (single oscillator)
- Osc A waveform: Sine
- Osc A level: 0 dB
- Pitch: leave at 0
- Voices: 1 (mono)
- Turn on Glide (optional): ~60–120 ms for smooth note transitions
- Notes: F1 (or E1/G1 depending on key)
- Rhythm idea (1 bar):
- Osc 1: Saw
- Osc 2: Saw (or Square for more bite)
- Unison: 2–4 voices, Amount ~40–70%
- Detune low: 5–12% (too much detune = phasey mess)
- Filter: LP24
- LFO 1 → Filter Freq (for movement)
- Turn Warp OFF for the sub clip (click clip → Warp off).
- Make sure clip start/end points are clean:
- Select `SUB – AUDIO` + `MID – AUDIO` → Cmd/Ctrl+G
- Name group: `BASS BUS`
- Bars 1–2: full bassline
- Bars 3–4: remove a couple notes (space for drums)
- Bar 5: add a “double-hit” (duplicate a note on the offbeat)
- Bar 6: mute the sub for 1/2 beat before a snare (creates tension)
- Bar 7: bring it back, add a mid chop
- Bar 8: last beat = bass cut (classic pre-drop gap)
- Use Slice (Cmd/Ctrl+E) on transients
- Nudge pieces slightly for groove
- Create call/response by muting MID for certain hits while keeping SUB constant
- Resample in stages:
- Use erosion carefully (mids only):
- Add “note starts” for aggression:
- Jungle-style repetition:
- Sidechain the MID slightly to the kick/snare (optional, still resampling-friendly):
- Build SUB simple (sine, mono, stable).
- Build MID interesting, but print it so movement is controlled.
- Use resampling/freezing to turn unpredictable synth behavior into reliable audio.
- Keep sub mono + clean, keep mid wide + gritty, and glue on a bass bus.
- Arrange like DnB: repetition with small, intentional variations.
---
2) What you will build
A 2-layer bass system printed to audio:
You’ll end with:
---
3) Step-by-step walkthrough
Step 0 — Project setup (DnB defaults)
1. Set tempo: 174 BPM (anywhere 170–176 is fine).
2. Drop in a basic drum loop (or make one quickly):
- Kick on 1 and 3
- Snare on 2 and 4
- Hats shuffled (or use a loop)
3. Set the master headroom:
- Keep Master peaking around -6 dB while building.
---
Step 1 — Make a clean sub synth (simple on purpose)
Create a MIDI track: SUB – Synth
Instrument: Operator (stock)
Add a MIDI clip (classic rolling pattern)
Try this 1-bar pattern and loop it:
- 1.1.1: note
- 1.1.3: note (shorter)
- 1.2.3: note
- 1.3.1: note
- 1.3.3: note
- 1.4.3: note
Keep notes fairly short: ~1/8 to 1/16 with a bit of space.
SUB processing chain (minimal, stable):
1. EQ Eight
- HP off (don’t cut your sub by mistake)
- Optional: small dip if needed later around 200–300 Hz (but don’t pre-emptively carve)
2. Saturator
- Drive: 1–3 dB
- Soft Clip: On
- This adds harmonics so the sub reads on smaller speakers without “wobble”
✅ At this stage: it should sound boring but strong. Perfect.
---
Step 2 — Create a mid bass that can move (then we’ll print it)
Create a MIDI track: MID – Synth
Instrument: Wavetable (stock)
- Freq: start around 200–600 Hz
- Drive: a little (2–5)
- Rate: 1/8 or 1/4
- Amount: subtle (small movement; we’re not doing brostep wobbles)
MID processing chain (pre-resample):
1. EQ Eight
- High-pass around 90–120 Hz (so mids don’t fight your sub)
2. Saturator
- Drive: 4–8 dB (taste)
- Soft Clip: On
3. Auto Filter (optional extra shape)
- Band-pass or low-pass, gentle
4. Utility
- Width: 80–120% (mids can be wider; sub must stay mono)
Now copy the same MIDI clip from SUB onto MID (same rhythm).
✅ You should hear the bassline feel “alive”, but we’re about to lock it down.
---
Step 3 — Resampling workflow (print it to audio) 🎚️➡️🎧
We’ll print SUB and MID separately.
#### Option A: Freeze + Flatten (fastest)
1. Right-click SUB – Synth track → Freeze Track
2. Right-click again → Flatten
- Now it’s an audio track with a printed waveform
3. Repeat for MID – Synth
#### Option B: Resample onto new audio tracks (more control)
1. Create an Audio track named `SUB – AUDIO`
2. Set Audio From: your SUB synth track
3. Set monitoring to In
4. Arm record and record 8 bars
5. Repeat for MID
✅ The key benefit: audio is consistent. No surprise modulation changes, no plugin randomness.
---
Step 4 — Make the sub truly wobble-free (audio editing + mono control)
On `SUB – AUDIO`:
Device chain:
1. EQ Eight
- Low-pass around 120–160 Hz (gentle slope)
- This ensures only true sub/low fundamentals remain
2. Utility
- Width: 0% (full mono)
- Gain to taste
3. Limiter (optional safety)
- Ceiling: -0.5 dB
- Use lightly—don’t smash it
Audio clip tip (important):
- Warp can introduce micro artifacts in sustained low notes.
- Add tiny fade in/out (1–5 ms) to avoid clicks.
✅ Now your sub is locked and will translate better.
---
Step 5 — Control the mid layer (audio) so it never steals the low end
On `MID – AUDIO`:
Device chain:
1. EQ Eight
- High-pass 100–150 Hz
- Dip any “box” around 250–400 Hz if it’s muddy
2. Multiband Dynamics
- Use as a gentle controller:
- Low band: keep it controlled (you can even reduce low band gain slightly)
- Mid band: mild compression if needed
3. Saturator or Overdrive
- Add grit so you hear the bass on smaller systems
4. Utility
- Width: 110–140% (only for mids)
- If it feels phasey, reduce width
✅ If your mid layer is huge but your sub disappears, the mid is probably too loud around 100–200 Hz. High-pass it more.
---
Step 6 — Glue SUB + MID into a single “bass bus” (still stable)
Group the two audio tracks:
On the BASS BUS, use subtle control:
Suggested BASS BUS chain:
1. EQ Eight
- Very gentle shaping only
2. Glue Compressor
- Attack: 10 ms
- Release: Auto
- Ratio: 2:1
- Aim for 1–2 dB gain reduction max
3. Limiter (optional)
- Catch peaks, don’t crush
---
Step 7 — Arrangement ideas (real DnB feel) 🧩
Now that it’s audio, you can arrange like a proper roller:
8-bar example:
Audio chopping workflow:
---
4) Common mistakes (and how to fix them)
1. Trying to keep the sub inside a moving synth patch
- Fix: print the sub as audio early. Movement belongs in mids.
2. Stereo sub
- Fix: `Utility → Width 0%` on sub, and avoid widening devices on it.
3. Too much unison/detune in the bass
- Fix: keep detune subtle. Big detune = phase cancellation.
4. Warp left on for long sub notes
- Fix: turn Warp off, add tiny fades to prevent clicks.
5. Mid layer leaking into sub range
- Fix: high-pass MID at 100–150 Hz and re-balance.
---
5) Pro tips for darker/heavier DnB 🖤
Print MID → distort → print again → EQ → print again. Each stage gets more controlled and intentional.
`Erosion` on MID (not sub) with a small amount can add nasty texture without ruining low end.
Duplicate MID clip, shorten some hits to be more percussive, and saturate those hits more.
Keep SUB consistent while making MID do tiny variations every 2 bars (very authentic rolling energy).
Use `Compressor` on MID with sidechain from Kick. Aim for subtle gain reduction so the groove breathes.
---
6) Mini practice exercise (15 minutes) ⏱️
1. Create the SUB in Operator and print it to audio (freeze/flatten).
2. Create the MID in Wavetable with a gentle LFO filter movement and print it.
3. High-pass MID at 120 Hz, mono the SUB with Utility.
4. Arrange an 8-bar loop:
- Bar 1–2: full
- Bar 3: remove MID on beat 3
- Bar 4: add extra MID hit on the “and” of 4
- Bar 8: mute bass last 1/4 bar
5. Export a quick test bounce and listen on:
- headphones
- laptop speakers (do you still “hear” the bass via harmonics?)
---
7) Recap ✅
If you want, tell me what sub note/key you’re writing in (e.g., F minor, G minor), and whether you’re aiming for liquid roller or dark minimal, and I’ll give you a ready-to-program 8-bar MIDI pattern plus exact device settings to match that vibe.
```

