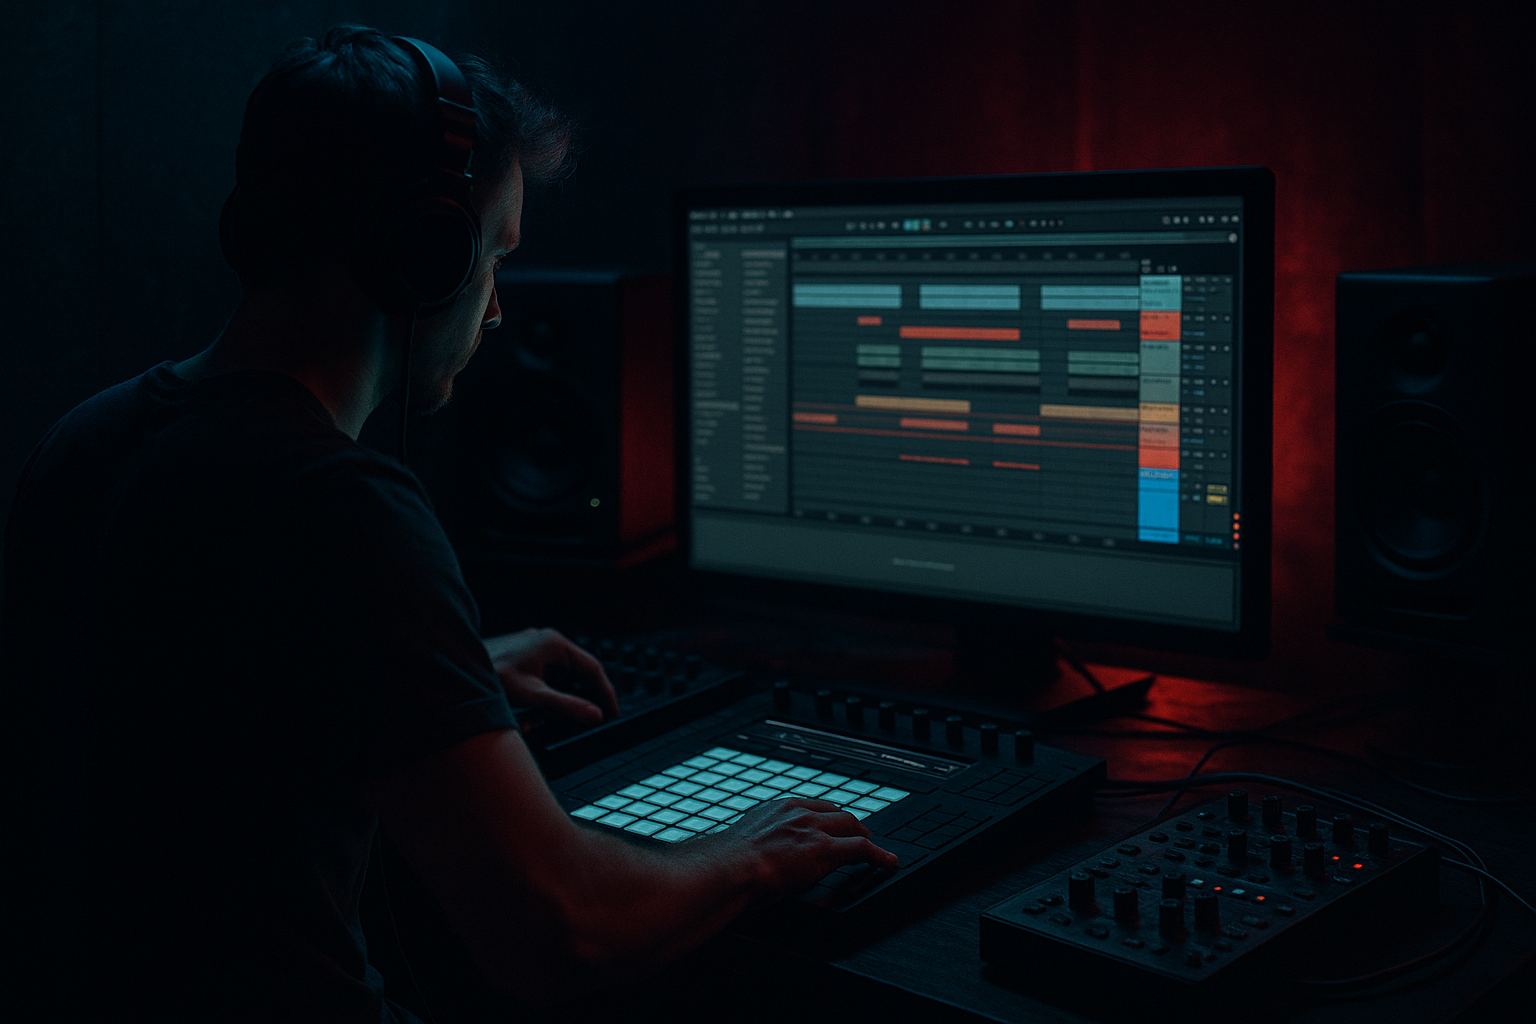
DNB COLLEGE

AI Drum & Bass Ableton Tutorials

LESSON DETAIL

Wobble-free low end masterclass for DJ-friendly sets (Beginner)

An AI-generated beginner Ableton lesson focused on Wobble-free low end masterclass for DJ-friendly sets in the Basslines area of drum and bass production.

Free plan: 0 of 1 lesson views left today. Premium unlocks unlimited access.

Wobble-free low end masterclass for DJ-friendly sets (Beginner) cover image

Narrated lesson audio

The voice track includes the tutorial plus extra teacher commentary.

Open audio file

Main tutorial

Wobble-free Low End Masterclass (DJ‑friendly DnB Sets) 🔊🚀

Beginner • Ableton Live • Basslines

---

1) Lesson overview

In drum & bass, the low end is the “engine.” If it wobbles, clashes, or changes level between sections, DJs struggle to mix it and your track won’t hit consistently on big systems.

In this lesson you’ll learn a simple, repeatable Ableton Live workflow to build tight, mono‑solid sub + controlled mid bass that stays consistent across intros, drops, and switch-ups—perfect for DJ-friendly arrangements. 🎛️

We’ll focus on:

  • Separating sub and mid bass (so the sub stays stable)
  • Mono management
  • Clean phase + consistent loudness
  • Sidechain that grooves without “wobble”
  • Arrangement choices that help DJs mix
  • ---

    2) What you will build

    By the end you’ll have:

  • A two-layer bass system:
  • - Sub track (pure, stable sine/triangle)

    - Mid bass track (growl/reese/rolling texture, tightly filtered)

  • A DJ-friendly 16–32 bar intro with controlled low end
  • A drop with punchy sub that doesn’t fight the kick
  • A simple “Low End Bus” for consistent processing
  • Target vibe examples:

  • Rolling DnB (sub-driven, smooth)
  • Jungle/DnB (tight subs, clean kicks)
  • Darker minimal rollers (sub + restrained mids)
  • ---

    3) Step-by-step walkthrough

    Step 0 — Project setup (fast + practical) 🧭

    1. Tempo: set to 174 BPM (or 170–176 range).

    2. Create tracks:

    - `KICK`

    - `SNARE`

    - `DRUMS BUS`

    - `SUB`

    - `MID BASS`

    - `BASS BUS`

    3. Color code bass tracks (you’ll thank yourself later).

    Ableton tip: Keep Warp on for samples, but don’t warp single-cycle bass notes unless needed.

    ---

    Step 1 — Build a stable sub (the “no wobble” foundation) 🧱

    Goal: Sub that is steady in level, mono, and not moving around with modulation.

    #### Option A: Operator (stock, perfect for sub) ✅

    On the `SUB` track:

    1. Load Operator

    2. Set:

    - Algorithm: simplest (Osc A only)

    - Osc A waveform: Sine

    3. Envelope (Amp):

    - Attack: 0–5 ms

    - Decay: ~300–800 ms (depends on pattern)

    - Sustain: -inf or low if you want plucks; 0 dB if sustained

    - Release: 60–120 ms (avoid clicks)

    4. Add Saturator (very light):

    - Mode: Soft Sine

    - Drive: 1–3 dB

    - Output: reduce to match level (don’t just get louder)

    #### Sub MIDI pattern (DnB-friendly)

  • Use long notes that follow the root of your bassline.
  • Start simple: 1 note per bar or two half-bars.
  • Keep sub rhythm steady in the intro and first drop—save complex syncopation for mids.
  • Key idea: The sub should not be your “fun” sound. It’s the concrete foundation.

    ---

    Step 2 — Make mid bass that doesn’t steal the sub 🐍

    Goal: Reese/growl/rolling mid layer that adds movement above the sub.

    On `MID BASS`:

    1. Load Wavetable (stock) or Operator

    2. Suggested “rolling reese” starter in Wavetable:

    - Osc 1: Saw

    - Osc 2: Saw (detune slightly)

    - Unison: 2–4 voices (don’t go crazy)

    - Detune: small amount (too much = smeary low end)

    #### High-pass the mid bass (important!)

    Add EQ Eight first in chain:

  • Enable a High-pass filter at 90–130 Hz
  • Slope: 24 or 48 dB/oct
  • Sweep while listening: stop when the sub feels unchanged when you mute/unmute MID BASS.
  • This is one of the biggest “wobble killers.” ✅

    ---

    Step 3 — Glue sub + mid into a controlled Bass Bus 🧩

    Route both `SUB` and `MID BASS` to `BASS BUS` (Audio To → BASS BUS).

    On `BASS BUS`, add:

    #### 1) EQ Eight (cleanup)

  • Low shelf: optional tiny trim if too heavy (e.g., -1 dB at 60 Hz)
  • Small dip if muddy: around 200–350 Hz (start -1 to -3 dB, Q ~1.0)
  • #### 2) Glue Compressor (gentle)

  • Attack: 10 ms
  • Release: Auto
  • Ratio: 2:1
  • Threshold: aim for 1–2 dB gain reduction on peaks
  • This helps bass feel “one piece” without pumping.

    #### 3) Utility (mono control)

  • Bass Mono: turn on (if your Live version has it) and set to 120 Hz
  • - If no “Bass Mono,” do this instead:

    - Utility on `SUB`: Width 0%

    - Utility on `BASS BUS`: keep Width at 100% (or slightly narrower like 80–100%)

    Rule: Everything under ~120 Hz should be mono and steady for club translation + DJ mixing.

    ---

    Step 4 — Sidechain that grooves (without level wobble) 🥁

    “Wobble” often comes from sidechain settings that overreact or from sub notes that are too long.

    Best beginner method: sidechain the BASS BUS to the kick.

    On `BASS BUS` add Compressor:

  • Enable Sidechain
  • Audio From: `KICK`
  • Set:
  • - Attack: 0.1–1 ms

    - Release: 60–120 ms (match your kick tail; too long = pumping/wobble)

    - Ratio: 4:1

    - Threshold: aim for 2–5 dB gain reduction on each kick

    DnB groove tip: In many rollers, you want the sub to “breathe” quickly, not swell slowly.

    ---

    Step 5 — Keep the intro DJ-friendly (low end strategy) 🎚️

    DJs need a clean intro where they can blend kicks and subs without your low end fighting theirs.

    A classic DnB arrangement plan (DJ-friendly):

  • Bars 1–16: drums + tops + atmosphere, no sub (or very filtered)
  • Bars 17–32: bring bass in lightly (mid only, or sub very low)
  • Drop at bar 33: full sub + full drums
  • #### Practical Ableton automation

  • On `SUB`, automate track volume:
  • - Bars 1–16: -inf (off) or very low

    - Bars 17–32: gradually up to -12 to -6 dB (tease)

    - Drop: to your main level

  • Or automate an Auto Filter on `BASS BUS`:
  • - Intro: HP around 120–200 Hz

    - Build: sweep down

    - Drop: fully open

    Why this works: DJs can mix without your sub clashing immediately, and the drop hits harder. 💥

    ---

    Step 6 — Check phase + level consistency (quick tests) ✅

    #### Test A: Mono check

    On the Master, temporarily add Utility:

  • Width: 0%
  • If the bass loses power or changes note-to-note, your low end is unstable—usually from stereo/unison too low, or mid bass leaking under 120 Hz.

    #### Test B: Spectrum sanity check

    Add Spectrum (Master or BASS BUS):

  • Look for a strong fundamental around:
  • - F: 43.65 Hz

    - G: 49.00 Hz

    - A: 55.00 Hz

    You don’t need perfect notes, but you want consistent energy in the 40–80 Hz zone for DnB.

    #### Test C: Sub-only audition

    Mute `MID BASS`.

    Does the track still feel like it has a solid low-end “line”? If not, your sub pattern may be too sparse or your kick/sub relationship needs work.

    ---

    Step 7 — Make kick + sub not fight (simple pocket) 🥊

    If your kick and sub overlap too much, you get “warbly” low end and inconsistent punch.

    Quick pocket method:

  • Choose one to “own” the deepest range:
  • - In DnB, often sub owns 40–70 Hz, kick lives more around 90–150 Hz (plus click up top).

  • On `KICK`, add EQ Eight:
  • - High-pass gently at 25–35 Hz (12 or 24 dB/oct)

    - If kick is too subby, try a small dip 50–70 Hz (don’t overdo)

    Don’t carve huge holes blindly—use small moves and listen.

    ---

    4) Common mistakes ❌

    1. Stereo sub (from unison, chorus, wideners)

    - Fix: Sub track Width 0%, keep stereo effects only on MID BASS above 120 Hz.

    2. Mid bass leaking into sub range

    - Fix: High-pass MID BASS at 90–130 Hz, steep slope.

    3. Over-sidechaining (slow release = “whoooomp” wobble)

    - Fix: Release 60–120 ms, and aim 2–5 dB GR—not 10 dB constantly.

    4. Too many bass layers early on

    - Fix: Two layers is enough: SUB + MID.

    5. Sub notes with messy endings (clicks, overlaps)

    - Fix: Add tiny release (60–120 ms), and check MIDI overlaps.

    6. Intro has full sub

    - Fix: Filter/omit sub in first 16 bars for DJ mixing.

    ---

    5) Pro tips for darker/heavier DnB 🖤

    1. Distort the mid, not the sub

    - Put Saturator / Overdrive / Amp on `MID BASS`, keep sub relatively clean.

    - If you want sub harmonics: use very light saturation only.

    2. Reese weight without mud

    - Reese = detune + movement, but keep the low end clean by HP on mid.

    - Add Auto Filter on MID BASS (not sub):

    - Rate: 1/8 or 1/4

    - Amount: subtle

    - Keep filter resonance modest

    3. Controlled aggression with Multiband Dynamics

    - On `BASS BUS`, try Multiband Dynamics lightly:

    - Use it to tame low-mid spikes (120–400 Hz)

    - Avoid heavy upward compression on sub band (can cause wobble)

    4. Sub discipline for dark rollers

    - Use fewer notes; let the sub “hang” while mids create motion.

    - Heavy doesn’t mean busy—heavy means confident and clean.

    5. Space for the snare

    - Many DnB snares crack around 180–250 Hz and 2–5 kHz.

    - If your bass overwhelms 200 Hz, your snare will feel small.

    ---

    6) Mini practice exercise 🎯

    Goal: Build a 32-bar DJ-friendly section with stable low end.

    1. Create an 8-bar drum loop (kick + snare + hats).

    2. Write a simple 8-bar subline in Operator:

    - Notes: pick a key like F minor or G minor

    - Rhythm: 1 note per bar for bars 1–4, then add a couple of pickups bars 5–8

    3. Duplicate it to 32 bars.

    4. Add MID BASS with Wavetable reese:

    - High-pass at 110 Hz

    5. Route to BASS BUS and add sidechain compressor from kick:

    - 4:1, attack 1 ms, release 80 ms, 3 dB GR

    6. Arrange:

    - Bars 1–16: no sub (mute or filter)

    - Bars 17–32: tease bass (mid only or filtered)

    7. Bounce a quick export and listen on:

    - headphones

    - small speaker (phone/laptop)

    - mono (Utility width 0%)

    If the bass feels consistent in all three, you’re winning. ✅

    ---

    7) Recap ✅

  • Build low end like a system: SUB (mono, stable) + MID (movement, high-passed).
  • Use EQ Eight to keep mids out of the sub range (90–130 Hz HP).
  • Keep sub mono with Utility, and avoid stereo tricks down low.
  • Sidechain with fast attack + medium release (60–120 ms) to avoid “wobble pumping.”
  • Make your track DJ-friendly: intros should be low-end controlled (often no full sub until the drop).

If you want, tell me your preferred sub key (F/G/A are common) and the vibe (roller/jungle/neuro-ish), and I’ll give you a starter 16-bar MIDI bassline + exact device chain settings to match it.

Ask GPT about this lesson

Chat with the lesson tutor, get follow-up help, or use quick actions.

Bigup 👽 Ask me anything about this lesson and I’ll answer in context.

Narration script

Show spoken script
Title: Wobble-free low end masterclass for DJ-friendly sets (Beginner)

Alright, welcome in. Today we’re doing a beginner-friendly low end masterclass for drum and bass in Ableton Live, and the goal is super specific: wobble-free low end that stays consistent and DJ-friendly.

Because here’s the deal. In DnB, the low end is the engine. If that engine surges, wobbles, or changes weight between sections, it might feel exciting in your studio… but it becomes hard to mix for DJs and it won’t hit consistently on big systems.

So in this lesson, we’re building a simple, repeatable workflow: a stable mono sub, a controlled mid bass that brings the movement, and a bass bus that glues everything together without pumping in an ugly way. And we’ll also talk arrangement choices that make intros mixable and drops hit harder.

Let’s set it up.

Step zero: project setup, fast and practical.
Set your tempo to 174 BPM. Anywhere from 170 to 176 is normal, but 174 keeps us in that classic pocket.

Now create these tracks: Kick, Snare, Drums Bus, Sub, Mid Bass, and Bass Bus. Route your kick and snare into Drums Bus if you want, and we’ll route Sub and Mid Bass into Bass Bus. Also, color code your bass tracks. It sounds like a tiny thing, but when you’re deep in arrangement later, it saves you.

Quick Ableton note: keep Warp on for samples, but don’t warp single-cycle bass notes unless you have a specific reason. Warping can introduce weirdness you don’t need.

Now, before we even write notes, one coaching tip that prevents a ton of pain.
Pick a sub comfort zone. For DJ-friendly DnB, fundamentals that sit well on most systems tend to live around 43 to 60 hertz. That’s roughly F to A as common roots. That’s why you see F minor and G minor everywhere in DnB. If your tune is in a higher key, it doesn’t mean you can’t do it. It just often means your sub might want to live an octave down, or you choose a related root note for the sub while the mid bass sells the harmony.

Cool. Now let’s build the sub.

Step one: build a stable sub. This is the no-wobble foundation.
On your Sub track, load Operator. Keep it simple: Oscillator A only, sine wave. The idea here is that the sub is not your “fun” sound. It’s concrete. If you want fun, give it to the mid layer.

Set your amp envelope so it’s clean and consistent.
Attack: basically zero, like 0 to 5 milliseconds.
Release: 60 to 120 milliseconds to avoid clicks.
Decay and sustain depend on whether you want plucks or sustained notes. For a rolling DnB foundation, sustained or semi-sustained usually works well, but don’t overthink it right now.

Now add a Saturator after Operator, very lightly.
Use Soft Sine mode if you have it, drive around 1 to 3 dB. Then compensate the output so you’re not tricking yourself with loudness. We’re adding a hint of harmonics, not just making it louder.

Quick teacher note: if you push saturation too hard on a sub, you can actually make the note-to-note tone feel inconsistent, like the bass changes character depending on pitch. So small moves.

Now write a simple sub MIDI pattern.
Beginner rule: long notes that follow the root of your bassline. Start with one note per bar. Or two half-bar notes. Keep the rhythm steady in the intro and first drop. Let the mid bass do the syncopation and movement later.

And here’s a concept I want you to remember: the Sub Anchor Note.
Even if your mid bass gets busy, keep the sub predictable. Hold the root through a bar, or do a simple call and response like root to fifth. That predictability is a huge reason some tracks feel “DJ-solid.” When two tracks are being blended, that steady low end is what stops everything from turning to mud.

Now we build the movement layer.

Step two: make a mid bass that doesn’t steal the sub.
On your Mid Bass track, load Wavetable. Make a basic rolling reese starter patch: saw on Osc 1, saw on Osc 2, slight detune. Unison can be 2 to 4 voices, but don’t go crazy, because too much unison down low becomes smear, and smear is basically wobble in disguise.

Now the most important move in this whole lesson: high-pass the mid bass.
Put EQ Eight first in the mid bass chain. High-pass at around 90 to 130 Hz. Use a steep slope, like 24 or even 48 dB per octave.

And do this properly: sweep the high-pass while listening. Mute and unmute the Mid Bass. Your goal is that when you mute the Mid Bass, the sub feels basically unchanged. If the sub suddenly collapses or changes, the mid bass is leaking into the sub range. Raise the high-pass until that stops.

This alone fixes so many “why is my drop wobbling” problems.

Now we glue them together.

Step three: route Sub and Mid Bass to a Bass Bus.
Set both tracks’ Audio To to Bass Bus.

On the Bass Bus, insert EQ Eight first for cleanup.
You might do a tiny low shelf trim if it’s too heavy, like minus one dB around 60 Hz. And if things feel muddy, try a small dip around 200 to 350 Hz, maybe one to three dB with a gentle Q. Keep it subtle. Small cuts can create space for the snare and clarity for the bass without hollowing it out.

Then add Glue Compressor, gently.
Attack around 10 milliseconds, release on Auto, ratio 2 to 1. Bring the threshold down until you’re only getting about 1 to 2 dB of gain reduction on peaks. We’re not trying to smash bass. We’re trying to make it feel like one instrument.

Then add Utility for mono control.
Rule: everything under about 120 Hz should be mono and steady. If your Live version has Bass Mono, set it to about 120 Hz. If not, put Utility on the Sub track and set width to 0%. Keep stereo width for the mid bass above the crossover, not for the sub.

Now we do sidechain. This is where a lot of “wobble” actually comes from, because people dial in a big pump and then wonder why the low end feels like it’s swelling.

Step four: sidechain that grooves without level wobble.
On the Bass Bus, add the standard Compressor. Turn on Sidechain, and set Audio From to the Kick track.

Settings: fast attack, like 0.1 to 1 millisecond.
Release: 60 to 120 milliseconds. Too long and you’ll get that “whoooomp” swell that feels like the sub is rising after every kick. In rollers especially, you want the bass to breathe quickly, not inflate slowly.
Ratio around 4 to 1.
Threshold: aim for about 2 to 5 dB of gain reduction on each kick.

Teacher tip: if you’re unsure, start with less ducking than you think. A clean pocket often sounds bigger than a dramatic pump, because the sub stays stable.

And here’s a variation idea for later that’s still beginner-friendly.
Sometimes it’s better to sidechain the sub and the mid differently. Keep the sub ducking smaller, like 2 to 3 dB, and let the mid duck more if it masks the kick, like 4 to 6 dB. That way, the deepest energy stays consistent, but you still get punch.

Now let’s make it DJ-friendly with arrangement.

Step five: keep the intro DJ-friendly with low end strategy.
DJs need clean intros so they can blend two tracks without your sub fighting their sub immediately.

A classic plan:
Bars 1 to 16: drums, tops, atmosphere, basically no sub. You can keep the identity with higher bass hints, but not full sub.
Bars 17 to 32: tease bass in lightly. Often mid only, or a filtered bass.
Drop at bar 33: full sub and full drums.

In Ableton, you can automate the Sub track volume.
Bars 1 to 16: all the way off, or extremely low.
Bars 17 to 32: bring it up gradually, maybe peaking around minus 12 to minus 6 dB relative to your drop.
Then at the drop, back to your main level.

Alternative: automate Auto Filter on the Bass Bus.
In the intro, high-pass around 120 to 200 Hz. In the build, sweep it down. At the drop, open it fully.

Why does this work? Because it gives the DJ “swap safety.” They can mix intros without low end conflict, and when your sub finally arrives, it feels like a real impact moment, without you even changing the master level.

Another pro arrangement trick: add mix points every 16 bars.
In the last 2 bars of each 16, simplify the low end. Reduce mid activity, keep the sub clean and anchored. Those moments become natural blend points for DJs.

Now we test. Because low end is one of those things where your ears can lie to you if you don’t do quick sanity checks.

Step six: check phase and level consistency with quick tests.

Test A: mono check.
On the Master, temporarily drop Utility and set width to 0%.
If your bass loses a ton of power, or certain notes vanish, you’ve got stereo problems in the low end. Common causes are unison too wide, stereo effects on the sub, or mid bass leaking below the crossover.

Test B: spectrum sanity check.
Put Spectrum on the Bass Bus or on the Master.
You’re looking for consistent energy in the 40 to 80 Hz zone. You might see strong fundamentals around F at 43.65 Hz, G at 49 Hz, or A at 55 Hz. It doesn’t need to be mathematically perfect. It needs to be consistent from section to section.

Test C: sub-only audition.
Mute the Mid Bass. Does the track still have a solid low-end line? If the whole tune collapses, your sub pattern might be too sparse, or your kick and sub relationship needs a better pocket.

And here’s a super useful meter pair.
Put Tuner on the Sub track. It sounds basic, but it keeps you honest. Especially after saturation or resampling, it’s easy for people to accidentally shift the feeling of the note. Tuner makes sure your sub is actually hitting what you think it’s hitting.

Now let’s make sure the kick and sub aren’t fighting.

Step seven: create a simple pocket between kick and sub.
If kick and sub overlap too much, you get warbly low end and inconsistent punch.

A basic approach is to decide who owns the deepest range.
In DnB, often the sub owns roughly 40 to 70 Hz, and the kick lives more around 90 to 150 Hz, plus click higher up.

On the Kick track, use EQ Eight:
Gently high-pass around 25 to 35 Hz to remove unusable rumble.
If the kick is too subby and stepping on the sub, try a small dip around 50 to 70 Hz, but don’t go wild.

One more advanced-but-easy trick: micro-delay for the sub.
If the kick transient and sub attack collide, try nudging the Sub track delay by plus 5 to 15 milliseconds. It can tighten the hit without more compression. Keep it subtle and always recheck mono.

Now let’s hit common mistakes quickly, so you can avoid the classic traps.

Mistake one: stereo sub.
If your sub has width from unison, chorus, or widening, it will disappear in mono and feel unstable on club systems. Fix: width 0% on the sub.

Mistake two: mid bass leaking into the sub range.
Fix: high-pass mid bass at 90 to 130 Hz with a steep slope, and confirm with mute-unmute listening.

Mistake three: over-sidechaining.
If the release is too slow, the bass swells, and that reads as wobble. Fix: 60 to 120 ms release, and aim for a few dB of gain reduction, not 10 dB constantly.

Mistake four: too many layers.
Two layers is enough at the start: sub plus mid.

Mistake five: messy note endings.
Clicks and overlaps cause instability. This is huge: don’t just quantize note starts. Quantize the ends too.

In Ableton MIDI, try this workflow:
Turn on Fold to focus on the used notes. Use Legato to line notes up, then manually shorten slightly so note-offs land cleanly before the next kick hit. If you want a held feel, keep notes long, but avoid overlaps unless you intentionally want glide.

Now, a quick practice exercise to lock this in.

Here’s your mini exercise: build a 32-bar DJ-friendly section with stable low end.
Make an 8-bar drum loop: kick, snare, hats.
Write an 8-bar subline in Operator in a key like F minor or G minor.
Bars 1 to 4: one note per bar.
Bars 5 to 8: add a couple pickups, but keep it predictable.
Duplicate that to 32 bars.

Add a Mid Bass reese in Wavetable and high-pass it around 110 Hz.
Route Sub and Mid Bass to Bass Bus.
Sidechain Bass Bus to kick: ratio 4 to 1, attack around 1 ms, release around 80 ms, about 3 dB of gain reduction.

Arrange it:
Bars 1 to 16: no sub. Either mute it or filter the bass bus high-pass up around 120 to 200.
Bars 17 to 32: tease the bass in, mid only or filtered.
Then if you want, imagine bar 33 is your drop where everything opens.

Export a quick bounce and listen three ways: headphones, small speaker like a phone or laptop, and mono with Utility width at 0%.
If the bass feels consistent in all three, you’re winning.

Before we wrap, one last pro workflow tip: resample for stability.
Once your mid bass pattern is working, freeze the Mid Bass track and flatten it to audio. Then do your EQ and dynamics after. Audio is often more predictable than a heavily modulated synth, and predictable is exactly what DJ-friendly low end is about.

Let’s recap the core rules.
Build low end like a system: Sub is mono and stable, Mid Bass provides movement and is high-passed.
Keep mids out of the sub range with a steep high-pass around 90 to 130 Hz.
Mono everything under about 120 Hz.
Sidechain with fast attack and a medium release, roughly 60 to 120 milliseconds, so it breathes instead of wobbles.
And arrange for DJs: intros are low-end controlled, often no full sub in the first 16 bars, so the drop hits harder and mixing stays clean.

If you tell me your key, like F minor, G minor, or A minor, and whether your kick is punchy or more subby, I can suggest a clean crossover point and give you a starter 16-bar sub MIDI map that’ll sit right in that wobble-free zone.

Background music

Premium Unlimted Access £14.99

Any 1 Tutorial FREE Everyday
Tutorial Explain
Generating PDF preview…