Main tutorial
Lesson Overview
This lesson is about turning a single 808 tail into a flexible, performance-ready bass tool for oldskool jungle and DnB inside Ableton Live 12. Instead of using an 808 as a one-shot that just “sits under the kick,” you’ll build a macro-controlled sampling rack that can switch between tight subs, elongated tails, gritty mid-bass tails, and automated call-and-response hits.
Why this matters in DnB: the 808 tail is one of the fastest ways to create sub movement and tension without overcomplicating the low end. In jungle, you can use it to reinforce chopped breaks and create that classic rolling, slightly unstable low-end pulse. In darker rollers and neuro-adjacent bass music, the same workflow gives you weight, controlled decay, and automated character changes across the drop. The key is to make the tail reactive: short for kick-drum phrasing, long for drone-like pressure, filtered for space, distorted for impact, and resampled when you want a new flavor.
We’re going to build this as a Sampler/Simpler-based rack with macros for:
- tail length and envelope shape
- pitch drop/attack feel
- saturation amount
- low-pass tone control
- stereo width management
- transient punch / click layer balance
- resample-style grit and movement
- play a clean, deep sub tail for classic jungle weight
- stretch into a longer, more dramatic tail for drop transitions
- get shorter and punchier for fast roller phrasing
- add controlled distortion and upper harmonics for darker bass impact
- automate into a filter sweep or decay swell for arrangement movement
- stay mono-compatible and mix-friendly in the low end
- a sub answer to chopped break accents
- a tail under a snare hit in oldskool DnB phrasing
- a pre-drop tension tone that rises or decays before the switch
- a bass note layer that can be “performed” live via macro automation
- Letting the 808 tail fight the kick or sub layers
- Overusing saturation until the tail loses pitch clarity
- Making the decay too long for fast jungle phrasing
- Adding stereo width to the true sub
- Ignoring tuning
- Using too much click
- Use Drum Buss very subtly on the tail for extra density. Drive around 5–15%, Boom usually off or very restrained, Transients slightly positive if you need more bite.
- Print two versions of the rack: one ultra-clean sub and one gritty performance version. Alternate them across sections for contrast.
- Try automating filter cutoff downwards right before a drop to create that “pressure tightening” effect.
- If the bass feels too smooth, add a second chain with a very narrow band of distortion centered above the sub region, then blend it quietly.
- For a more underground feel, resample the tail through a couple of passes with different macro positions and use the best artifacts as fills.
- Keep the low end honest: if the tail sounds huge on headphones but disappears on monitors, it probably needs better tuning, less stereo, or less decay.
- For neuro-leaning darkness, use the same rack but automate the filter and saturation in short bursts so the tail behaves like a rhythmic modulated element rather than a static note.
- In roller tracks, make the decay just long enough to create forward motion, but short enough to leave air for the kick and snare pocket.
- Layer the 808 tail subtly with a reese or mid-bass stab above it, but keep them separated by frequency and arrangement role.
- on the last hit before bar 5
- under one ghost note
- as a transition into bar 8
- Build the 808 tail as a macro-controlled rack, not a one-off sample.
- Use macros for decay, pitch movement, tone, saturation, width, and transient blend.
- Keep the sub mono and tuned; let only the upper character move.
- Shape the tail to fit break rhythm, drop tension, and arrangement phrasing.
- Resample the best macro states to create new DnB textures fast.
This is a practical “save it and reuse it” workflow for DnB producers who want speed without losing sound design control.
What You Will Build
By the end, you’ll have a custom 808 tail instrument rack in Ableton Live 12 that can:
Musically, this works as:
Think of it as a hybrid between a sampled 808, a sub-bass synth, and a resampling instrument.
Step-by-Step Walkthrough
1. Start with a clean 808 tail sample and trim it for musical control
Load a solid 808 tail sample into Simpler in Classic mode, or into Sampler if you want more control over pitch and velocity shaping. For oldskool DnB, choose an 808 with a clear fundamental and a tail that isn’t already over-compressed.
Practical setup:
- Set the sample start just after the transient if you want a pure tail
- If you want a bit of click for punch, keep the first 5–20 ms
- Tune the sample to the track key using Simpler’s Transpose or Sampler’s root key
- In a jungle context, C, D, or F minor-friendly subs often sit well, but tune to the actual bassline
- Turn Warp off for one-shots unless you specifically want time-stretch character
Why this matters: in DnB, especially at 170–174 BPM, the tail must be musically tuned and rhythmically disciplined. A sloppy 808 tail eats headroom fast and can blur kick/break articulation.
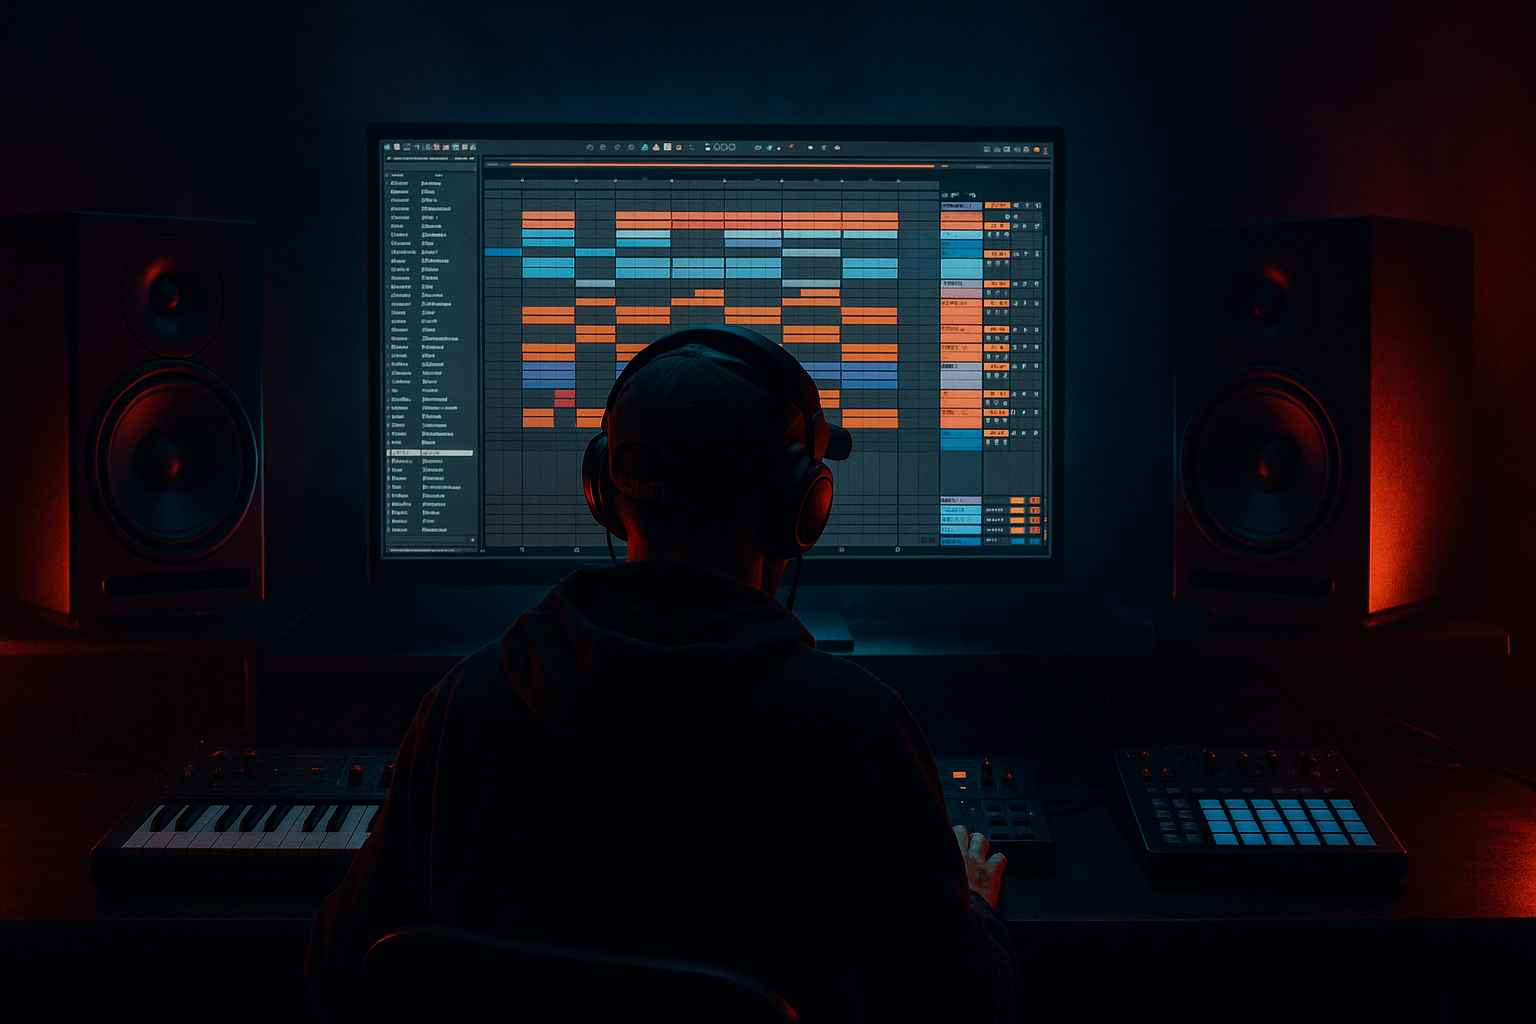
2. Build a dedicated instrument rack and expose the key tone-shaping controls
Group the Simpler/Sampler into an Instrument Rack. Then map the core controls to macros so you can quickly reshape the tail for different sections.
Suggested macro mapping:
- Macro 1: Decay
- Macro 2: Pitch Drop
- Macro 3: Tone / Filter
- Macro 4: Saturation
- Macro 5: Width / Mono
- Macro 6: Transient Click
- Macro 7: Tail Reverb Send
- Macro 8: Resample Grit
Use the chain of devices:
- Simpler or Sampler
- Auto Filter
- Saturator
- Utility
- Optional Drum Buss
- Optional Echo or Reverb on a send rather than directly on the chain
In Live 12, keep the rack clean and use the Macro Variations workflow if you want multiple states of the same instrument:
- “Short Roller”
- “Deep Jungle”
- “Smeared Drop”
- “Grit Hit”
This is a serious workflow upgrade because you’re not rebuilding sounds from scratch every time the arrangement changes.
3. Shape the amplitude envelope for multiple DnB roles
In Simpler, move to the Amp Envelope and create a tail that can work as both a hit and a sustained note. For oldskool jungle, you want the ability to move from tight punch to longer bass line behavior.
Suggested starting points:
- Attack: 0–5 ms
- Decay: 180 ms to 1.5 s depending on role
- Sustain: 0%
- Release: 30–120 ms
Then map Decay to Macro 1. Use a range that feels dramatic but usable:
- Minimum: around 120–180 ms for short, punchy 808 tails
- Maximum: around 1.8–2.5 s for large sustained notes and transitions
Why this works in DnB: the low end in drum & bass often has to do two jobs at once — support the break’s groove and carry the bass identity. A macro-controlled decay lets one sample function as a stab, a sub hit, or a longer phrase note without changing instruments.
4. Create pitch movement that feels like classic drum & bass sub design
The 808 tail becomes much more “DnB” when the note has a little pitch fall or shape at the front. This adds that physical drop sensation you hear in jungle subs, even when the source is simple.
In Simpler or Sampler:
- Use Pitch Envelope if available in your device configuration
- Map pitch amount to Macro 2
- Set a short pitch drop for weight
Suggested range:
- Subtle: -2 to -5 semitones over 20–50 ms
- Heavier oldskool thump: -6 to -12 semitones over 40–90 ms
- Avoid extreme pitch automation unless you want a very obvious electronic “blip”
If you’re using Sampler, you can also shape pitch more precisely with filter and amplitude behavior. Keep it musical rather than gimmicky. For jungle, a slight falling pitch can mimic the feeling of a bass note “landing” into the groove.
5. Use Auto Filter and Saturator to create macro-controlled tone states
Place Auto Filter after the sampler and map cutoff to Macro 3. Then add Saturator and map Drive to Macro 4.
Tone suggestions:
- For deep roller weight: low-pass cutoff around 80–180 Hz with a gentle slope
- For more audible mid-bass presence: raise cutoff to 300–900 Hz, depending on how much texture you want
- For saturation: start around 1–3 dB Drive for warmth, then push to 5–10 dB for grit
Make sure the 808 tail remains controlled:
- Use Auto Filter’s resonance sparingly
- If the tail gets boxy, reduce low-mid buildup with a narrow EQ cut later
- For darker bass tracks, you can use a band-pass snapshot on one macro variation to create a more “whistle-through-the-ruins” tone for fills
Advanced trick: put a second Auto Filter before Saturator and map it differently. One filter can control the sub cleanliness, while the other shapes the upper harmonics after distortion. That gives you more nuanced macro movement without wrecking the low end.
6. Add a transient click layer and control it with a dedicated macro
In jungle and oldskool DnB, a bass note often reads better when there’s a tiny audible front edge. This is especially useful when the 808 tail is competing with chopped breaks.
Create a second chain inside the Instrument Rack:
- Chain A: pure sub tail
- Chain B: click/transient layer
For Chain B, use either:
- a tiny sampled click from a break
- a short noise burst
- a filtered top slice from the same 808
Process Chain B with:
- EQ Eight to high-pass aggressively, often above 300–800 Hz
- Transient shaping via Sampler/Simpler envelope
- Optional Drum Buss with Drive very low, Boom off, Transients slightly up
Map the Chain B volume to Macro 6. Good ranges:
- 0% for pure sub
- 10–25% for subtle definition
- 30–45% for a more aggressive chop-present hit
This is a classic DnB move because it preserves sub clarity while making the note audible on smaller systems and over busy breakbeats.
7. Control stereo discipline and movement without destroying mono compatibility
The low end should stay mono. Use Utility after your sound chain and map Width to Macro 5.
Suggested workflow:
- Keep the sub chain at 0% or very narrow width
- If you want movement, create it above the sub range only
- Use EQ Eight with a high-pass on any stereo layers so the stereo information lives in the upper harmonics, not the fundamental
Practical settings:
- Width: 0–30% for sub-safe operation
- If adding a stereo top layer, keep it above 150–250 Hz
- Check mono regularly to avoid phasey low-end cancellation
In darker DnB, a little stereo detail in the upper part of the tail can make the bass feel bigger without sacrificing the weight. The sub itself should remain disciplined.
8. Map automation-friendly macro motion for arrangement and drop design
Now use the rack like an instrument. Record or draw automation on the macros to create arrangement movement.
High-value automation ideas:
- Increase Decay into the last beat before a drop for tension
- Close the filter slightly in the verse, then open it at the drop
- Push Saturation during fill bars to increase urgency
- Reduce Width to mono in the drop for focus, then widen subtly in transitions
- Bring up the click layer only in phrases where the break is dense
Arrangement example:
- Bars 1–16: sparse intro with short 808 tail under filtered breaks
- Bars 17–32: bass phrase develops with longer decay and mild saturation
- Bars 33–48: drop section with shorter, punchier tail to avoid masking the break
- Bars 49–56: switch-up with longer tail and more drive
- Bars 57–64: breakdown or DJ-friendly outro with cleaner, narrower tail
In oldskool jungle, this kind of macro movement helps the bass feel “performed,” which is crucial when the break itself is already doing a lot of rhythmic talking.
9. Resample the rack when you want new character fast
Once the macro rack works, resample it into audio. This is one of the best advanced workflows for DnB because it turns a flexible instrument into a new source of texture.
Do this by:
- Creating an audio track
- Routing the rack output to the audio track
- Recording different macro positions and automation passes
- Consolidating the best bits into new samples
Then re-import those audio hits into Simpler for further chopping.
Useful resample targets:
- a tight sub-only tail
- a distorted mid-bass tail
- a reverse-ish transition hit
- a longer tension swell
- a filtered ghost tail for fills
This is how you build original DnB bass vocabulary quickly: design, print, chop, and re-contextualize.
10. Place the 808 tail musically against the break, not just as a bass layer
The best results happen when the tail interacts with the drum phrasing. In jungle, try placing the tail:
- just after a snare accent
- under the tail end of a break chop
- as an answer to a ghost note
- on the offbeat before a fill
Practical phrasing ideas:
- Use short 808 tails on call-and-response bars
- Let the tail sustain through a break gap so the groove “leans” into the next hit
- Cut the tail early before a strong snare if the mix gets crowded
- Use automation to lengthen the tail only in transition bars
This is where the lesson becomes truly DnB-specific: the bass isn’t just sound design, it’s part of the drum conversation.
Common Mistakes
- Fix: high-pass other bass layers, and decide who owns the fundamental. If the 808 is the sub, keep the rest lean.
- Fix: use smaller Drive amounts and re-check the note in mono. If the pitch becomes vague, back off the distortion and add a separate upper harmonic layer instead.
- Fix: shorten the default decay, then automate it longer only in specific phrases or transition bars.
- Fix: keep low frequencies mono with Utility and move width only to higher harmonics.
- Fix: tune the sample to the key of the track and verify it against the bassline and kick. An untuned 808 tail can sound huge soloed and wrong in context.
- Fix: the transient layer should help definition, not turn the sound into a plastic knock. If the break already has plenty of attack, reduce Chain B.
Pro Tips for Darker / Heavier DnB
Mini Practice Exercise
Spend 10–20 minutes building three versions of the same 808 tail rack in Ableton Live 12:
1. Version A: Jungle Sub
- Decay: short to medium
- Filter mostly closed
- Saturation light
- Width at or near mono
2. Version B: Drop Tension Tail
- Decay: long
- Slight pitch drop
- Filter opening over 1 or 2 bars
- More saturation, but still controlled
3. Version C: Gritty Roller Accent
- Shorter decay
- Click layer present
- Stronger upper harmonic tone
- Tight mono sub with a little audible mid layer
Then write an 8-bar loop at 170–174 BPM using a chopped break. Place the 808 tail:
Print each version to audio and compare which one supports the drum phrasing best. The goal is not just to make a good sound — it’s to learn which macro positions serve which arrangement role.

