DNB COLLEGE

Drum & Bass Ableton Live 12 Tutorials

LESSON DETAIL

Workflow for sampler rack for floor-shaking low end in Ableton Live 12 for jungle oldskool DnB vibes (Beginner)

An AI-generated beginner Ableton lesson focused on Workflow for sampler rack for floor-shaking low end in Ableton Live 12 for jungle oldskool DnB vibes in the Arrangement area of drum and bass production.

Back to lessons
Workflow for sampler rack for floor-shaking low end in Ableton Live 12 for jungle oldskool DnB vibes (Beginner) cover image

Narrated lesson audio

The voice track includes the tutorial plus extra teacher commentary.

Open audio file

Main tutorial

Lesson Overview

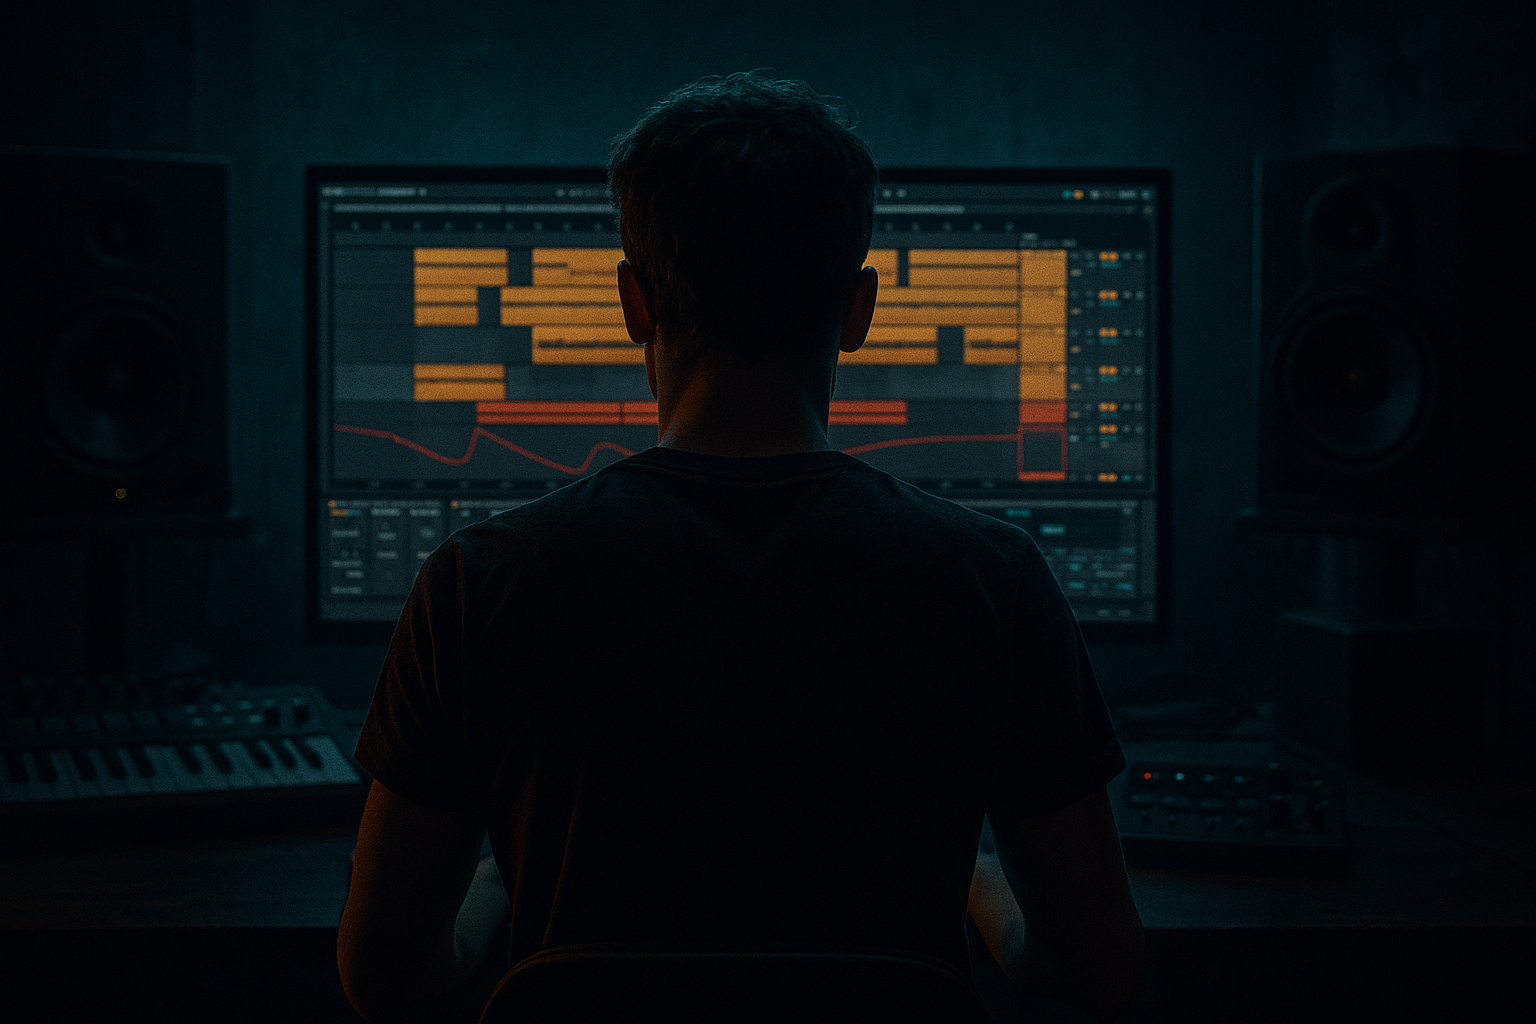
In this lesson, you’ll build a sampler rack workflow for floor-shaking low end in Ableton Live 12, designed specifically for jungle / oldskool DnB / rollers. The goal is to create a bass setup that is fast to write with, easy to arrange, and powerful enough to sit under classic breakbeats without turning your mix into mud.

This matters because in Drum & Bass, the low end is not just “a bass sound” — it’s part of the groove, energy, and arrangement. A good sampler rack lets you quickly switch between:

  • Sub weight for pure low-end foundation
  • Mid-bass movement for character and aggression
  • Filtered variations for breakdowns, fills, and switch-ups
  • Automated phrases that help the drop feel like it’s evolving, not looping
  • For beginner producers, the big win is workflow: instead of endlessly searching for new sounds, you build one reliable rack that can cover an entire DnB section. That means faster writing, clearer arrangement decisions, and a better chance of finishing tracks.

    Why this works in DnB: the genre relies on tight low-end control and arrangement contrast. If your bass is organized into layers and easily automated, you can keep the sub solid while changing the movement above it — exactly how oldskool jungle and darker rollers stay powerful without becoming messy.

    ---

    What You Will Build

    You will build a single Ableton Instrument Rack with three useful bass layers:

    1. Clean Sub Layer

    - A sine-style low end for strong, mono foundation

    - Kept simple and centered

    2. Reese / Mid Layer

    - A thicker, more characterful bass tone with detune, filter movement, and saturation

    - Used for the main drop energy

    3. Dirty / FX Layer

    - A more aggressive layer for edge, fills, and transition moments

    - Can be brought in during phrase changes, halftime switches, or final bars before a drop

    By the end, you’ll have a rack that can create:

  • Round, rolling bass notes
  • Classic jungle-style note movement
  • Call-and-response phrases with drums
  • Arrangement-ready scenes for intro, drop, break, and outro sections
  • Musically, this is perfect for a track where:

  • The breakbeat is busy
  • The sub stays simple
  • The mid-bass changes rhythmically
  • The arrangement needs DJ-friendly structure with clear 8-bar and 16-bar phrasing
  • ---

    Step-by-Step Walkthrough

    1. Create a dedicated bass MIDI track and name it clearly

    - In Ableton Live, create a new MIDI Track and name it something like BASS RACK.

    - Color it differently from your drums so it’s easy to spot in Arrangement View.

    - Set your project to a DnB-friendly tempo, like 170–174 BPM for jungle or oldskool DnB.

    - Keep this track separate from your drum bus and FX returns.

    Why this matters: in DnB, you want low-end decisions to be fast. A clearly labeled bass track helps you move quickly when arranging drops, breakdowns, and switch-ups.

    2. Load an Instrument Rack and build three chains

    - Drag an Instrument Rack onto the bass track.

    - Create three chains inside it:

    - SUB

    - REESE

    - DIRTY

    - You can start each chain with Operator, Wavetable, or Analog — all stock Ableton devices.

    - If you want the simplest start, use Operator for the sub and Wavetable for the other two layers.

    Beginner tip: don’t worry about making each chain perfect right away. The point is to separate roles so you can control weight, tone, and aggression independently.

    3. Design the sub chain first using Operator

    - Open the SUB chain and load Operator.

    - Set the oscillator to a sine wave.

    - Keep it mono and simple.

    - Suggested settings:

    - Attack: 0–5 ms

    - Decay: short or off if using sustained notes

    - Sustain: full

    - Release: 50–120 ms

    - Add Utility after Operator and set Width = 0% to force mono.

    Then add Saturator very gently:

    - Drive: 1–3 dB

    - Turn on Soft Clip if needed

    Why this works in DnB: the sub should give you physical weight without stereo spread. A mono sine stays stable on big systems and leaves room for the kick and breakbeat.

    4. Build the Reese / main bass layer

    - On the REESE chain, load Wavetable or Analog.

    - Start with a saw-based or slightly detuned patch.

    - Add Auto Filter after the instrument.

    - Suggested starting points:

    - Filter type: Low-pass 12 or 24 dB

    - Cutoff: around 100–300 Hz to begin

    - Resonance: 10–25%

    - Add Chorus-Ensemble or Phaser-Flanger lightly if you want width and movement.

    - Then add Saturator or Overdrive for edge.

    - Drive: 2–6 dB

    - Keep it subtle at first

    For a darker jungle vibe, keep the Reese layer more controlled than huge. You want the low mids to move, not explode everywhere.

    Helpful trick: use Unison or detune carefully if needed, but don’t overdo it. Too much spread can blur the low end.

    5. Create the dirty layer for arrangement moments

    - On the DIRTY chain, use Wavetable, Operator, or even a resampled version later.

    - This layer is not always on. It exists for:

    - fills

    - bar transitions

    - drop variations

    - end-of-phrase tension

    - Add devices like:

    - Redux for grit

    - Roar for controlled aggression if available in your Live 12 setup

    - Saturator

    - Auto Filter

    - Suggested settings:

    - Filter cutoff automation from 200 Hz up to 2–5 kHz

    - Drive around 3–8 dB depending on how harsh the sound gets

    Keep this layer quieter than the others. It’s there to add attitude, not dominate the mix.

    6. Map the rack to a Macro workflow

    - Open the Macro Controls in your Instrument Rack.

    - Map the most useful controls:

    - Macro 1: Sub Level

    - Macro 2: Reese Level

    - Macro 3: Dirty Level

    - Macro 4: Filter Cutoff

    - Macro 5: Saturation Drive

    - Macro 6: Width / Chorus Amount

    - Now you can shape the bass from one place.

    Suggested macro range ideas:

    - Sub Level: keep full range small, maybe only a few dB of movement

    - Filter Cutoff: map from roughly 120 Hz to 2 kHz

    - Drive: map from subtle to aggressive, but avoid extreme jumps

    This is one of the best beginner workflow upgrades because it turns sound design into arrangement control. Instead of opening multiple devices every time, you automate a few macros and move on.

    7. Write a simple bass MIDI pattern that works with jungle drums

    - Go into Arrangement View and create an 8-bar loop.

    - Start with a pattern that supports the kick and snare rather than fighting them.

    - A classic starting point:

    - Notes on the “and” of 1

    - A longer note before the snare on 2 and 4

    - Small answer notes after the snare

    - Keep the sub notes long and the Reese notes slightly more rhythmic.

    Example arrangement context:

    - Bars 1–2: basic bass phrase under a break loop

    - Bars 3–4: add a response note or octave move

    - Bars 5–6: introduce a filter open on the Reese

    - Bars 7–8: drop in the dirty layer or a fill

    For oldskool jungle vibes, think of the bass as phrased conversation with the drums, not a constant wall of sound.

    8. Use Arrangement automation to create tension and release

    - In Arrangement View, automate the Rack macros.

    - Useful automation moves:

    - Open the Reese filter slightly over 4 or 8 bars

    - Bring in Dirty Layer only in the last 1–2 bars of a phrase

    - Lower the Sub Level very briefly before a drop return, then restore it

    - Increase Saturator Drive in the final bar of a build-up

    Good beginner-friendly arrangement habit:

    - Keep most of the drop stable

    - Change only one or two things per 8 bars

    - Use automation to create contrast, not chaos

    This is a very DnB way of working because the drums often stay highly active. If the bass also changes too much, the track can feel unfocused. Small automation moves keep the energy moving while preserving clarity.

    9. Resample the rack if you want more control

    - Once your bass phrase sounds good, create a new audio track and set its input to Resampling.

    - Record a few bars of the bass in context with drums.

    - Now you can chop the resampled audio, reverse bits, or fade transitions.

    - Use Simpler if you want to re-trigger sliced bass hits later.

    This is especially useful for jungle and darker DnB because resampling gives you:

    - tighter edits

    - easier arrangement

    - more aggressive transitions

    - a more “produced” feel

    Beginner note: you do not need to resample everything. Just capture the best moments so you can use them as arrangement tools.

    10. Balance the low end in the mix and check mono

    - Put Utility on the bass bus and check mono compatibility.

    - Keep the sub centered.

    - If the bass feels too wide or vague, reduce stereo width on the Reese and Dirty layers.

    - If your kick and bass fight, try:

    - lowering the bass volume slightly

    - shortening note lengths

    - reducing saturation in the sub region

    - using subtle EQ with EQ Eight to clear low-mid clutter

    Starting points:

    - Keep the sub strongest below about 80 Hz

    - Watch the 120–250 Hz area for muddiness

    - Control harshness around 2–5 kHz if the dirty layer bites too much

    In DnB, a bassline that hits hard on small speakers but collapses on club systems usually has too much stereo spread or too much low-mid clutter. Mono discipline is your friend.

    ---

    Common Mistakes

  • Making the sub too complicated
  • - Fix: keep the sub as a clean sine or near-sine, with minimal processing.

  • Using too much stereo width on low bass
  • - Fix: mono the sub and keep width mainly in the mid layer or FX layer.

  • Letting all three layers play all the time
  • - Fix: use the Dirty layer as a phrase tool, not a permanent layer.

  • Over-saturating everything
  • - Fix: saturate the reese/dirty layers more than the sub, and keep the sub nearly clean.

  • Writing bass notes that clash with the snare
  • - Fix: leave space around the main snare hits and phrase the bass like a response.

  • Ignoring arrangement while sound designing
  • - Fix: build your rack directly inside an 8-bar loop in Arrangement View so you hear the track as a section, not just a sound.

  • Too much movement in every bar
  • - Fix: keep most of the drop stable and reserve bigger changes for bar endings, fills, and transitions.

    ---

    Pro Tips for Darker / Heavier DnB

  • Use subtle pitch movement
  • - Try short pitch drops or small envelope changes on the Reese layer for a more sinister feel.

  • Automate filter cutoff in tiny moves
  • - Even a small opening from 200 Hz to 500 Hz can make a bassline feel alive without making it too bright.

  • Layer movement above a steady sub
  • - This is a classic DnB trick: the sub anchors the room, while the mid layer provides personality.

  • Use ghost notes with the bass
  • - Light extra notes between main hits can create a rolling, nervous energy that works well in rollers and jungle.

  • Keep the dirty layer narrow in frequency
  • - High-pass it if needed so it adds bite without clouding the sub.

  • Use arrangement contrast
  • - A 4-bar filtered breakdown followed by a full-spectrum drop can feel massive even if the sound itself is simple.

  • Reference oldskool energy
  • - Think about how jungle phrases often answer the break. The bassline should feel like it’s bouncing off the drums, not sitting separately on top.

  • Leave headroom
  • - If your bass rack is already clipping the master, the drop will lose impact. Keep space for the drums and later mastering.

    ---

    Mini Practice Exercise

    Spend 10–20 minutes building this exact workflow:

    1. Create an 8-bar loop at 172 BPM.

    2. Add a basic jungle break or break-inspired drum pattern.

    3. Build a three-chain Instrument Rack on one MIDI bass track:

    - Sub

    - Reese

    - Dirty

    4. Write a simple bassline with only 3–5 notes.

    5. Automate:

    - Sub level slightly down in one bar

    - Filter cutoff opening over 4 bars

    - Dirty layer only in the final 2 bars

    6. Duplicate the 8-bar section and make one small change:

    - add a fill

    - change one note

    - open the filter more in bar 8

    7. Listen in mono and make sure the sub still feels solid.

    Goal: finish with a short arrangement idea, not a perfect sound. The win is learning how the rack helps you move from sound design into actual track structure.

    ---

    Recap

  • Build your low end as a three-part sampler/instrument rack: sub, reese, and dirty layer.
  • Keep the sub mono, simple, and stable.
  • Use the reese layer for movement and the dirty layer for arrangement moments.
  • Map key controls to Macros so you can automate bass changes quickly in Arrangement View.
  • Write bass notes that work with the breakbeat, not against it.
  • Use automation, filtering, and resampling to create tension, release, and oldskool DnB energy.
  • In Drum & Bass, the best low end is not just heavy — it’s controlled, phrased, and built for the drop 🔥

Ask GPT about this lesson

Chat with the lesson tutor, get follow-up help, or use quick actions.

Bigup 👽 Ask me anything about this lesson and I’ll answer in context.

Narration script

Show spoken script
Welcome back. In this lesson, we’re building a sampler rack workflow for floor-shaking low end in Ableton Live 12, specifically for jungle, oldskool DnB, and rollers. And this is a big one, because in drum and bass, the bass is not just a sound. It’s part of the groove, part of the tension, and part of the arrangement.

The goal here is simple: create one bass rack that’s fast to write with, easy to arrange, and powerful enough to sit under busy breakbeats without turning everything into mud. If you’re a beginner, this is a huge win, because instead of constantly hunting for new bass sounds, you build one reliable setup that can carry an entire section of the track.

So let’s think like a DnB producer for a moment. The drums are already doing a lot. The break is busy, the snares are hitting hard, and the energy is moving fast. That means your low end needs to be controlled. You want the sub to stay solid, the mid-bass to add movement, and the more aggressive layers to come in only when you need them.

We’re going to build a three-part bass rack.

First, a clean sub layer.
Second, a Reese-style mid layer for character and movement.
Third, a dirty layer for fills, transitions, and phrase changes.

And the best part is, once the rack is set up, you can control most of the bass from a few macro knobs instead of opening up a bunch of devices every time.

So start by creating a new MIDI track in Ableton Live and name it something obvious, like BASS RACK. Color it differently from your drums so you can spot it quickly in Arrangement View. This kind of organization matters more than people think. In DnB, you often want to move fast, and a clearly labeled bass track helps you make arrangement decisions without getting lost.

Set your tempo somewhere around 170 to 174 BPM if you want that jungle or oldskool DnB feel. Then drag an Instrument Rack onto the track.

Inside that rack, create three chains and name them SUB, REESE, and DIRTY.

If you want a simple starting point, use Operator for the sub, and then Wavetable or Analog for the other two layers. You do not need to overcomplicate it. The point is to give each layer a job.

Let’s build the sub first.

Open the SUB chain and load Operator. Set it to a sine wave. Keep it simple. Keep it mono. This is the foundation, the truth of the bassline. If you mute everything else and the groove still feels good, your sub is doing its job.

For the envelope, keep the attack very short, basically zero to just a few milliseconds. Sustain should be full if you’re holding notes. Release can be short, just enough to avoid clicks and to let the note breathe slightly.

Then add Utility after Operator and set the width to zero percent. That forces the sub into mono, which is exactly what you want for low-end power. Then add a little Saturator if needed, just enough to give the sub some gentle harmonics. Keep the drive very subtle. You are not trying to distort the sub into a mess. You’re just giving it a little extra body so it translates better on different systems.

Why does this work so well in DnB? Because the sub needs to stay stable. The club system will handle the physical weight, but if your sub is wide or overly complicated, the low end gets blurry fast. Mono is your friend here.

Now move to the REESE layer.

On the REESE chain, load Wavetable or Analog. Start with a saw-based sound or a slightly detuned patch. You want movement, but not chaos. Add Auto Filter after the synth, and start with a low-pass filter. A cutoff somewhere around 100 to 300 hertz is a good place to begin, depending on how bright the sound is. Add a bit of resonance, but not too much. Just enough to give the filter some personality.

If you want extra width and motion, you can add Chorus-Ensemble or Phaser-Flanger lightly. The key word there is lightly. In drum and bass, it’s very easy to make the mid-bass too wide and lose clarity. The low mids should move, not explode everywhere.

Then add Saturator or Overdrive to bring out some edge. Again, subtle first. You can always push it later.

This layer is your main energy layer. It gives the bassline character. It helps the track feel alive. If the sub is the foundation, the Reese is the attitude.

Now let’s build the DIRTY layer.

This layer is not meant to be on all the time. It exists for movement, tension, and arrangement moments. Think of it as the layer you bring in at the end of a phrase, during a fill, or when the track needs a shot of aggression.

Use Wavetable, Operator, or even a resampled version later on. Add something like Redux for grit, Saturator for extra bite, or Roar if you have it in your Live 12 setup. You can also use Auto Filter to shape the sound.

A great trick here is to keep this layer quiet and high-passed if needed. That way it adds attitude without clouding the sub. You want it to cut through the mix just enough to make the drop feel like it’s evolving.

Now that the three layers are in place, it’s time to map your macros.

Open the Macro controls on the rack and map the most useful parameters. A really practical setup is this: one macro for Sub Level, one for Reese Level, one for Dirty Level, one for Filter Cutoff, one for Saturation Drive, and one for Width or Chorus Amount.

This is where the workflow becomes powerful.

Instead of tweaking each device separately, you can shape the whole bass from one place. That means you can automate changes in Arrangement View quickly and cleanly. And in drum and bass, that speed matters. You want to spend less time digging through devices and more time writing the actual track.

Now let’s write a bassline.

Go into Arrangement View and create an 8-bar loop. Start simple. Don’t try to make it legendary on the first pass. Just make it work with the breakbeat.

A classic jungle-style starting point is to place notes on the and of 1, let a note ring before the snare hits on 2 and 4, and then add small answer notes after the snare. Think of it like a conversation with the drums. The bass is not just sitting on top of the beat. It’s reacting to it.

Keep the sub notes longer. Let the Reese notes be a little more rhythmic. That contrast is what gives the track shape.

A good beginner mindset here is to write in phrases of 2, 4, or 8 bars. Oldskool jungle and DnB often feels powerful because the bassline is phrased, not constant. You don’t need a wall of notes every second. Sometimes a few well-placed notes will hit much harder.

Now let’s talk arrangement.

In Arrangement View, start automating your rack macros. This is where the track starts feeling like a real production instead of just a loop.

For example, you could slowly open the Reese filter over four or eight bars. You could bring in the Dirty layer only in the last one or two bars of a phrase. You could briefly lower the Sub Level right before the drop comes back, then snap it back in. You could also push the Saturation Drive a little harder in the final bar of a build-up.

The big beginner rule here is simple: keep most of the drop stable, and change only one or two things per 8 bars. That keeps the energy moving without making the track feel messy.

That’s a very DnB way of working. The drums are already active, so if the bass changes too much all the time, the whole thing can lose focus. Small moves create tension. Big changes are saved for the right moment.

If the rack sounds good, consider resampling it.

Create a new audio track, set the input to Resampling, and record a few bars of the bass with the drums. This is a really useful trick because now you can chop the audio, reverse bits, fade transitions, or slice it into simpler parts later.

For jungle and darker DnB, resampling gives you a more produced feel. It can also help you turn a good bass phrase into an arrangement tool. You do not need to resample everything. Just capture the strongest moments.

Now let’s talk about mix checks, because this is where a lot of beginners get tripped up.

Put Utility on the bass bus and check mono compatibility. Keep the sub centered. If the bass feels too wide or vague, reduce the stereo width on the Reese and Dirty layers. If the kick and bass are fighting, shorten the notes a little, lower the bass volume slightly, or reduce saturation in the low region. You can also use EQ Eight to clean up low-mid clutter if the sound is getting boxy.

A useful area to watch is around 120 to 250 hertz. That’s where mud often builds up. Also keep an ear on the 2 to 5 kilohertz range if the dirty layer starts getting too harsh.

If your bass disappears on small speakers, the issue is usually not the sub itself. It’s often the harmonics in the mid-bass. That’s why the Reese layer matters so much. It helps the bass translate beyond the sub.

Here are a few common mistakes to avoid.

Don’t make the sub too complicated. Keep it clean.
Don’t use too much stereo width on low bass. Mono the sub.
Don’t leave all three layers playing all the time. Use the dirty layer as a phrase tool.
Don’t over-saturate everything. Saturate the mid and dirty layers more than the sub.
Don’t write bass notes that fight the snare. Leave space.
And don’t ignore arrangement while sound designing. Build the rack in an actual 8-bar loop so you hear it in context.

If you want to go further, here are a few pro-style ideas.

Try subtle pitch movement on the Reese layer for a darker feel.
Automate tiny filter changes instead of huge ones.
Use ghost notes between main hits for that rolling jungle energy.
Keep the dirty layer narrow in frequency so it adds bite without clouding the mix.
And remember that contrast is huge in this genre. A filtered breakdown followed by a full-spectrum drop can sound massive, even if the bass sound itself is simple.

Here’s a quick practice challenge.

Build an 8-bar loop at 172 BPM.
Add a basic jungle break.
Create your three-chain bass rack.
Write a bassline using only 3 to 5 notes.
Automate the sub slightly down in one bar, open the filter over four bars, and bring in the dirty layer only at the end.
Then duplicate the section and make one small change, like a fill or a more open filter in bar 8.
Finally, listen in mono and make sure the sub still feels strong.

If you can do that, you’ve built something really useful: a bass workflow that is not just heavy, but repeatable, arrangement-friendly, and easy to evolve into a full jungle or DnB track.

So remember the main idea.

Build your low end as three parts: sub, Reese, and dirty.
Keep the sub mono, simple, and stable.
Use the Reese for movement.
Use the dirty layer for arrangement moments.
Map the important controls to macros.
Write bass that works with the breakbeat, not against it.
And use automation, filtering, and resampling to create tension, release, and classic oldskool energy.

That’s the workflow. Clean, fast, and built for the drop.

mickeybeam

Go to drumbasscd.com for +100 drum and bass YouTube channels all in one place - tune in!

Generating PDF preview…