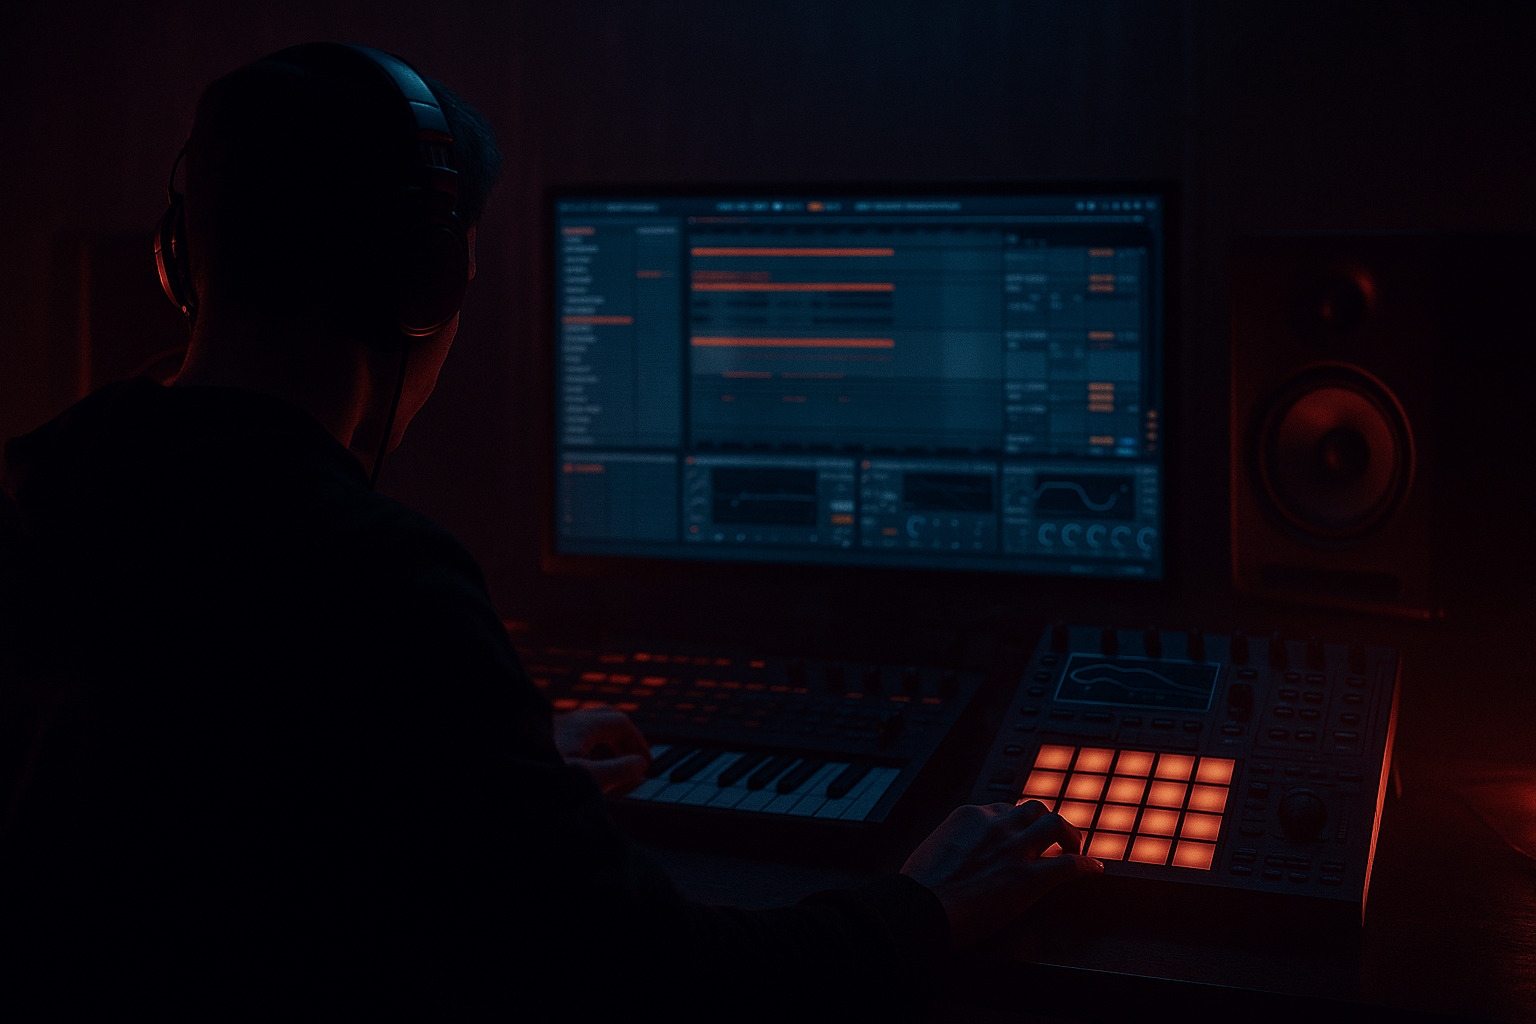
DNB COLLEGE

AI Drum & Bass Ableton Tutorials

LESSON DETAIL

Workflows for rapid intro creation (Intermediate)

An AI-generated intermediate Ableton lesson focused on Workflows for rapid intro creation in the Workflow area of drum and bass production.

Free plan: 0 of 1 lesson views left today. Premium unlocks unlimited access.

Workflows for rapid intro creation (Intermediate) cover image

Narrated lesson audio

The voice track includes the tutorial plus extra teacher commentary.

Open audio file

Main tutorial

```markdown

Workflows for Rapid Intro Creation (DnB in Ableton Live) ⚡️🥁

1. Lesson overview

In drum & bass, the intro is utility: it sets mood, sets tempo, introduces your sonic identity, and hands the DJ a clean mix-in. The goal is to build intros fast—without overthinking—using repeatable Ableton Live workflows: templates, scene-based arrangement, quick tension devices, and “drop-ready” routing.

By the end, you’ll have a few “grab-and-go” intro methods you can apply to rollers, jungle, and darker halftime/techy DnB.

---

2. What you will build

A 16–32 bar DnB intro that:

  • Starts with atmosphere + ear candy
  • Introduces hats/shakers + a minimal drum hint
  • Adds bass tease / reese movement (without giving the whole drop away)
  • Includes tension riser + downlifter
  • Lands on a clean, punchy impact into the drop
  • All inside Ableton Live using mostly stock devices (Auto Filter, EQ Eight, Saturator, Reverb, Delay, Utility, Drum Rack, Drum Buss, Glue Compressor).

    ---

    3. Step-by-step walkthrough

    Step 0 — Set up your “Intro Builder” template (do this once) 🧰

    Create a template project with these tracks and routing:

    Tracks

    1. DRUMS (Bus) – Audio track, receives from drum groups

    2. KICK+SNARE – Drum Rack or audio

    3. TOPS – hats/shakers/ride loops

    4. PERC FX – fills, hits, little one-shots

    5. BASS (Bus)

    6. SUB – clean sine/triangle or sampled sub

    7. REESE/MID – your main character bass

    8. MUSIC/ATMOS – pads, drones, keys

    9. FX – risers, impacts, noise

    10. VOX/FOUND SOUND (optional) – short phrases, radio chops

    Return tracks

  • A: Short Verb (Reverb: Decay 0.8–1.4s, HP filter ~250–400 Hz)
  • B: Long Verb (Reverb: Decay 3–6s, Pre-delay 15–35 ms, HP ~350 Hz)
  • C: Delay (Echo or Delay: 1/8 or 1/4 dotted, HP ~300 Hz)
  • Buses

  • Route Kick+Snare, Tops, Perc to DRUMS bus
  • Route Sub + Reese to BASS bus
  • Add Utility on buses for quick mono checks
  • Save as a template: File → Save Live Set as Template.

    ---

    Step 1 — Pick an intro length and “DJ logic” first 🎛️

    Choose one:

  • 16 bars: fast, modern, streamer-friendly
  • 32 bars: DJ-friendly, more atmosphere and tension
  • Set tempo typical DnB:

  • 170–176 BPM (jungle often 165–172; modern rollers 174)
  • Arrangement markers (recommended):

  • Bar 1: Atmos only
  • Bar 9: Tops + small drum hint
  • Bar 17: Bass tease + tension
  • Bar 33 (or 17 if 16-bar intro): Drop
  • In Ableton: add Locator markers in Arrangement View.

    ---

    Step 2 — Build a “3-layer intro bed” in 5 minutes 🌫️🧠

    Your intro bed = Atmos + Noise + Motif.

    #### 2A) Atmos (pad/drone)

  • Use Wavetable or Analog (stock).
  • Keep it simple: 1–2 notes, long sustain.
  • Quick chain (MUSIC/ATMOS track):

    1. EQ Eight

    - HP at 120–200 Hz

    - Small dip around 300–500 Hz if boxy

    2. Auto Filter

    - Low-pass starting around 6–10 kHz, automate opening later

    3. Reverb (Long Verb send)

    - Send amount: -12 to -6 dB (ear-based)

    4. Utility

    - Width 120–160% (don’t overdo if your mix collapses)

    #### 2B) Noise layer (for movement)

  • Add a MIDI track with Operator → Noise oscillator.
  • Put Auto Filter (Band-pass) + LFO modulation (or automate manually).
  • Settings idea:

  • Auto Filter: Band-pass, Freq 1–3 kHz, Resonance 0.6–1.2
  • Add Saturator: Soft Clip on, Drive 2–5 dB
  • Automate filter frequency rising across 8–16 bars
  • #### 2C) Motif (tiny hook, not the full melody)

  • One stab, one vocal chop, or a 2-note jungle chord.
  • Use Simpler (Slice or Classic).
  • Workflow tip: keep the motif high-passed so it doesn’t fight the drop.

    ---

    Step 3 — Introduce drums using the “Shadow Groove” method 🥁🕶️

    Instead of dropping full drums early, tease the groove.

    #### 3A) Tops first (bars 9–16)

  • Add hats/shakers at low energy.
  • Use Drum Rack or loops. If loops: warp to Complex Pro only if needed (often Beats mode is fine).
  • TOPS chain:

    1. EQ Eight

    - HP 200–400 Hz

    - Add a gentle shelf at 8–12 kHz if dull

    2. Drum Buss

    - Drive 5–15%

    - Crunch 0–10 (subtle)

    3. Auto Filter

    - Automate low-pass from 6 kHz → 16 kHz over 8 bars

    #### 3B) Ghost kick/snare (bars 13–16 or 25–32)

    Create a filtered version of your drop drums:

  • Duplicate your Kick+Snare track clip.
  • Put Auto Filter low-pass around 200–800 Hz (yes, low—make it feel distant).
  • Reduce velocity or clip gain.
  • Goal: DJs and listeners “feel” the rhythm without the drop hitting too early.

    ---

    Step 4 — Bass tease without spoiling the drop 🐍

    Use movement and tone, not full pattern density.

    #### Option A: Reese teaser with filter + volume automation

    On your REESE/MID:

    1. EQ Eight

    - HP at 60–90 Hz (leave sub for SUB track)

    2. Auto Filter

    - Low-pass start 200–400 Hz, open to 1–3 kHz by the end of intro

    3. Saturator

    - Drive 2–6 dB, Soft Clip on

    4. Utility

    - Keep lows mono: Width 0–50% (or use Utility on a low band via multiband if you’re advanced)

    Write a simple 1-bar or 2-bar phrase (roller style: syncopated offbeats, jungle: more rhythmic stabs).

    #### Option B: Sub “heartbeat”

    On SUB track:

  • Operator sine/triangle
  • Notes: 1–2 long notes per 4 bars, or a basic offbeat pulse
  • Sidechain it lightly to a ghost kick if needed (Compressor with sidechain)
  • Sidechain starting point:

  • Ableton Compressor
  • Sidechain from Kick
  • Ratio 2:1–4:1
  • Attack 2–10 ms
  • Release 60–140 ms
  • Aim for subtle GR: 1–3 dB in intro
  • ---

    Step 5 — Add tension fast: “3 automation lanes + 2 FX hits” 🔥

    This is the fastest way to make an intro feel intentional.

    #### 5A) Automation lanes (choose 3)

    1. Master or DRUMS bus low-cut

    - Use EQ Eight on DRUMS bus

    - Automate HP from ~40 Hz → 120 Hz then release back right before drop (creates “suction”)

    2. Reverb send ramp

    - Automate Long Verb send up in the last 4 bars

    - Kill it right at the drop (hard cut = impact)

    3. Auto Filter opening

    - On MUSIC/ATMOS or TOPS: open low-pass over 8–16 bars

    #### 5B) Two FX hits that always work

    1. Riser

    - Noise riser (Operator noise + filter sweep) or sampled riser

    - Add Reverb and Echo

    2. Downlifter

    - Reverse cymbal / reverse reese tail

    - Place it 1 bar before drop and fade into impact

    Impact on drop (bar 33/17):

  • Layer: sub impact + punchy hit + wide noise
  • Quick chain on impact:
  • - EQ Eight (HP ~30 Hz, tame harshness 4–8k if needed)

    - Saturator (1–3 dB)

    - Short verb send (tiny)

    ---

    Step 6 — Scene-to-Arrangement workflow (fastest repeatable method) 🚀

    If you’re stuck, build your intro in Session View first:

  • Scene 1: Atmos only
  • Scene 2: Add tops
  • Scene 3: Add ghost drums
  • Scene 4: Add bass tease
  • Scene 5: Pre-drop (riser + more movement)
  • Scene 6: Drop (full drums + bass)
  • Then:

  • Select scenes → Record into Arrangement
  • Or drag scenes into Arrangement and refine transitions
  • This prevents “blank timeline paralysis.”

    ---

    Step 7 — Make the intro mix-ready in 90 seconds ✅

    Do these quick checks:

  • Mono check: Utility on Master → Width 0% briefly
  • Low-end discipline: everything except SUB and maybe kick gets HP filtered
  • Level staging: intro should be quieter than drop (often -2 to -6 dB relative feel)
  • Reverb cleanup: Reverb returns HP at 250–500 Hz to avoid mud
  • ---

    4. Common mistakes ❌

    1. Too much sub in the intro

    DJs need headroom; keep sub minimal until the drop.

    2. Giving away the full drop bassline early

    Tease tone and rhythm, not the full call-and-response.

    3. Over-layered atmos that masks transients

    If your hats feel dull, your pad is probably too bright or too wide.

    4. No “event” every 4–8 bars

    DnB intros need micro-milestones: fills, FX, filter moves.

    5. Reverb tails hitting the drop

    Cut or automate reverb down right before impact for maximum punch.

    ---

    5. Pro tips for darker/heavier DnB 🖤

  • Use dissonant texture beds:
  • Wavetable with slight FM, then Redux (very subtle) + Reverb for grime.

  • Pitch automation on risers:
  • Automate riser pitch +7 to +12 semitones over 8 bars (classic tension).

  • Reese “airlock” effect:
  • Before the drop, automate Auto Filter resonance up (carefully) and then snap it off on the downbeat.

  • Drum pre-drop choke:
  • In the last 1/2 bar, cut drums with a Gate or volume dip so the drop feels bigger.

  • Controlled aggression:
  • Put Saturator on BASS bus (Soft Clip on) and drive until it bites, then tame with EQ Eight (dip harsh 2.5–5 kHz if needed).

    ---

    6. Mini practice exercise 🎯

    Make three different 16-bar intros for the same drop:

    1. Jungle intro

    - Amen-style tops, lots of reverb throws, dubby chord stab (high-passed)

    2. Roller intro

    - Minimal hats + filtered ghost kick/snare, reese teaser opening slowly

    3. Dark tech intro

    - Noise bed + metallic hits, sparse halftime feel, big downlifter

    Constraint: each intro must use only:

  • 1 atmosphere layer
  • 1 tops loop or hat pattern
  • 1 bass tease element
  • 2 FX (riser + downlifter)
  • Bounce each and compare which one makes your drop hit hardest.

    ---

    7. Recap 🔁

  • Build intros fast by using a template + fixed structure (16/32 bars).
  • Start with a 3-layer bed (atmos + noise + motif).
  • Use Shadow Groove drums: tops first, then filtered kick/snare hints.
  • Tease bass with filter + automation, don’t reveal everything.
  • Create tension with 3 automation lanes + 2 FX hits, and cut reverb at the drop.
  • Use Session View scenes for speed, then record into Arrangement.

If you want, tell me what subgenre you’re aiming for (roller, jungle, neuro-ish, dark minimal) and your target intro length, and I’ll propose a bar-by-bar intro blueprint with exact automation moves.

```

Ask GPT about this lesson

Chat with the lesson tutor, get follow-up help, or use quick actions.

Bigup 👽 Ask me anything about this lesson and I’ll answer in context.

Narration script

Show spoken script
Workflows for Rapid Intro Creation, intermediate drum and bass in Ableton Live.

Today we’re treating the intro like what it really is in DnB: utility. It sets the mood, locks in the tempo, shows your sonic identity, and most importantly, it hands a DJ a clean mix-in. The vibe matters, but the workflow matters more, because intros are where people lose time and overthink.

So the mission is speed with intention. We’re going to build a repeatable system: a template, a simple structure, a three-layer intro bed, “shadow groove” drums, a bass tease that doesn’t spoil the drop, and a fast tension recipe that makes it feel like a real record.

Before we touch the timeline, do this one mental move that changes everything.
Decide the intro job in one sentence.

For example:
“Clean 32 bars for DJs, moody, minimal drums until bar 25.”
Or:
“16-bar streamer intro: immediate vibe, fast tension, no long ambience.”

That sentence is your north star. Every single layer has to earn its place by serving it.

Alright, Step zero: the Intro Builder template. You do this once and it pays you back forever.

Open a fresh Live set and create these tracks:
A DRUMS bus track.
Then Kick and Snare.
Then Tops, for hats and shakers.
Perc FX for fills and one-shots.

Then a BASS bus.
Under that, a Sub track.
A Reese or Mid bass track.

Then Music or Atmos for pads and drones.
An FX track for risers and impacts.
And optionally a Vox or found sound track for quick chops or radio bits.

Now set up your returns:
Return A is a short reverb, under about a second to a second and a half, and high-pass it so the low end doesn’t smear.
Return B is your long reverb, like three to six seconds, with a bit of pre-delay, and again, high-pass it.
Return C is a delay or echo, 1/8 or 1/4 dotted is a great default, and high-pass it too.

Routing:
Kick and Snare, Tops, and Perc all go into the DRUMS bus.
Sub and Reese go into the BASS bus.
Put Utility on those buses so you can quickly mono-check or adjust width without hunting.

Then save the whole thing as a template: File, Save Live Set as Template.

That’s your “blank canvas” solved. Next time you open Live, you’re already halfway to an intro.

Step one: pick intro length and DJ logic first.
Choose 16 bars or 32 bars.

Sixteen bars is modern and quick, great for streaming, quick attention.
Thirty-two is DJ-friendly: more runway, more atmosphere, more tension.

Set your tempo somewhere in the DnB zone, like 170 to 176 BPM. Jungle can be a bit lower, modern rollers often land around 174.

Now put locators in Arrangement view. You want a map before you paint.
Here’s a strong default:
Bar 1: atmosphere only.
Bar 9: introduce tops and a tiny drum hint.
Bar 17: bass tease plus rising tension.
Then your drop at bar 33 for a 32-bar intro, or bar 17 for a 16-bar intro.

Even if you change it later, this prevents “blank timeline paralysis.”

Coach note: use a traffic-light energy system in your head.
Green is safe: atmos, filtered tops, small ticks.
Amber is building: ghost drums, bass hints, send ramps.
Red is commit: fills, stutters, big impacts.
If you go red too early, your drop won’t feel like a step up. That’s the whole game.

Step two: build a three-layer intro bed in five minutes.
This is your foundation: Atmos, Noise, Motif.

First, Atmos. On your Music or Atmos track, make a pad or drone with Wavetable or Analog. Keep it simple: one or two notes, long sustain. This isn’t the chorus. It’s the world.

Quick processing chain:
EQ Eight first. High-pass around 120 to 200 Hz to keep low end clean. If it’s boxy, dip a bit in the 300 to 500 area.
Then Auto Filter: a low-pass starting around 6 to 10 kHz. You’ll automate it opening later.
Send it to your long reverb return. Enough to feel wide and deep, but not so much that it fogs the groove.
Then Utility for width. You can push it wider, but be careful: if it collapses badly in mono, back off.

Second, Noise layer. This is movement. It’s the “air” that tells your brain something is building.
Add a MIDI track with Operator, use the Noise oscillator. Put Auto Filter on band-pass, somewhere around 1 to 3 kHz, and automate that frequency rising across 8 or 16 bars. Add Saturator with soft clip and a couple dB of drive. Not louder, just more urgent.

Third, Motif. Tiny hook, not the full melody.
A stab, a vocal chop, a two-note jungle chord, something that says “this track has identity.”
Use Simpler. And here’s the key: high-pass it. Your motif should live above the drop’s main weight so it doesn’t fight what’s coming.

At this point, if you only had those three layers, you already have an intro that feels intentional instead of empty.

Step three: introduce drums using the Shadow Groove method.
In drum and bass, full drums too early is like giving away the punchline. Shadow groove means we imply the rhythm before we fully deliver it.

Start with Tops, around bar 9.
Put in a hat pattern or shaker loop, low energy. If you’re warping loops, don’t default to Complex Pro unless you need it. Beats mode is often cleaner for percussive material.

Processing chain for Tops:
EQ Eight with a high-pass around 200 to 400 Hz.
If it’s dull, a gentle high shelf around 8 to 12 kHz.
Drum Buss for a bit of glue and grit, subtle drive.
Then Auto Filter low-pass, automated from maybe 6 kHz up to 16 kHz over those 8 bars. That one move alone creates “opening up” energy.

Then add ghost kick and snare, but filtered and distant, later in the intro.
A great move is bars 13 to 16 on a 16-bar intro, or bars 25 to 32 on a 32-bar intro.
Duplicate your kick and snare clip, then slap an Auto Filter low-pass down around 200 to 800 Hz. Yes, that low. You’re not trying to smack, you’re trying to suggest.
Lower the velocity or clip gain so it feels like it’s behind the curtain.

This is DJ-friendly too. It gives a grid, but it doesn’t steal the drop’s impact.

Step four: bass tease without spoiling the drop.
You want movement and tone, not full pattern density.

Option A is a Reese teaser with filter and volume automation.
On your Reese or Mid track: EQ Eight high-pass around 60 to 90 Hz, because the Sub track owns the true low end.
Auto Filter low-pass starts around 200 to 400 Hz and opens up toward 1 to 3 kHz by the end of the intro.
Add Saturator, soft clip on, a few dB drive for character.
Utility to keep the low part mono-ish. Even if you’re not doing advanced multiband tricks, just don’t go super wide in the lows.

MIDI-wise, keep it simple: a one-bar or two-bar phrase. Syncopated offbeats for rollers, rhythmic stabs for jungle, sparse hits for dark tech. The point is: “here’s the creature,” not “here’s the whole bassline.”

Option B is the Sub heartbeat.
On the Sub track, Operator with a sine or triangle, and just do long notes or a basic pulse. If you need it to tuck, sidechain it lightly from a ghost kick.
Compressor, sidechain on, ratio around 2 to 1 up to 4 to 1, attack a few milliseconds, release around 60 to 140 ms, and only 1 to 3 dB of gain reduction. You’re shaping, not pumping.

Important rule that keeps intros mixable: don’t introduce a new low-end source late unless it’s intentional.
Late low end causes surprise level jumps, limiter hits, and messy DJ mix-ins. Keep lows absent or controlled until the handoff.

Step five: tension, fast. Three automation lanes plus two FX hits.
This is the cheat code.

Pick three automations:
One, a low-cut suction move on the DRUMS bus using EQ Eight. Automate the high-pass up, maybe from around 40 Hz toward 120 Hz in the run-up, then release it back right before the drop. It feels like the floor disappears, then comes back.
Two, a reverb send ramp in the last four bars. Push the long reverb send up, then kill it right at the drop. That hard cut creates instant punch.
Three, Auto Filter opening on Atmos or Tops, gradually revealing brightness across 8 or 16 bars.

Then two FX hits that basically always work:
A riser. Noise riser is fine, or a sample, but give it reverb and echo so it occupies space.
And a downlifter. Reverse cymbal, reverse reese tail, something that lands one bar before the drop and pulls you into the impact.

On the drop impact itself, layer three ideas: a sub impact, a punchy transient hit, and a wide noise splash. Quick EQ to keep sub clean and tame harshness, a touch of saturation, and just a tiny bit of short verb if needed.

Extra sound design trick: a riser that cuts through without getting louder.
Instead of turning it up, automate filter resonance and saturation drive toward the end, then hard stop on the downbeat. Perceived intensity goes up, headroom stays intact.

Step six: scene-to-arrangement workflow. This is the fastest repeatable method.
If you get stuck, don’t build the intro on a blank timeline. Build it in Session View as scenes.

Scene 1: Atmos only.
Scene 2: add tops.
Scene 3: add ghost drums.
Scene 4: add bass tease.
Scene 5: pre-drop, riser, more movement.
Scene 6: drop, full drums and bass.

Then record those scene launches into Arrangement. Or drag the scenes across. This turns arranging into performance, and it’s insanely good at preventing endless micro-editing.

And here’s a power move: micro-variation every four bars without drawing long automation.
In Session clips, use clip envelopes. Change hat decay for one bar. Nudge noise filter cutoff for a moment. Do a one-hit reverb throw. When you record to Arrangement, it already sounds arranged.

Step seven: make the intro mix-ready in 90 seconds.
Quick checks.
Mono check: put Utility on the master, set width to 0 for a moment. If your bed disappears, narrow it a bit.
Low-end discipline: everything except Sub, and maybe kick, gets high-passed.
Level staging: the intro should feel quieter than the drop. Roughly two to six dB lower in perceived energy is common.
Reverb cleanup: your reverb returns must be high-passed so you don’t build mud.
And make sure no reverb tail is masking the first downbeat of the drop. If the drop doesn’t punch, nine times out of ten, it’s the tail.

Two arrangement upgrades that instantly sound pro.
First: event scheduling. Put a noticeable moment every 4 to 8 bars. Noticeable can be tiny: a single fill, a mute, a resonator hit, a filter flick.
Second: create a transition pocket right before the drop, like the last two beats. Remove density, not just volume. Mute tops for two beats, or let a reverb-only tail hang and then cut. Space equals impact.

Advanced variations if you want to level up.
Try a false drop eight bars before the real one: imply the drop with a quick snare build and impact, then remove kick and sub for a beat, and slam back into the build. Dark tech DnB loves this.
Or do call-and-response with preview bass versus drop bass: same MIDI rhythm, but a simpler, cleaner bass tone in the intro, then swap to the full patch at the drop. In Ableton, you can duplicate chains and use a chain selector macro.
Or a halftime mirage: start with snare on 3, then gradually add 16th hats and ghosts so the listener “realizes” it’s 174 without changing BPM.

Speaking of macros, if you want real speed: pre-commit macros on your DRUMS bus and MUSIC/ATMOS using an Audio Effect Rack.
Map things like high-pass frequency, low-pass frequency, reverb send amount, air shelf, saturation drive, width, a pre-drop mute, and noise FX level.
Now you can perform an intro instead of doing 30 tiny edits.

Practice assignment to make this stick.
Take one drop you already have, and make three different 16-bar intros for it.
One jungle intro: amen-ish tops, dubby high-passed chord stab, reverb throws.
One roller intro: minimal hats, filtered ghost kick and snare, reese teaser slowly opening.
One dark tech intro: noise bed, metallic hits, sparse halftime illusion, big downlifter.

Constraint: each intro uses only one atmosphere layer, one tops loop or hat pattern, one bass tease element, and two FX: riser plus downlifter.
Bounce them and compare which one makes the drop hit hardest. That comparison is how you build taste fast.

Recap.
You build rapid intros by using a template and a fixed 16 or 32 bar structure.
Start with a three-layer bed: atmos, noise, motif.
Bring in drums with shadow groove: tops first, then filtered kick and snare hints.
Tease bass with filter and automation, don’t reveal the full drop.
Create tension with three automation moves and two FX hits, and cut reverb at the drop.
And if you want maximum speed, build in Session scenes, then record into Arrangement.

If you tell me your subgenre and whether your drop is busy or minimal, I can give you a bar-by-bar intro blueprint with exact locator points and the three best automation moves for that style.

Background music

Premium Unlimted Access £14.99

Any 1 Tutorial FREE Everyday
Tutorial Explain
Generating PDF preview…