Main tutorial
1. Lesson Overview
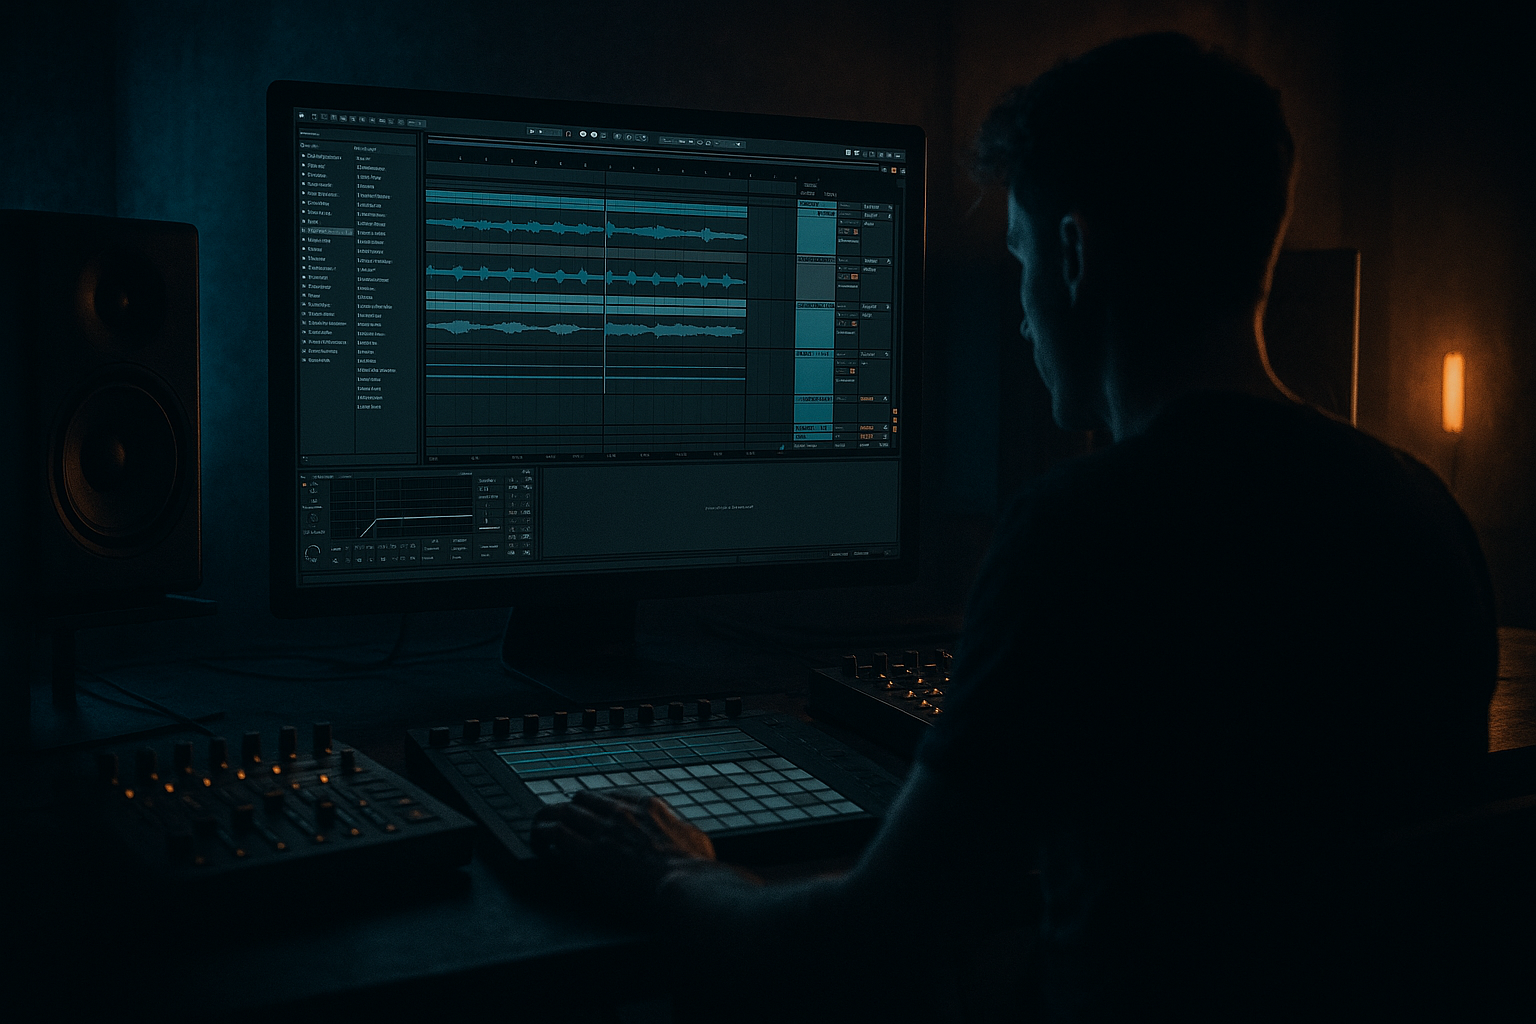
Workforce edit: blend a vocal stab from scratch in Ableton Live 12 for modern punch and vintage soul — an advanced, hands-on tutorial that shows how to create a single, multi-layered vocal stab instrument you can drop into a Drum & Bass track. We’ll make a tight, punchy dry stab for impact, and a warm, harmonically rich vocoder layer for vintage soul character. The lesson uses only Ableton Live 12 stock devices and routing (Sampler/Simpler, Wavetable, Vocoder, EQ Eight, Drum Buss, Saturator, Glue Compressor, Utility, Hybrid Reverb/Delay, Sends), and walks through modulator/carrier setup, Vocoder configuration, intelligibility shaping, transient/punch processing and final blend in context.
2. What You Will Build
- A mapped one-shot vocal stab instrument (Sampler) tuned and shaped for DnB tempo.
- A vocoder-harmonic layer: Wavetable carrier processed by Ableton Vocoder using the chopped vocal as the modulator.
- Parallel processing chains: “Modern Punch” (transient emphasis + saturation) and “Vintage Soul” (vocoder, tape-ish saturation, plate-style reverb).
- Return busses for reverb/delay and a Glue Compressor group for final cohesion.
- Automation and micro-timing tweaks so the combined stab sits with drums and bass.
- Putting Vocoder on the modulator instead of the carrier (modulator must be the sidechain input; carrier is the synth audio). This will not produce the intended harmonics.
- Too many bands for the sound you want: 64 bands can be sterile and lifeless; too few gives unintelligible mush. Test 12–32 bands.
- Leaving sub frequencies in the modulator: low energy below ~120–250 Hz will smear and muddy the vocoder output.
- Over-saturating the dry stab and the vocoder at the same time — causes harshness and masking. Use gentle saturation per chain and balance levels first.
- Forgetting to tune the vocal stab root — an out-of-key stab sounds amateurish.
- Over-wide low frequencies — keep the low end mono to avoid phase problems with bass.
- Neglecting transient shaping — without emphasizing attack the stab won’t cut through fast DnB drums.
- Tune the sample to the track key by ear and with Sampler’s root key — the vocoder sounds much better when the modulator pitch and carrier chord are harmonically aligned.
- Use a short utility width automation (widen the vocoder only on fills/turnarounds) to maintain mono power during drops.
- Duplicate the modulator, compress one copy heavily and feed that to the Vocoder for a more gated, choppy vocoder texture.
- For a “tape” vintage vibe, add a tiny bit of wow/flutter with Chorus (mono->stereo subtle modulation) before the vocoder or add a light LFO-driven detune on Wavetable.
- Use Clip Gain (or the sample’s volume) to set ideal input level to Vocoder; too low = thin, too high = distorted bands.
- When in doubt about intelligibility: increase Bands and reduce Release. For “soul” voice texture: fewer bands, longer release, and warm tube saturation.
- Freeze & Flatten the Vocoder + Carrier chain if you need to resample it and apply further creative chopping (creates interesting artifacts to re-layer).
3. Step-by-Step Walkthrough
Preparation and source chopping
1. Create a new Live Set at your DnB tempo (e.g., 174 BPM). Import an acapella or isolated vocal phrase into an audio track named “Vox Source.”
2. Warp the clip (Warp Mode: Complex or Complex Pro for long phrases; Transient for short shots). Find a single syllable or vowel moment with good tone — this will be your stab. Set clip start to the transient and consolidate (Cmd/Ctrl + J). Duplicate the consolidated clip to a new audio track and name it “Vox Chop.”
3. Trim and clean: Zoom in, crop to the exact portion (keep ~300–900 ms depending on desired length). Use fades at the tail (very short fade-out) to avoid clicks.
Create the dry one-shot stab (the “Modern Punch” layer)
4. Right-click the consolidated “Vox Chop” audio clip → “Slice to New MIDI Track” using Simpler (or drag the clip into a new MIDI track and drop into Sampler if you prefer advanced controls). Name the new instrument track “Vox Stab - Dry (Sampler).”
5. Sampler setup (recommended for advanced control):
- Mode: One-shot (no loop).
- Global: Set root key to the detected key of the sample. Tune fine until it sits in your session key.
- Filter: Enable LP24 or LP12, cutoff ~6–8 kHz to tame harsh sibilance. Add slight resonance (~0.1–0.2) if helpful.
- Amp envelope: Fast attack (0–5 ms), decay ~100–300 ms, sustain 0, release 50–120 ms. This determines length.
- Add subtle pitch envelope: negative pitch-drop of -4 to -12 cents or semitones if you want a subtle “pluck” attack (use conservatively).
6. Insert the following devices after Sampler (order matters):
- EQ Eight: Remove sub below ~60–100 Hz (Low Cut), gentle cut ~300–500 Hz if boxy. Gentle bell boost 1.5–3 kHz for presence (+1.5–3 dB).
- Drum Buss: Increase “Transient” slightly (+10–25) for sharper attack; use “Drive” very lightly (0–3).
- Saturator: Soft Clip curve, Drive 1–3 dB for harmonic thickness. Keep overs low.
- Glue Compressor: Attack fast (1–3 ms), Release ~0.1–0.5s, ratio 2:1–4:1, threshold to taste to glue hits.
- Utility: Set Width to 0% for low frequencies (use Low-End Mono trick by automating or with EQ if needed).
7. Micro-timing: nudging the dry stab 10–20 ms ahead of the beat can increase perceived attack. Try slight positive or negative offset to taste.
Create the vocoded “Vintage Soul” layer (modulator/carrier and Vocoder config)
8. Set up the modulator signal:
- Duplicate the “Vox Chop” audio track into a new track called “Vox Modulator.” This will be the Vocoder’s modulator. Keep it unprocessed (or lightly cleaned).
- Pre-vocoder cleanup: place an EQ Eight on “Vox Modulator” and high-pass at ~120 Hz (removes mud that will smear the vocoder). Optionally add Compressor (fast attack, high ratio) to tighten its envelope if you want more gating effect in the vocoder result.
9. Create the carrier:
- Create a new MIDI track called “Vox Carrier (Wavetable).”
- Load Wavetable. Build a warm, harmonically rich patch:
- Osc 1: Saw / warm wavetable, Osc 2: slightly detuned saw, Unison 2–4 voices, detune small (5–20 cents).
- Low-pass filter: cut around 6–8 kHz, slight resonance.
- Add an amp envelope with a short attack and sustain that matches the vocal stab length (we’ll control envelope by MIDI note length).
- Choose a simple pad waveform; don’t over-complexify — the Vocoder needs a steady carrier.
- Play a single chord/note (one that matches the sample root) and commit with a MIDI clip containing one sustained note the length of the stab.
10. Configure Ableton Vocoder:
- Place Vocoder on the “Vox Carrier (Wavetable)” track after Wavetable but before any major saturators. In the Vocoder device, enable the Sidechain input and choose “Vox Modulator” as the input. (This routes the chopped vocal into the Vocoder as the modulator.)
- Bands: start around 24–32 bands. More bands = more intelligibility and smoother texture; fewer bands = gritty character. For a balance of clarity and character, 24–32 is a good starting point.
- Dry/Wet: set 60–85% wet to favor the effect but not bury the carrier.
- Release: increase to add vintage smear; try 70–150 ms for glued, soulful tails.
- Attack: keep short for transients to pass through (5–20 ms).
- Pitch Tracking (if present): increase moderately (10–40%) so the vocoder tracks pitch of the modulator less strictly and lets the carrier harmonicity dominate — gives musical chords under the vocal.
- Gate/Noise controls: use gate to cut background hiss from the modulator; set the gate threshold so only the stab triggers bands.
- If Vocoder has Formant or Shift control, small shifts (+/-1-3 semitones) can add vintage timbral change; use subtly.
11. Shape intelligibility:
- If the vocoder is muddy, reduce the number of low-band contributions by high-passing the “Vox Modulator” more (e.g., 250–300 Hz) or by using EQ Eight on the modulator track.
- To increase intelligibility, raise Bands, reduce Release, and tighten the modulator dynamics via compressor or transient shaping.
- To increase souliness at the expense of clarity, reduce bands to ~12–18, increase Release, add tape-style saturation.
Parallel processing and stereo placement
12. Stereo staging: keep “Vox Stab - Dry (Sampler)” relatively mono (Utility Width 0–20%) for punch; set “Vox Carrier (Wavetable) + Vocoder” wider (Utility Width 50–150%). This makes the stab punchy in the center with a silky stereo halo.
13. Vintage chain for the vocoder track:
- After the Vocoder, add Saturator with Soft Sine curve, Drive 0–4 dB.
- Add Dynamic Tube set to light drive for coloration.
- Insert Hybrid Reverb (Plate or Spring) on a return called “Vox Plate.” Send low (10–25%) to taste — vintage plates sit people-space well.
- Add a short stereo delay (Echo or Simple Delay) on another return tuned to 1/16 or triplet for feel. Put both returns after the Glue group for consistent behavior.
14. Punch chain for the dry stab (parallel bus):
- Create return “Punch Bus” with Drum Buss (Transient + presence), then Glue Compressor. Send the dry stab largely to this bus to taste to get a tight front.
- Alternatively, duplicate the dry chain and heavily compress one copy for parallel compression.
Final group routing, EQ balance & sidechain
15. Group both vocal stab tracks into a group “Vox Stab Group” and place a final EQ Eight and Glue Compressor on the group.
- EQ Eight: carve out 40–120 Hz (narrow cut) to keep bass space; slight boost 2–4 kHz for presence; gentle shelf-sweetening 8–12 kHz for air if needed.
- Glue Compressor: gentle compression (ratio 2:1, slowish attack 10–30 ms, medium release) to glue the layers.
16. Sidechain: add a Compressor after Glue (or on the group) with sidechain input set to Kick; fast attack and medium release to duck the stab slightly on the downbeat so bass/kick breath through in DnB mix. Alternatively, sidechain to the lead snare/backbeat for groove.
17. Micro-delay: nudging the vocoder or dry stab by ±5–12 ms can create perceived depth. Try pushing the vocoder 6–10 ms later than the dry stab for a slight “wash” after the initial hit.
Automation and final polish
18. Automate dry/wet blend of the Vocoder for sections (more vocoder in breakdowns, more dry in drops).
19. Automate reverb send and Saturator drive for variation — a little extra saturation on repeat hits intensifies interest.
20. Render the combined instrument as a frozen/resampled sample (Export or Freeze + Flatten) when satisfied to conserve CPU and easily reuse.
4. Common Mistakes
5. Pro Tips
6. Mini Practice Exercise
Objective: Build two variations of the vocal stab in one session—(A) “Punch-first” and (B) “Vintage-first”—and drop both into an 8-bar DnB loop to compare.
Steps:
1. Choose one vocal syllable and create “Vox Stab - Dry (Sampler)” tuned to your key.
2. Build “Vox Carrier (Wavetable)” and setup Vocoder with “Vox Modulator” as sidechain.
3. For Variation A (Punch-first): Dry stab + Drum Buss heavy transient, dry Vocoder at ~40% wet, Glue Compressor tight, Utility Width dry 10%.
4. For Variation B (Vintage-first): Dry stab lower in level, Vocoder wet 80%, Bands ~16, Release 120 ms, more plate reverb send and Saturator Drive + Dynamic Tube.
5. Place both variants on different tracks in the same loop. Solo and compare how each sits against drums and bass. Make a quick metering check (spectrum) and adjust EQ to leave space for the bass.
Deliverable: Export two 1-bar stems labeled “VoxStab_Punch.wav” and “VoxStab_Vintage.wav” and A/B them within a drum loop to hear which fits your Drop.
7. Recap
Workforce edit: blend a vocal stab from scratch in Ableton Live 12 for modern punch and vintage soul is a multi-layer approach: isolate and tune a clean vocal stab, create a tight dry stab with Sampler + transient shaping + saturation for punch, design a harmonically rich carrier (Wavetable) and route your chopped vocal as the Vocoder modulator, then configure Vocoder bands, attack/release and pitch-tracking to dial intelligibility vs. texture. Use parallel processing, careful EQ (HPF on modulator, carve for bass space), stereo staging (dry center, vocoder wide), and gentle group compression/sidechaining so the stab sits with DnB drums and bass. Practice by building both punch-first and vintage-first variations, and render versions to reuse as a workforce edit across tracks.

