DNB COLLEGE

Drum & Bass Ableton Live 12 Tutorials

LESSON DETAIL

Writing cinematic intros in Ableton (Intermediate)

An AI-generated intermediate Ableton lesson focused on Writing cinematic intros in Ableton in the Arrangement area of drum and bass production.

Back to lessons
Writing cinematic intros in Ableton (Intermediate) cover image

Narrated lesson audio

The voice track includes the tutorial plus extra teacher commentary.

Open audio file

Main tutorial

🎶 Cinematic Intros in Drum and Bass: A Practical Guide

1. Lesson Overview

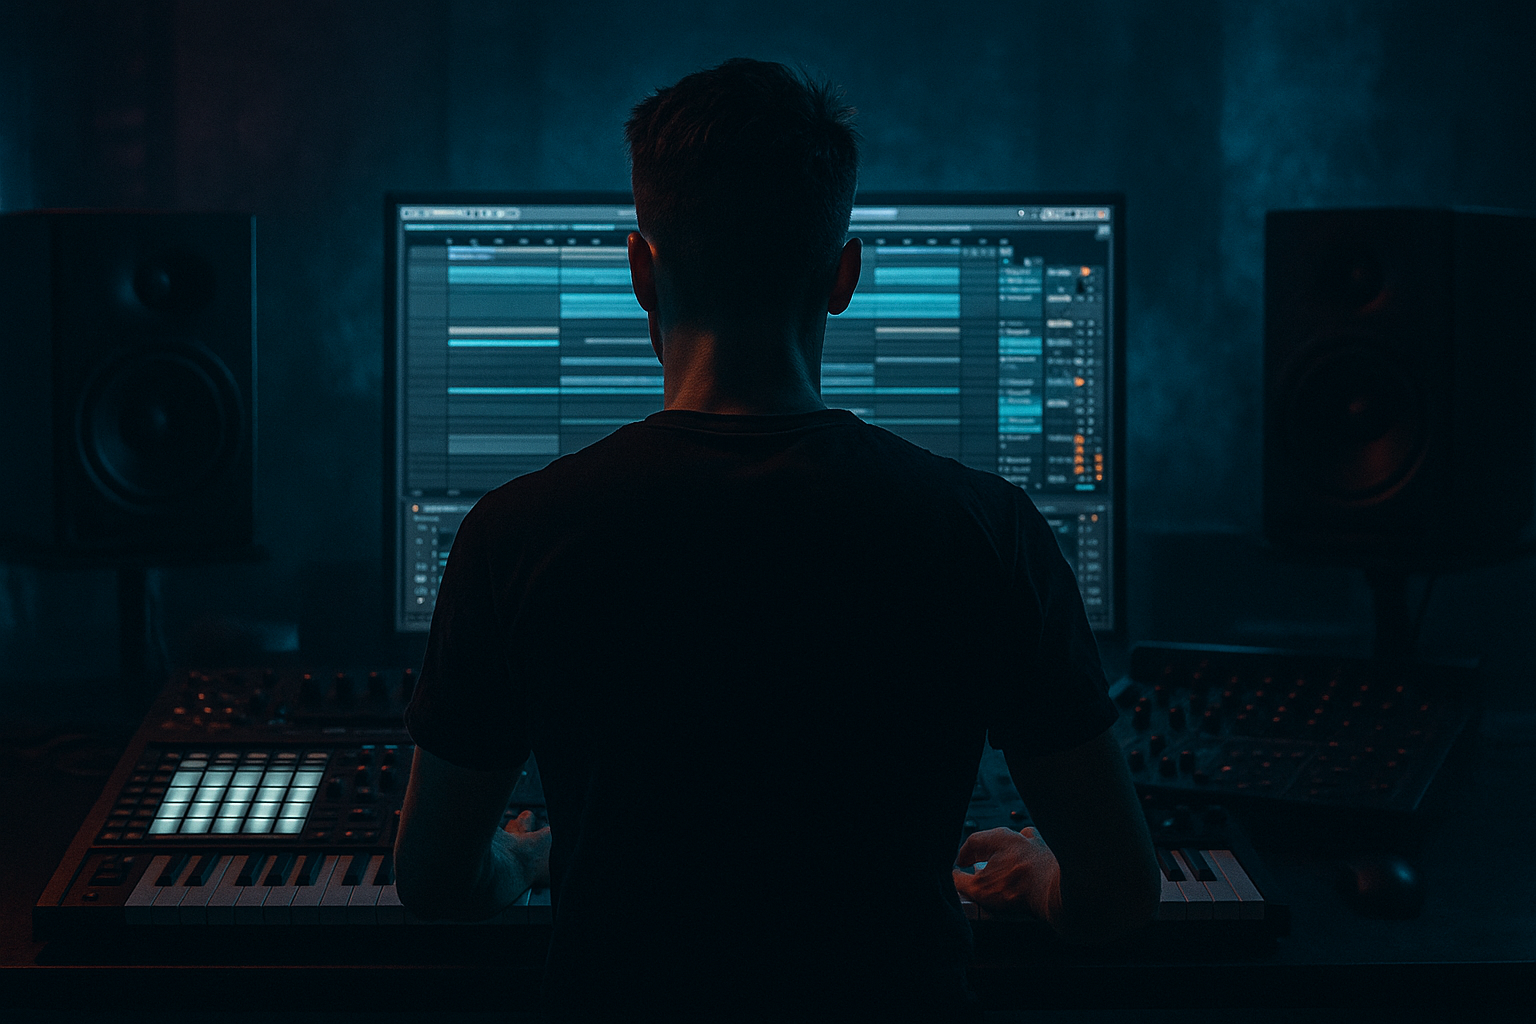
Welcome, aspiring drum and bass producers! 🎧 In this tutorial, we’ll dive deep into crafting cinematic intros in Ableton Live specifically tailored for DnB tracks. Cinematic intros set the stage for your music, creating anticipation and an emotional connection with your listener. This lesson will focus on using stock devices creatively, structuring your arrangement, and applying effective sound design techniques.

2. What You Will Build

By the end of this lesson, you will create a dramatic cinematic intro featuring:

  • Ambient pads
  • Pulsing sub-bass
  • Ethereal effects
  • Percussive accents
  • A clear transition into the main body of the track
  • You’ll learn how to build tension and set the mood before those heavy beats drop! 💥

    3. Step-by-Step Walkthrough

    Step 1: Set Up Your Project

    1. Open Ableton Live and create a new project.

    2. Set your project tempo to around 170 BPM, a common speed for DnB.

    Step 2: Create an Ambient Pad

    1. Create a new MIDI track (`Cmd + Shift + T` or `Ctrl + Shift + T`).

    2. Load Operator (Ableton's FM synth) or Analog.

    3. Choose a soft pad sound preset or create one with:

    - Oscillator 1: Sine wave, filter cut off low.

    - Add Reverb (set dry/wet around 40%).

    - Use a slow attack and release for a smooth fade in/out.

    Step 3: Layer with Atmospheric Sounds

    1. Create another MIDI track for atmosphere.

    2. Load Sampler or Impulse and load some haunting sound effects (e.g., nature sounds, distant voices).

    3. Add modulation with Auto Filter to create movement (modulate the cutoff frequency).

    4. Automate the filter over the first few bars to gradually introduce these elements.

    Step 4: Introduce Sub-Bass

    1. Create a new MIDI track and load Analog with a simple sine wave sound.

    2. Make a long MIDI note (C1) lasting 8 bars.

    3. Insert Saturator to add warmth (set to subtle settings).

    4. Apply Low Pass Filter using Auto Filter (cut off around 100 Hz), and automate it lightly to bring the bass in over the intro.

    Step 5: Adding Percussive Elements

    1. Create a drum rack and load some classic DnB snare and kick samples.

    2. For the intro, use a sparse kick pattern, keeping it simple.

    3. Create a light snare roll (using 1/16 notes) that builds over the intro's length.

    4. Use Echo for spatial effects on snare hits for depth.

    Step 6: Transition Effects

    1. Use a White Noise generator (via simpler) to create impacts.

    2. Add an Auto pan effect to crank the feel.

    3. Set up a Ping Pong Delay on the last bar to build tension before the drop.

    Step 7: Arrangement

    1. Structure your 8-bar intro:

    - Bars 1-4: Ambient Pad and Atmosphere

    - Bars 5-6: Introduce Sub-bass

    - Bars 7-8: Add Percussion and Effects

    2. Use Scene launch for transition into the main body of the track. Make sure the volume ramps up gradually for a smoother transition.

    4. Common Mistakes

  • Overcrowding the Mix: Keep ambient elements minimal to allow the bass to shine.
  • Ignoring Dynamics: Include volume automation to maintain interest throughout the intro.
  • Static Sounds: Always add modulation to pads and effects to keep things lively.
  • 5. Pro Tips for Darker/Heavier DnB

  • Add Dissonance: Use minor 7th or 9th chords in your pads for a darker vibe.
  • Use Field Recordings: Incorporate environmental sounds to create a sense of place.
  • Experiment with Time-stretching: Use warped sounds to create unique textures, adding character and unpredictability.

6. Mini Practice Exercise

1. Create a 4-bar cinematic intro using at least three different atmospheric layers.

2. Employ pitch modulation to make one layer dynamic.

3. Add a reverse reverb effect on your snare hit to enhance tension.

4. Record automation on the master channel for a crescendo effect leading into the main drop.

7. Recap

Today, you learned how to craft an engaging cinematic intro in Ableton Live, specifically designed for drum and bass music. We went through ambient pads, atmospheric sounds, and transitional effects to build anticipation. Remember to focus on creating space in your mix and adding depth with effects. You’ve got the tools and the knowledge—now it’s time to put it into practice! 🚀

Happy producing! 🎵

Ask GPT about this lesson

Chat with the lesson tutor, get follow-up help, or use quick actions.

Bigup 👽 Ask me anything about this lesson and I’ll answer in context.

Narration script

Show spoken script
Welcome to our tutorial on writing cinematic intros in Ableton Live, specifically tailored for drum and bass production. In today’s lesson, we’re going to explore how to set the stage for your music, creating that all-important anticipation and emotional connection with your listeners. We’ll focus on using stock devices creatively, structuring your arrangement, and applying effective sound design techniques. Get ready to dive in!

When we finish, you'll have crafted a dramatic cinematic intro featuring ambient pads, pulsing sub-bass, ethereal effects, and percussive accents. And let's not forget we’ll transition smoothly into the main body of the track. This is all about building tension and setting the mood before those heavy beats drop!

First things first, let’s set up your project. Open up Ableton Live and create a new project. Remember to set your project tempo to around 170 BPM — this is a common speed for DnB and perfect for the vibe we’re aiming for. 

Now, let’s create an ambient pad. Create a new MIDI track. You can do this easily by pressing Cmd + Shift + T on a Mac or Ctrl + Shift + T on Windows. Load up either Operator, Ableton’s FM synth, or Analog. Choose a soft pad sound preset, or create one yourself. You want Oscillator 1 set to a sine wave, and keep the filter cut-off low. 

To give it that lush feel, add some reverb. Set the dry/wet around 40 percent, and use a slow attack and release time for a smooth fade-in and fade-out. 

Next, let’s layer with some atmospheric sounds. Create another MIDI track for this. Load up Sampler or Impulse, and find some haunting sound effects — think nature sounds or distant voices. This is where you bring in the depth. Add modulation with Auto Filter to create some movement, and automate that filter over the first few bars, gradually introducing these atmospheric elements as your intro unfolds.

Alright, it’s time to introduce some sub-bass. Create a new MIDI track and load up Analog again, this time with a simple sine wave sound. Let’s make a long MIDI note, lasting about eight bars, hitting that low C1 note. To warm this up, insert a Saturator but keep those settings subtle. 

Apply a Low Pass Filter using Auto Filter, cutting off around 100 Hz. Don’t forget to automate it lightly, allowing that bass to creep in over the intro. We want it to build, bringing the listener closer to what’s to come.

Now for the fun part — adding some percussive elements. Create a Drum Rack and load up some classic DnB snare and kick samples. For the intro, keep it simple with a sparse kick pattern. You might also want to incorporate a snare roll using 1/16 notes to build up tension. An Echo effect on your snare hits adds some spatial depth, really bringing those hits to life.

Next, let's talk about transitioning effects. You can use a white noise generator via simpler to create impactful moments. Adding an Auto Pan effect here can really crank up that intensity. For the last bar, set up a Ping Pong Delay, which will create that perfect build-up tension leading into your drop.

As we wrap things up, let’s talk about the arrangement of your intro. You'll want to structure it in eight bars: focus on bars one to four for your ambient pad and atmospheric elements. Bars five and six will bring in that delicious sub-bass, and in bars seven and eight, layer in your percussion and effects. 

Make use of scene launch for a seamless transition into your main track. Gradually ramp up the volume for a smoother flow. 

Now, let’s cover some common mistakes you might want to look out for. Don’t overcrowd your mix — keep ambient elements minimal to allow the bass to really shine through. Also, pay attention to dynamics; include some volume automation to maintain interest throughout the intro. Lastly, avoid static sounds by adding modulation to your pads and effects to keep everything feeling alive and dynamic.

For you DnB enthusiasts looking for some extra flair, consider adding dissonant chords for a darker vibe. Use field recordings to immerse your listeners in a specific environment, and don’t shy away from experimenting with time-stretching to give your sounds character and unpredictability.

Before we wrap up, here’s a mini practice exercise for you. Try to create a four-bar cinematic intro using at least three different atmospheric layers. Employ pitch modulation to make one layer stand out dynamically, and create a reverse reverb effect on your snares to enhance that tension. Record automation on the master channel for a crescendo effect leading up to your main drop.

To recap, today we covered how to craft an engaging cinematic intro in Ableton Live specifically for drum and bass. We've explored ambient pads, atmospheric sounds, and transitional effects to build that anticipation. Always remember to create space in your mix and add depth with effects.

Now you’ve got the knowledge, so let’s get creating! Happy producing!

mickeybeam

Go to drumbasscd.com for +100 drum and bass YouTube channels all in one place - tune in!

Generating PDF preview…