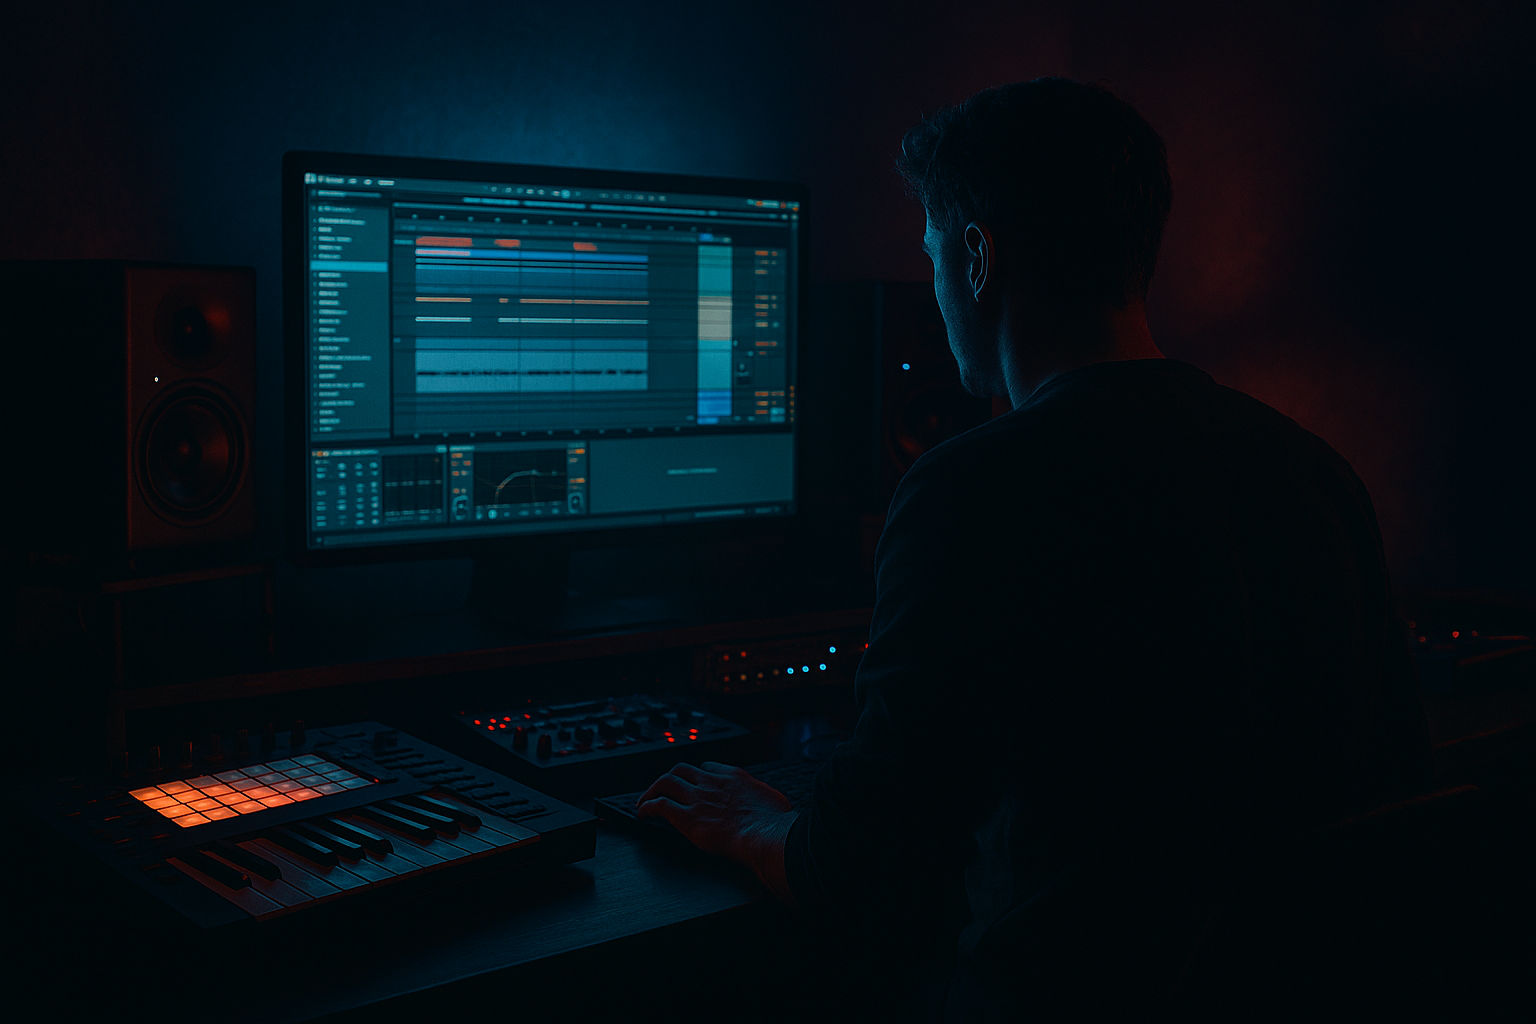
Main tutorial
```markdown
Writing for Dark Spacious Moods (DnB) in Ableton Live — Advanced Composition Tutorial 🌑🌌
1. Lesson overview
Dark spacious DnB isn’t just “reverb on everything.” It’s intentional negative space, controlled low-end, and foreground vs background storytelling: tight, confident drums up front; bass that feels dangerous but disciplined; and atmospheres that hint rather than shout.
In this lesson you’ll build a practical template and write an 8–32 bar idea that nails:
- Depth (front-to-back)
- Weight (sub discipline)
- Tension (harmonic ambiguity + micro-automation)
- Motion (rolling groove + evolving textures)
- Drums: tight break layer + punchy kick/snare, with controlled room and transient clarity
- Bass: sub + reese/mid layer with movement and call/response gaps
- Atmos: drones, tonal noise, and “distant” tails using return tracks
- Hook: minimal motif (2–4 notes) with ambiguity (minor/Phrygian vibes)
- Arrangement: 16-bar intro → 16-bar drop with evolving density and tension automation
- Hybrid Reverb
- EQ Eight after it:
- Compressor (optional) to keep tails stable:
- Echo
- Utility
- Hybrid Reverb
- Auto Filter after:
- Gate (sidechain from drums) to keep it breathing (more on that later)
- Kick track
- Snare track
- Load a break into Simpler (Slice mode) or drop into Audio and warp.
- Warp mode:
- High-pass it: EQ Eight HP `150–250 Hz` so it doesn’t fight your kick/sub.
- Add groove:
- Glue Compressor
- Limiter (optional safety), not for loudness yet
- Instrument: Operator
- MIDI pattern:
- Chain:
- Instrument: Wavetable (or Operator if you prefer)
- Movement:
- Chain (practical, stock):
- Bars 1–2: phrase
- Bar 3: drop out or simplify (space)
- Bar 4: answer phrase, slightly varied
- Instrument: Wavetable or a sampled pad in Simpler
- Use a note that supports your key (root + 5th works well, or root + b2 for Phrygian tension)
- Chain:
- Create an Audio track with noise (sample, vinyl, field recording, or synth noise)
- Auto Filter band-pass sweeping slowly
- Send to GhostDelay and DarkVerb lightly
- Automate volume so it appears only in transitions
- 2-note stab: root → b2 (Phrygian), or root → b3 (minor)
- Minor triad fragment: 1–b3–5 but played as broken hits
- Detuned stab with pitch envelope (old jungle flavor)
- Use Operator for a stab:
- Add Pitch Envelope (small downward snap)
- Send stab to GhostDelay more than DarkVerb for “haunting repeats.”
- Add Compressor
- Gate keyed by snare or a ghost trigger
- Set it so the wash swells only when you want tension.
- Bars 1–4: hats + break texture + distant drone (filtered)
- Bars 5–8: introduce motif quietly + ghost delay
- Bars 9–12: add snare (or snare ghost) + bass tease (HP filtered)
- Bars 13–16: riser/impact + remove something right before drop (silence = power)
- Automate Auto Filter cutoff on drone/motif
- Automate send levels to Returns (space grows as you approach drop)
- Add utility gain dips for micro “breath” before the drop
- Keep kick/snare stable
- Bass call/response
- Every 4 or 8 bars: change one thing
- Use Phrygian hints: b2 is instant menace. Try `F–Gb` (root to flat 2).
- Silence as a hook: drop the bass for 1/2 bar before a phrase lands.
- Break “ghosts”: low-level shuffled break slices behind clean drums add paranoia.
- Reverb tail tuning: if your reverb rings, notch that frequency on the return with EQ Eight.
- Mid/side control: widen only the effects and upper mids; keep core elements narrow.
- Layered distortion strategy:
- Automate sends, not just filters: increasing verb/delay into fills makes space feel intentional.
- Dark spacious DnB is foreground punch + background depth.
- Use return-based space (Hybrid Reverb + Echo) and sidechain the ambience.
- Write bass with call/response and rests—space is part of the rhythm.
- Atmos should be filtered, high-passed, and automated so it evolves with arrangement.
- Make contrast every 8–16 bars through density and brightness changes, not extra clutter.
Ableton focus: stock devices + clean routing + arrangement decisions you can repeat. ✅
---
2. What you will build
A dark, spacious rolling DnB loop that expands into a short arrangement:
Target vibe references (conceptually): roller + jungle grit + modern space (think: minimal elements, heavy intent).
---
3. Step-by-step walkthrough
Step 0 — Project setup (speed + consistency)
1. Tempo: `172–176 BPM` (start at 174)
2. Time signature: 4/4
3. Key center (suggestion): F minor / F Phrygian (dark instantly)
4. Create Groups / Tracks:
- DRUMS (Group)
- Kick
- Snare
- Hats/perc
- Break layer
- BASS (Group)
- Sub
- Mid/Reese
- MUSIC/ATMOS (Group)
- Drone
- FX/Noise
- Sparse stab/motif
5. Return tracks (crucial for space):
- A – DarkVerb
- B – GhostDelay
- C – LongWash (optional)
Why returns? You’ll get a cohesive “world” and keep dry signals punchy while sending only what you need 🌌.
---
Step 1 — Build your “dark space” return channels
#### Return A: DarkVerb (short-ish but dense)
- Mode: Convolution + Algorithm (Hybrid mode if available)
- Convolution: pick a Dark Room / Studio / Chamber impulse (not a cathedral)
- Algorithm: Hall or Chamber
- Pre-Delay: `20–35 ms` (keeps drums forward)
- Decay: `1.2–2.2 s`
- Low Cut: `250–450 Hz`
- High Cut: `6–10 kHz` (darkens tail)
- notch any harsh ring around `2–4 kHz` if needed
- Ratio `2:1`, slow attack, medium release, just 1–2 dB GR
#### Return B: GhostDelay (wide, filtered, subtle)
- Time: `1/8` or `3/16` (try 3/16 for off-grid creep)
- Feedback: `20–35%`
- Filter: HP around `300–600 Hz`, LP around `4–7 kHz`
- Modulation: small (adds smear)
- Width: `130–160%` (keep delay wide, but watch mono)
#### Return C (optional): LongWash for cinematic tails (use sparingly ⚠️)
- Decay: `4–8 s`
- High Cut: `5–8 kHz`
- Pre-delay: `30–60 ms`
- slow movement (Rate `0.03–0.10 Hz`)
---
Step 2 — Drums: tight foreground, roomy background
You want drums that feel close, with space happening around them, not on them.
#### 2A) Kick + snare core (modern roller backbone)
- Sample choice: short, punchy, minimal tail
- Drum Buss
- Drive: `2–8%`
- Boom: Off or very low (DnB subs should be intentional)
- Transients: `+5 to +15`
- EQ Eight
- HP at `25–35 Hz`
- small cut if muddy around `200–350 Hz`
- Layer two: a body snare + a crisp top (or one great snare)
- Saturator (Soft Clip on)
- Drive `2–6 dB`
- EQ Eight
- HP `120–180 Hz`
- presence lift around `2–5 kHz` if it needs bite
- Short send to Return A (DarkVerb): typically `-18 to -12 dB` send amount (start low)
Composition tip: In dark spacious DnB, the snare is a “lighthouse.” Keep it consistent and authoritative.
#### 2B) Break layer (texture + movement)
- If using audio break: Complex Pro or Beats (try Beats with transient preservation)
- Use Groove Pool: try MPC swing lightly, or extract groove from the break and apply subtly to hats/perc.
Micro-space trick: Send only the break layer slightly more to GhostDelay than your main drums. It makes “distance” without washing the core.
#### 2C) Drum bus glue (don’t crush)
On DRUMS Group:
- Attack: `10–30 ms`
- Release: `Auto` or `0.3 s`
- Ratio: `2:1`
- Aim: 1–2 dB gain reduction on peaks
---
Step 3 — Bass: negative space + controlled menace 😈
We’ll build sub and mid/reese as separate instruments for mix control and mood.
#### 3A) Sub track (mono, clean, consistent)
- Osc A: Sine
- Add a tiny bit of harmonic: Osc B very low level (or use Saturator later)
- Use long notes with intentional rests (space is mood)
- Consider syncopation around kick/snare
1. EQ Eight: HP at `20–30 Hz`, optional dip `50–80 Hz` if boomy
2. Saturator (Soft Clip On)
- Drive `1–4 dB` (just to help translation)
3. Compressor sidechained from Kick
- Ratio `4:1`
- Attack `0.5–3 ms`
- Release `60–120 ms` (set by groove)
- Aim: 2–5 dB GR depending on punch
Rule: Sub stays dry (no reverb, no stereo). Darkness = confidence.
#### 3B) Reese/mid layer (movement + texture)
- Two saws slightly detuned
- Unison: small amount (don’t go supersaw)
- Filter: LP24 with drive
- Map LFO to filter cutoff and/or wavetable position
- LFO rate: `1/4` or `1/8` synced, or `0.15–0.35 Hz` free for slow drift
1. Auto Filter
- LP, cutoff around `200–800 Hz` to taste
- Envelope amount for little “wah” on hits (subtle)
2. Saturator / Pedal
- Pedal “Sub” or “OD” very lightly (careful)
3. EQ Eight
- HP at `120–200 Hz` (leave lows to sub)
- tame harshness `2–5 kHz`
4. Utility
- Width: `80–120%` (keep mids controlled)
5. Compressor sidechained from kick (lighter than sub)
Dark-space composition trick: Write the mid bass as call/response:
That “absence” is what makes it feel huge.
---
Step 4 — Atmosphere: depth without mud
You want layers that feel far away and big, but not cloudy.
#### 4A) Drone bed (the “fog”)
1. EQ Eight
- HP `150–300 Hz` (yes, high!)
- small dips where drums/bass speak
2. Hybrid Reverb (or send to Return C)
- keep it dark (high cut)
3. Auto Pan
- Rate `0.03–0.08 Hz`
- Amount `20–40%`
- Phase `180°` for width (check mono)
#### 4B) Tonal noise + “air”
Distance cue: More reverb + less transient = farther away. Use that intentionally.
---
Step 5 — The hook: minimal motif with harmonic ambiguity
Dark spacious moods often rely on suggestion rather than full chords.
Try one of these:
Ableton method:
- Osc A: Square/Saw blend
- Short amp decay
Arrangement idea: Introduce motif in intro as filtered/quiet “radio,” then reveal it drier and louder at the drop.
---
Step 6 — Space control: sidechain your ambience (advanced but essential)
Instead of drowning your mix, make the ambience move out of the way.
#### Option A: Sidechain the Return tracks from the snare (classic DnB breath)
On Return A (DarkVerb):
- Sidechain input: Snare
- Attack `1–5 ms`
- Release `120–250 ms`
- Ratio `2–4:1`
- Aim: 2–6 dB GR on snare hits
Repeat on Return B if needed.
This makes the snare punch forward while the tails bloom after it. 🔥
#### Option B: Gate the long wash
On Return C:
---
Step 7 — Arrangement: make the space evolve (16–32 bar plan)
A dark spacious tune feels alive through density automation.
#### 16-bar intro (DJ-friendly, tension-building)
Ableton actions:
#### 16-bar drop (rolling but minimal)
- remove hats for 1 bar
- switch bass rhythm
- add a single reverse hit
- open the break layer for 1 bar
Key principle: Spacious doesn’t mean empty—it means curated.
---
4. Common mistakes
1. Putting reverb directly on the drum tracks and losing punch
→ Use returns and keep sends subtle.
2. Stereo sub (or wide bass below ~120 Hz)
→ Keep sub mono with Utility; high-pass stereo layers.
3. Too many constant atmos layers
→ Make atmos arrangement-dependent (mute/automate).
4. No contrast between sections
→ Space must change: density, brightness, or rhythm every 8–16 bars.
5. Over-saturating the mid bass until it turns into harsh fizz
→ Use EQ before/after saturation, and tame 2–5 kHz.
---
5. Pro tips for darker/heavier DnB 🖤
- Sub: gentle Saturator only
- Mid: more character (Pedal/Saturator)
- Drum bus: light Drum Buss transients
---
6. Mini practice exercise (20–30 minutes) ⏱️
Goal: Create a 16-bar dark spacious drop loop with evolving depth.
1. Write a 2-bar drum loop (kick/snare + hats + break layer).
2. Write a 2-bar subline with at least one full beat of rest somewhere.
3. Write a 2-bar reese phrase that answers the sub rhythm.
4. Add drone on root + optional b2 tension note.
5. Set up Return A + B as described.
6. Automate over 16 bars:
- Return A send on motif: gradually up then down
- Auto Filter cutoff on drone: open slightly in bars 13–16
- 1-bar “void” moment: mute break layer on bar 15
7. Bounce a quick render and check:
- Is the snare still punching?
- Is the sub clean and steady?
- Does the space breathe with the groove?
---
7. Recap
If you want, tell me your preferred sub style (pure sine vs harmonically rich) and whether you lean more jungle or neuro-influenced, and I’ll give you a tailored 32-bar arrangement map + device rack suggestions.
```

